


Wing X Install – Part 5…
March 8, 2016Orig published over on BCP.org March 2015… This article is for entertainment only and is NOT an approved or instructional material. Consult the proper installation documents for reference.
The install continues…
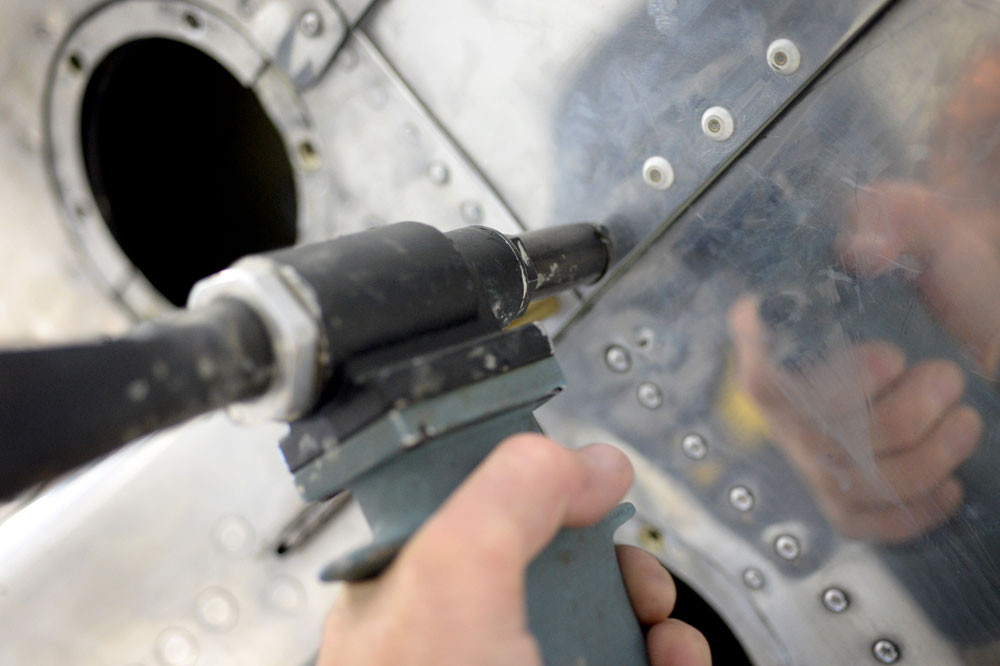
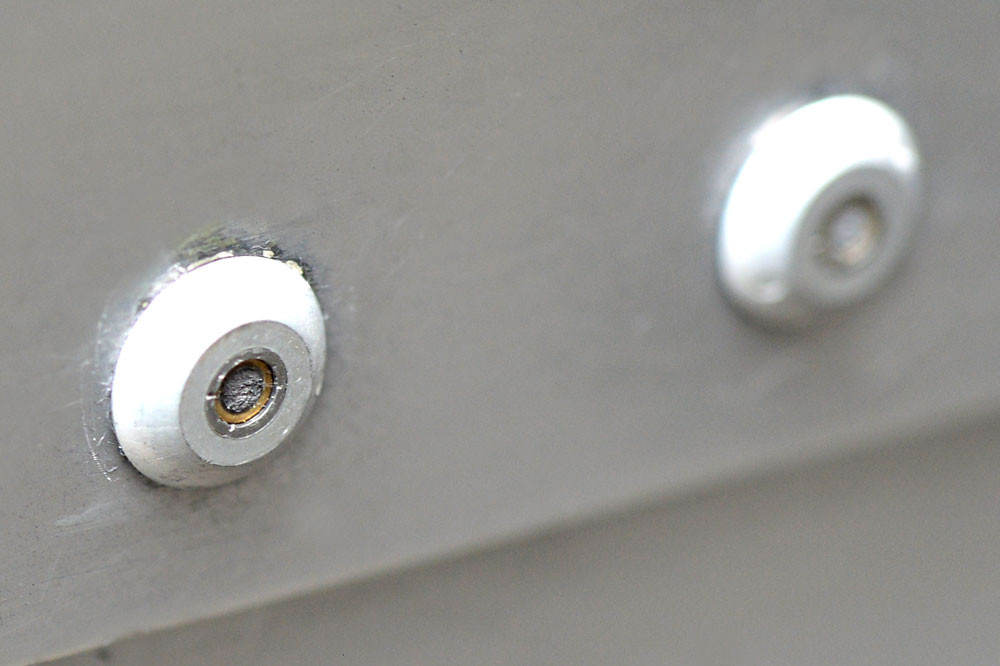
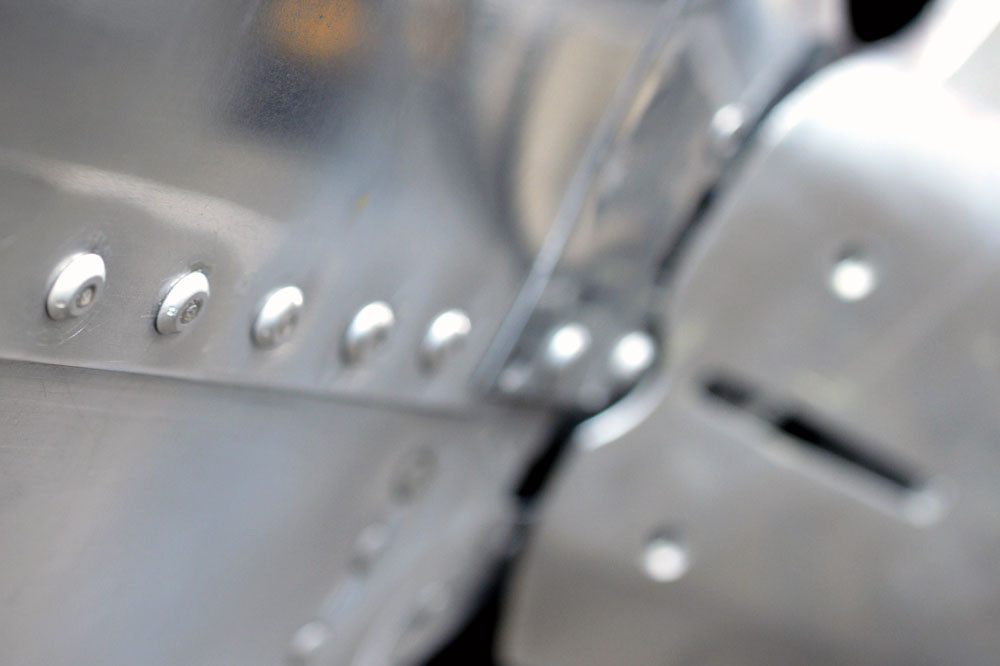
A word about pulling the rivets. Although the kit comes with everything you will need (and some extras for once) it’s always good to understand just WTF is going on. The stainless strap uses Cherry Max and not just cherry rivets. If you and (God forbid your AP) don’t know the difference, its worth learning.
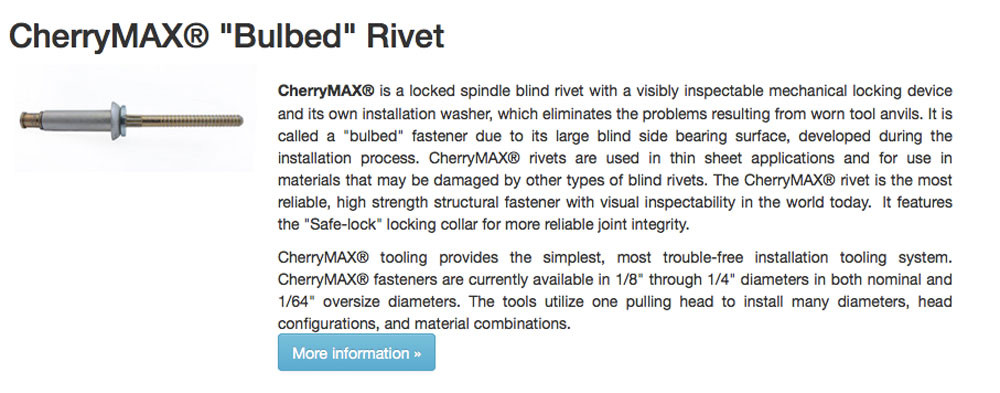
Before you move on, make sure all the rivets lock. In a nutshell, the stem gets pulled and must lock with the steel collar. If it doesn’t, the rivet will not look flush, and if its not flush, its not structurally sound.
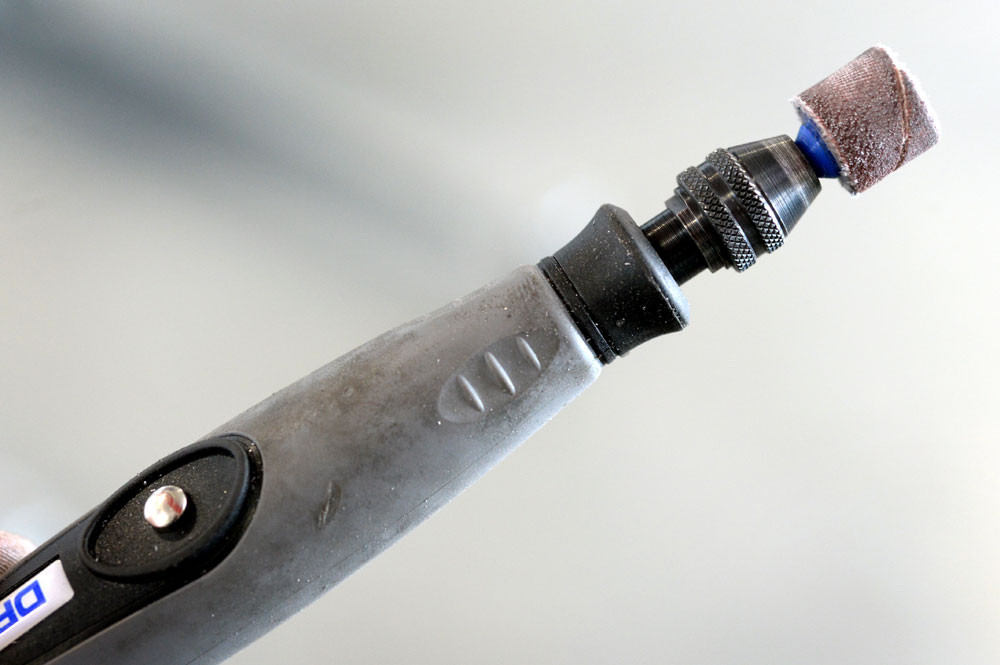
Next step is to dress up the outboard ends of the upper lift strut. Because flush rivets were removed and universal heads were installed, you will have to dish out some material on the inboard and outboard side of the strut in order for the strut to fit back where it belongs… A bit nerve wracking at first, but no biggie as you will be working distal of where the tangs rivet to the strut. Dremel works great here, first with the cutting bit, then the sanding drum.
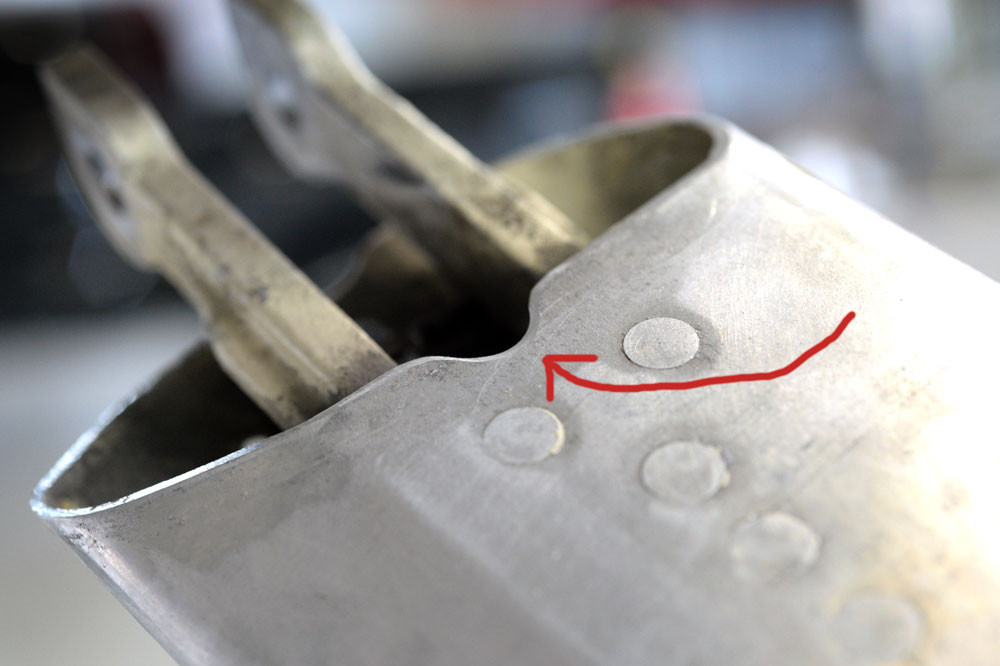
Remember to measure sixteen times and cut once… You can always remove material, but never add it on.
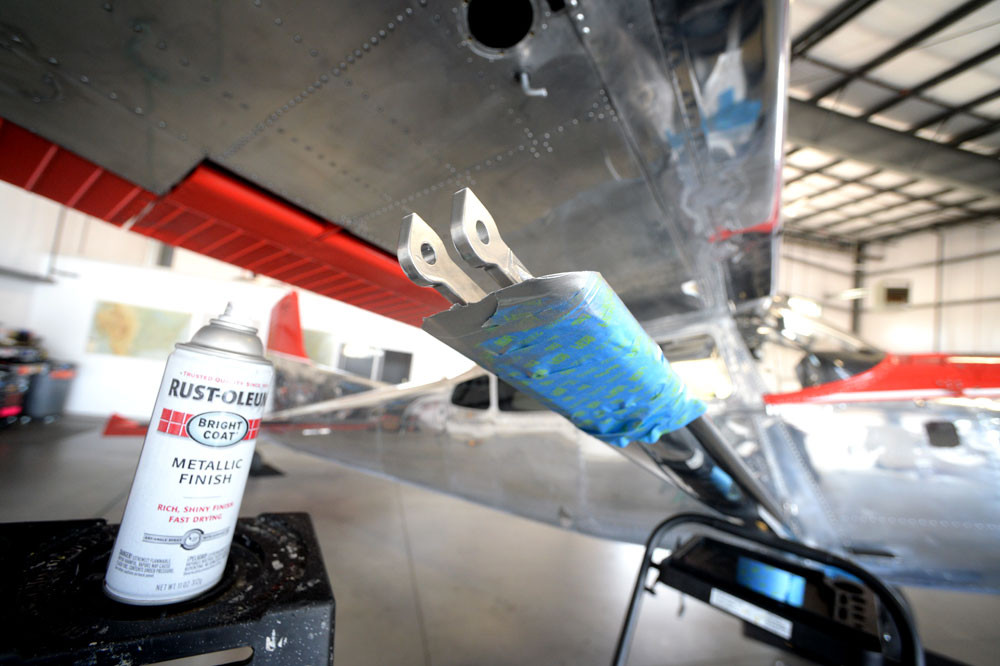
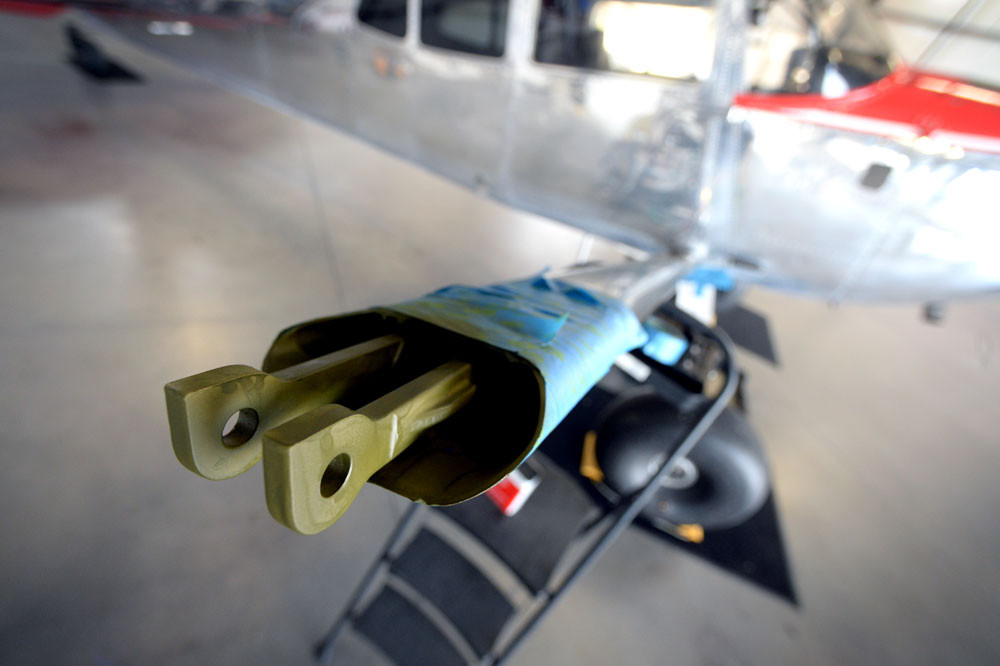
Last thing you might want to think about here before you re-install the lift strut is to rehab the tangs. I cant in good conscious re-install a part without freshening it up, so I hit it the part with some scotch bright, z-chromate, and some metal finish Rustoleum.