Wing X Install – Part 5…
March 8, 2016
Orig published over on BCP.org March 2015… This article is for entertainment only and is NOT an approved or instructional material. Consult the proper installation documents for reference.
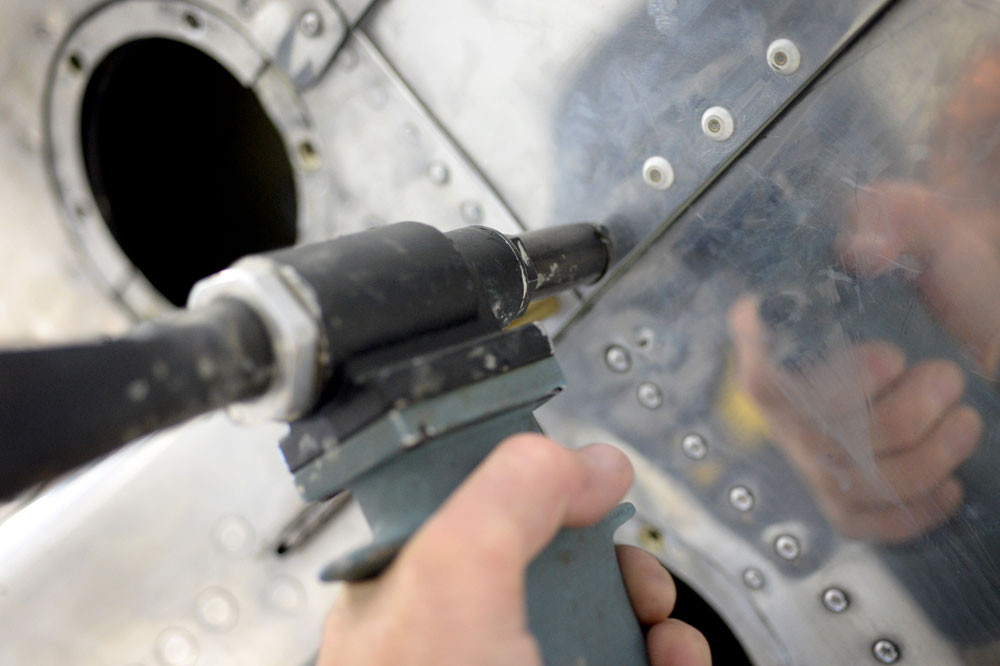
The install continues…
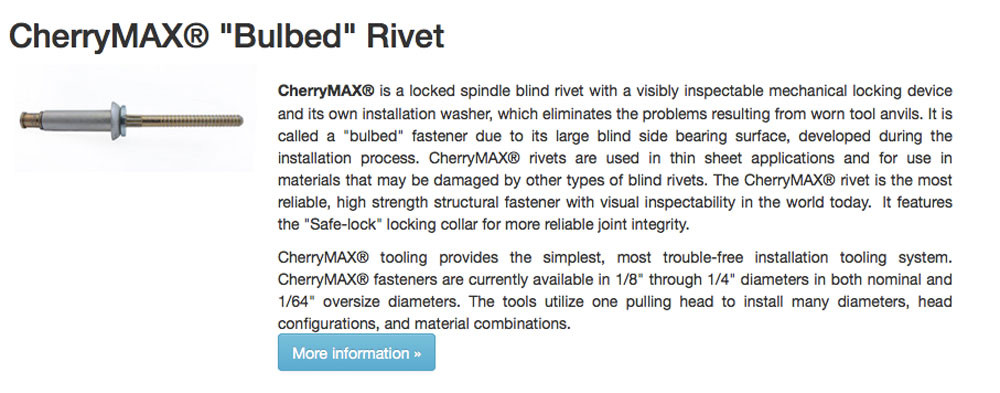
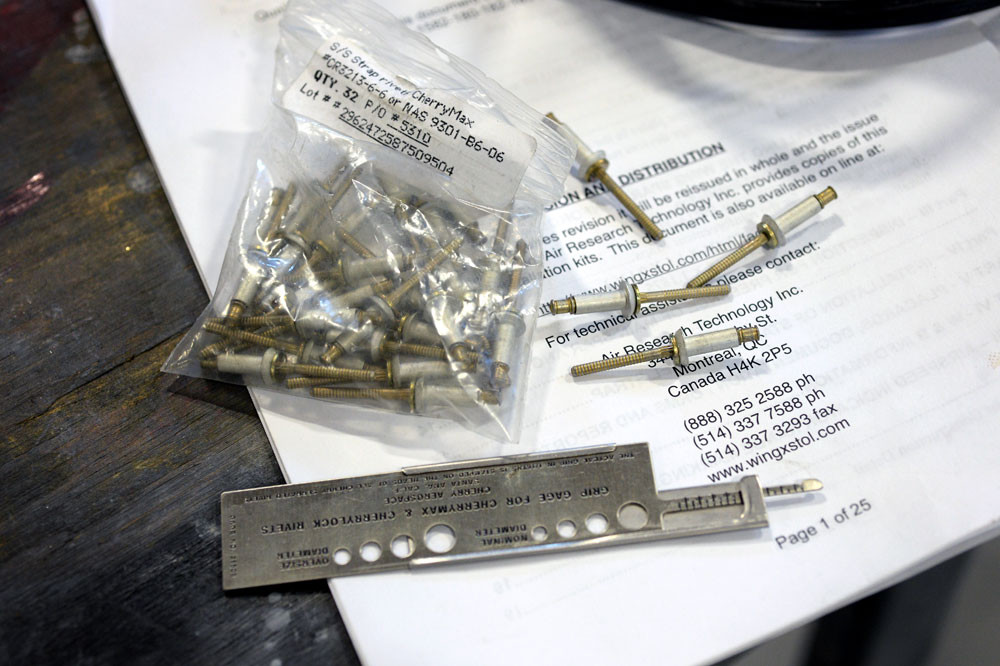
A word about pulling the rivets. Although the kit comes with everything you will need (and some extras for once) it’s always good to understand just WTF is going on. The stainless strap uses Cherry Max and not just cherry rivets. If you and (God forbid your AP) don’t know the difference, its worth learning.
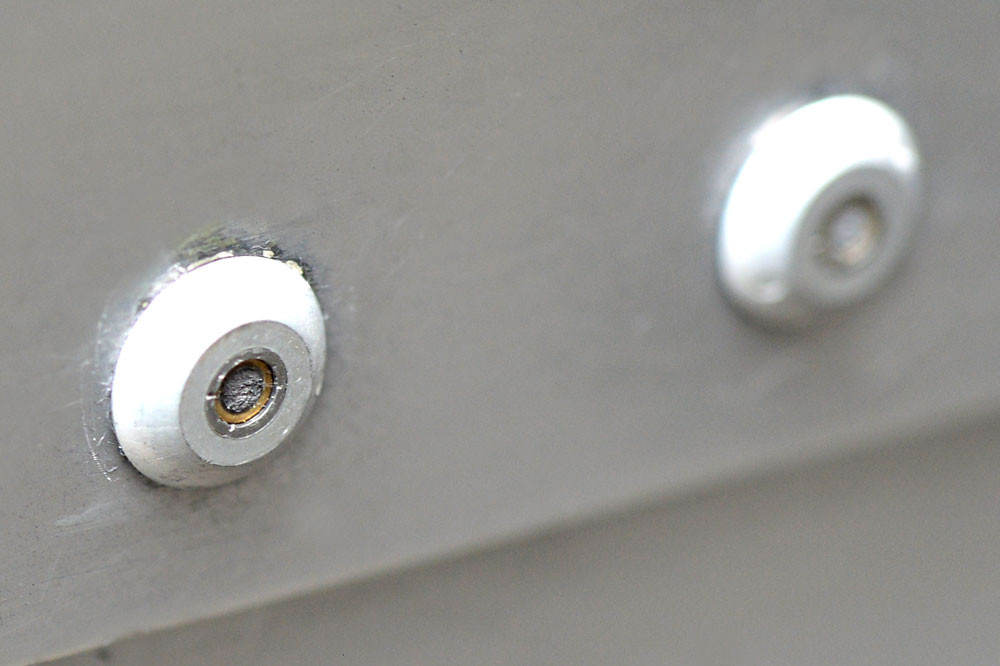
Before you move on, make sure all the rivets lock. In a nutshell, the stem gets pulled and must lock with the steel collar. If it doesn’t, the rivet will not look flush, and if its not flush, its not structurally sound.
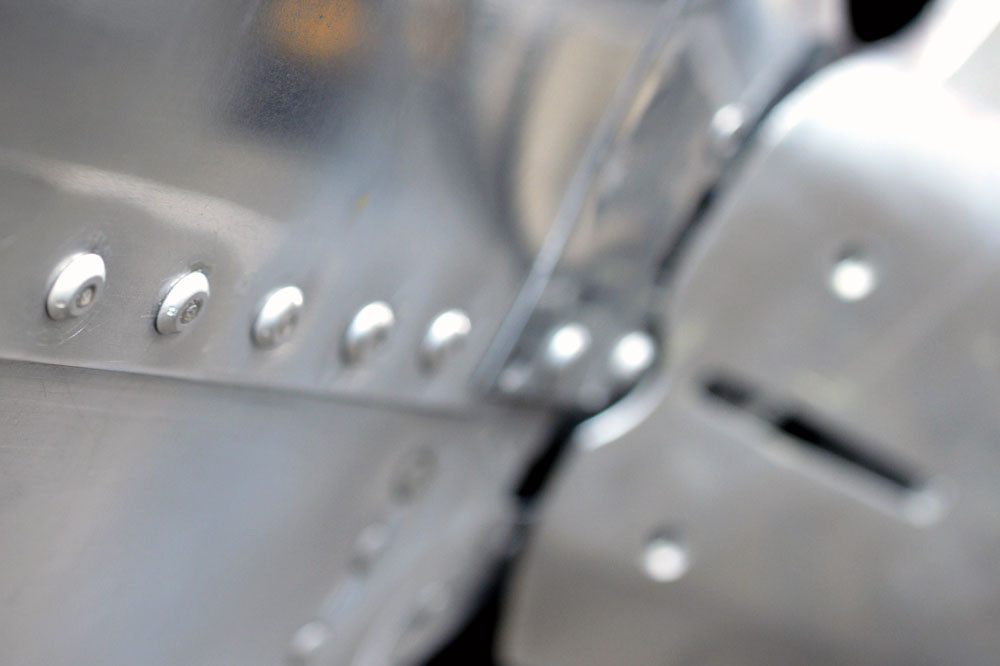
Next step is to dress up the outboard ends of the upper lift strut. Because flush rivets were removed and universal heads were installed, you will have to dish out some material on the inboard and outboard side of the strut in order for the strut to fit back where it belongs… A bit nerve wracking at first, but no biggie as you will be working distal of where the tangs rivet to the strut. Dremel works great here, first with the cutting bit, then the sanding drum.
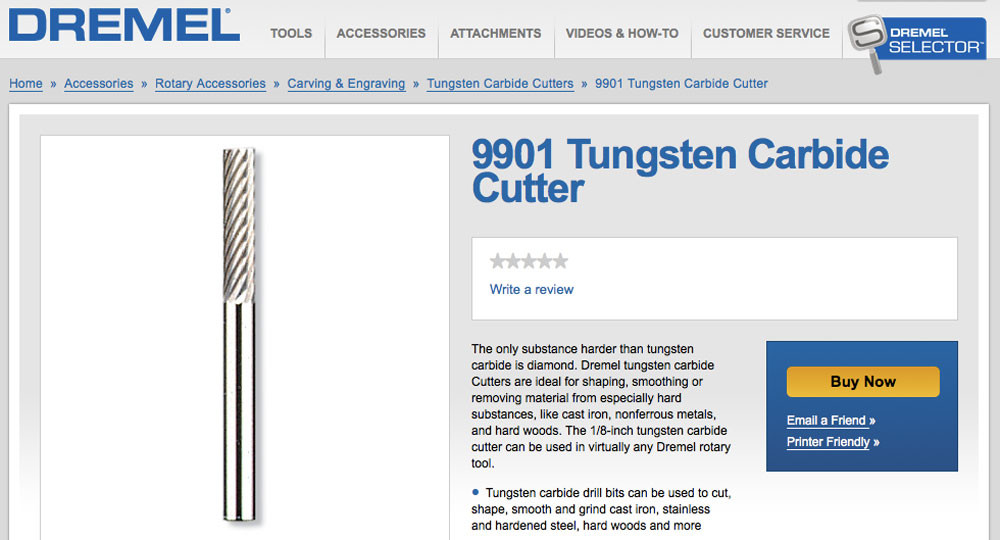
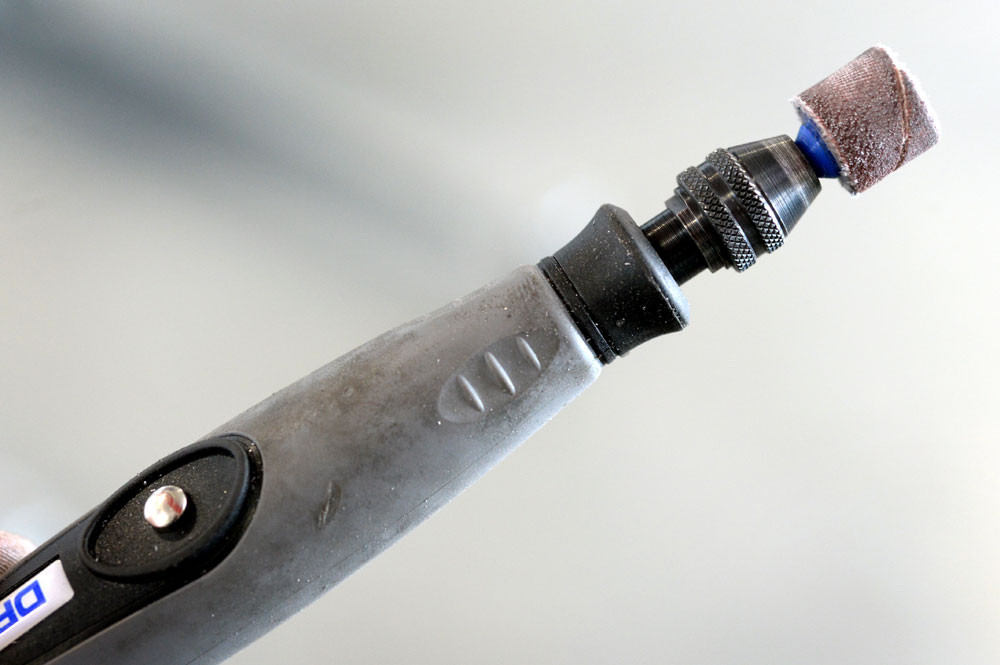
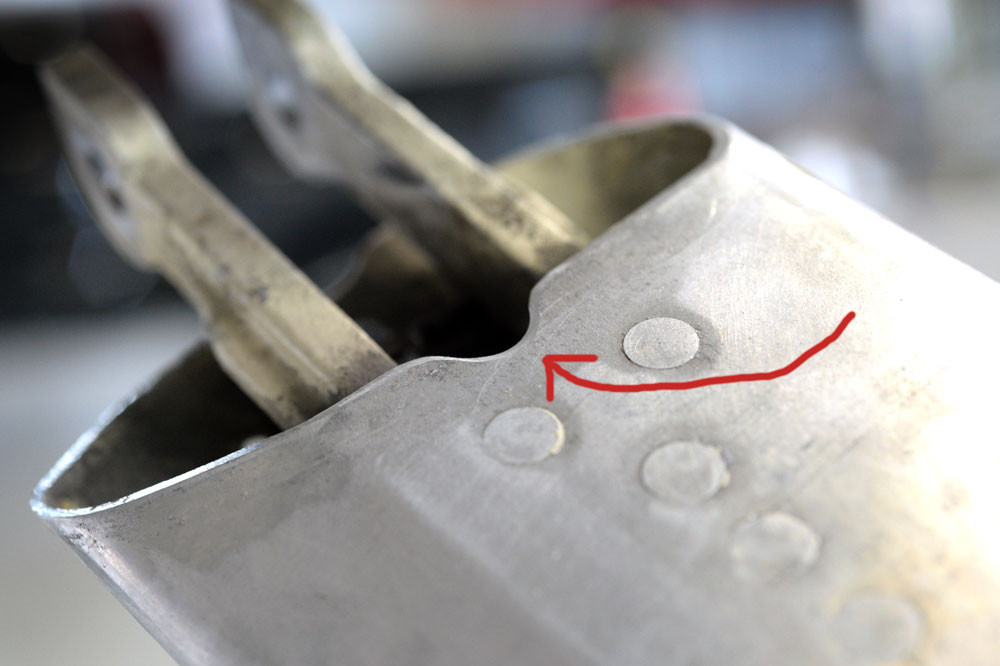
Remember to measure sixteen times and cut once… You can always remove material, but never add it on.
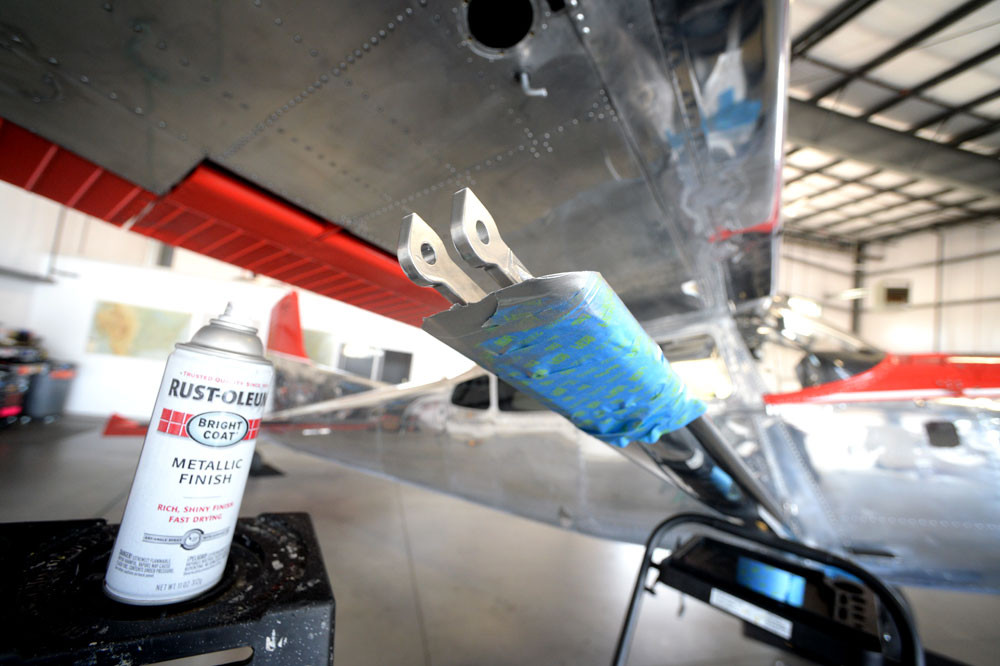
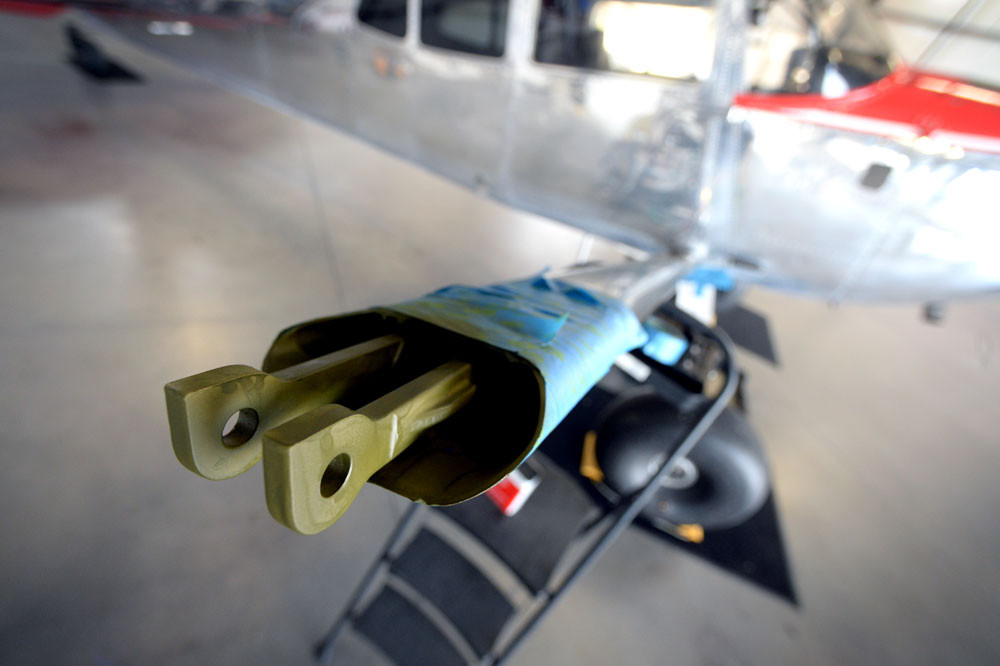
Last thing you might want to think about here before you re-install the lift strut is to rehab the tangs. I cant in good conscious re-install a part without freshening it up, so I hit it the part with some scotch bright, z-chromate, and some metal finish Rustoleum.
Wing X Install – Part 4…
March 4, 2016
Orig published over on BCP.org March 2015… This article is for entertainment only and is NOT an approved or instructional material. Consult the proper installation documents for reference.
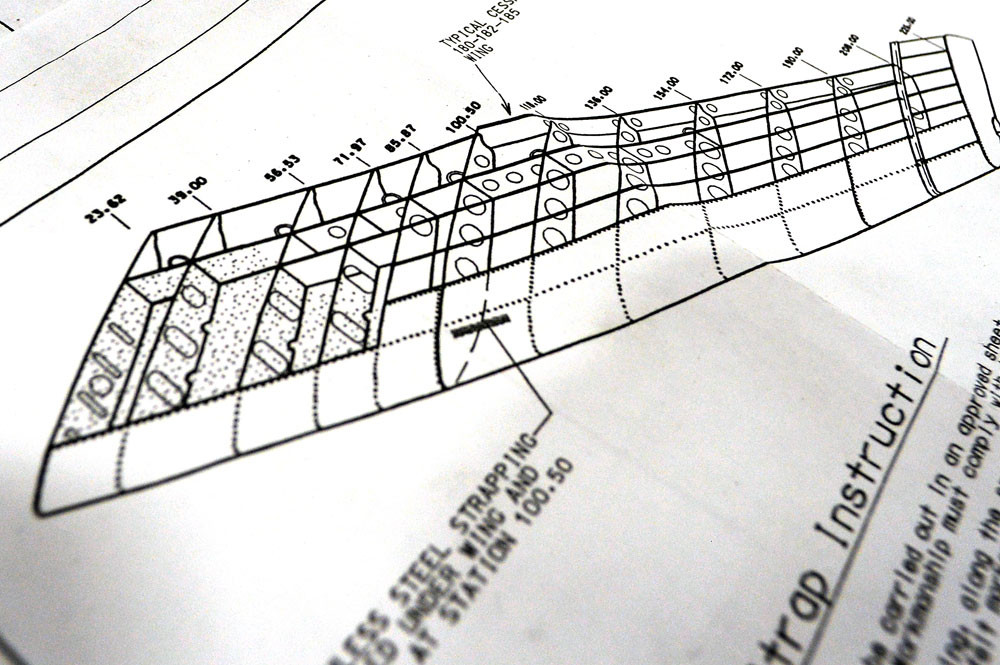
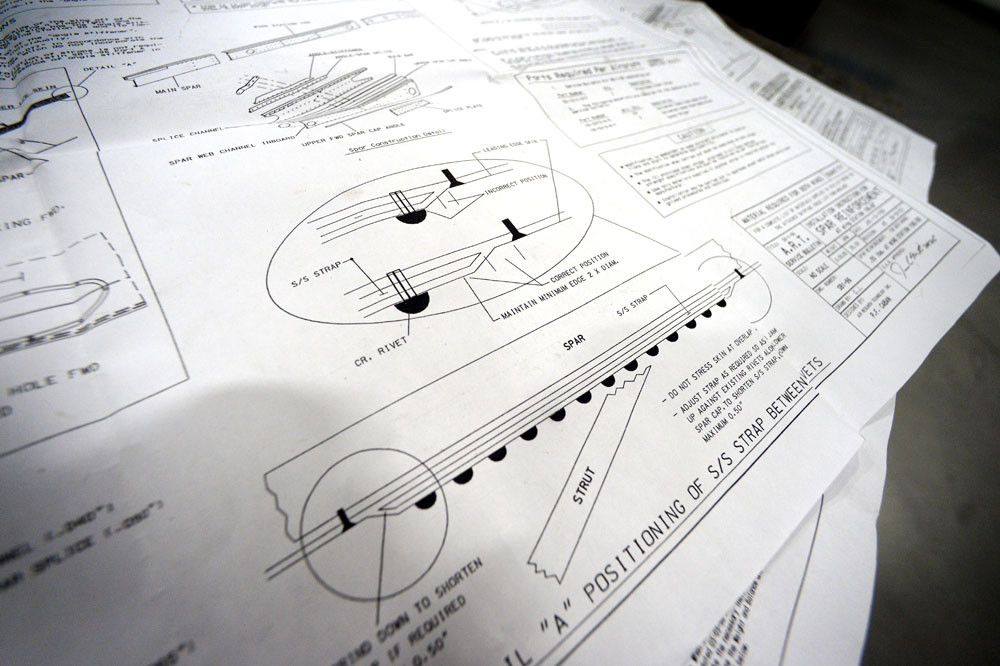
Next I focused on the stainless strap. Again, this is getting sandwiched between the skins at Sta. 100. Note: This step is only required on SOME models. You will have to check your main spar to see if it is needed.

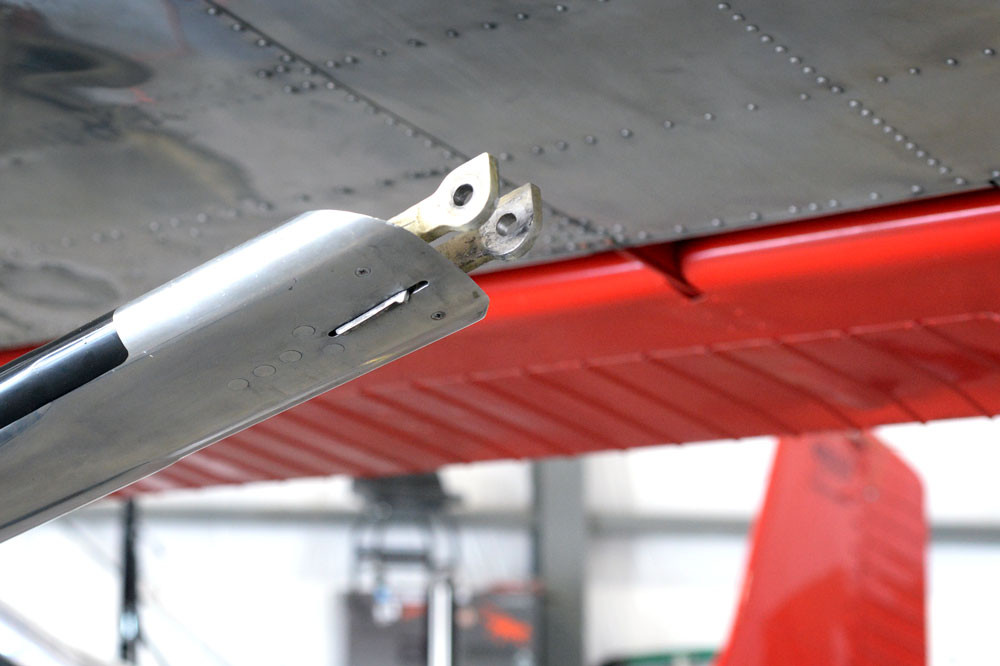
With the strut out of the way, you can now drill the heads of the flush mount rivets. You will be drilling out the 5’s and installing #6 universal head cherry max. Even though you will be eventually enlarging the holes with a #10 bit, take care not to take the easy way out and just drill out the 5’s. Snap the heads, and drive the tails out with a punch…
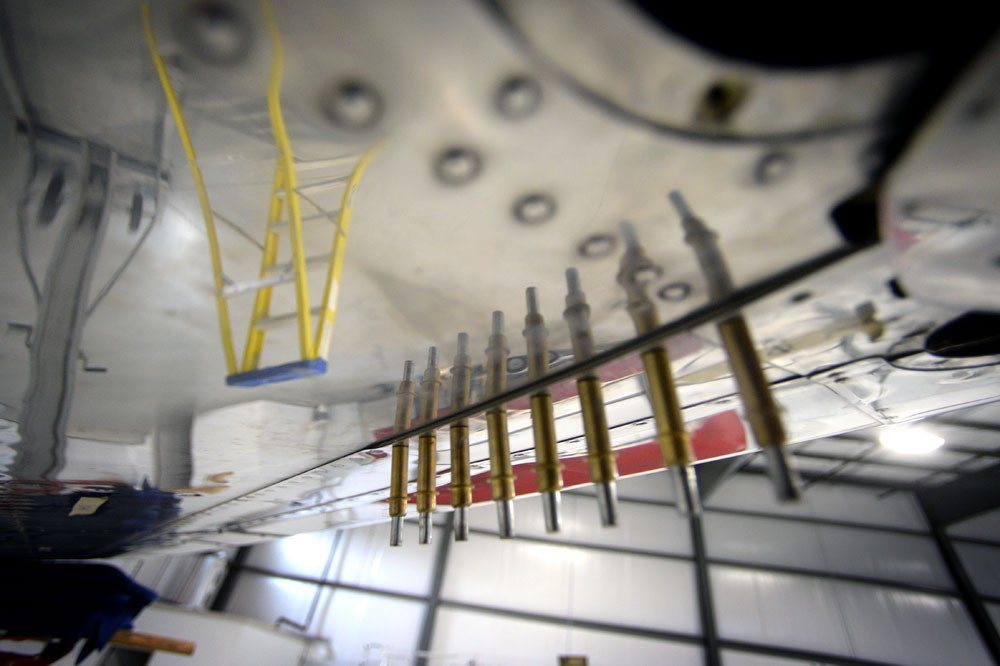
With the flushies out, slide the stainless strap between the skins and start spotting. Spot drill, remove, drill press, install, spot drill, remove, etc… Stainless sucks so go nice and slow and take your time.
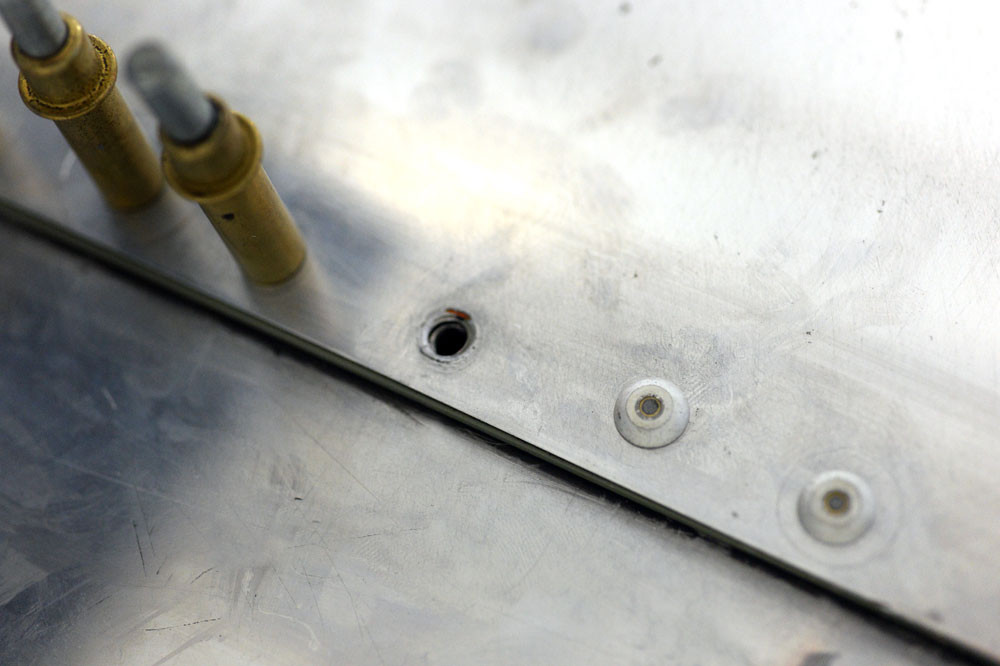
Once the holes are all in, and everything fits, fit the strap and enlarge the holes with a #10. Remove and debur, then install for the final time….
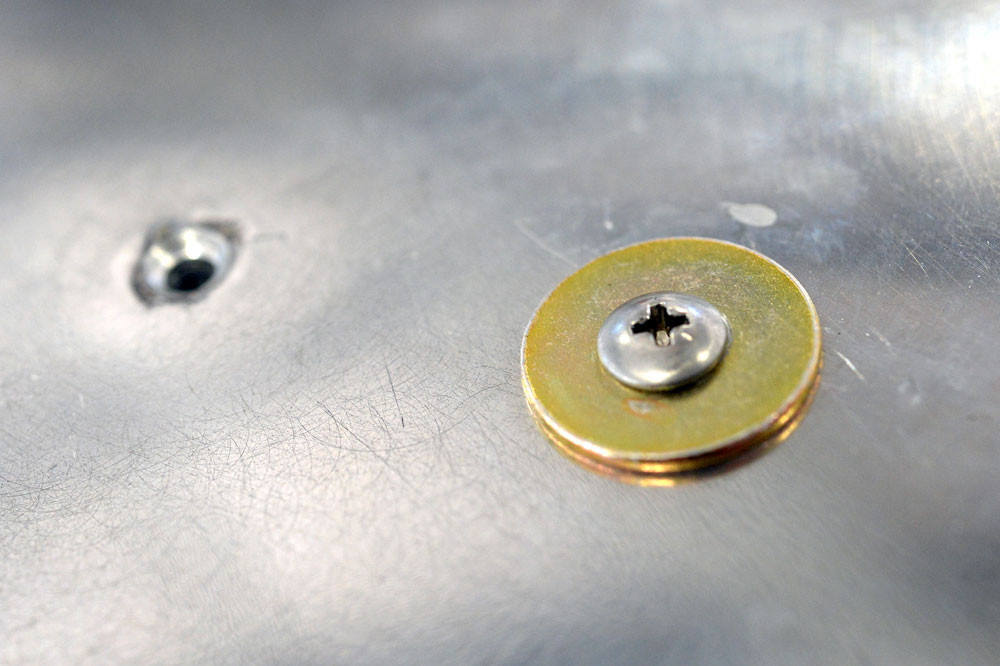
Since clecos wont really pull the sandwich tight enough, I used several #10 fasteners to snug it up real tight. Once you are all set, pull the #6 universal cherry max rivets. The 6’s are damn near impossible to pull by hand, so make sure you have a good pneumatic rivet gun handy.
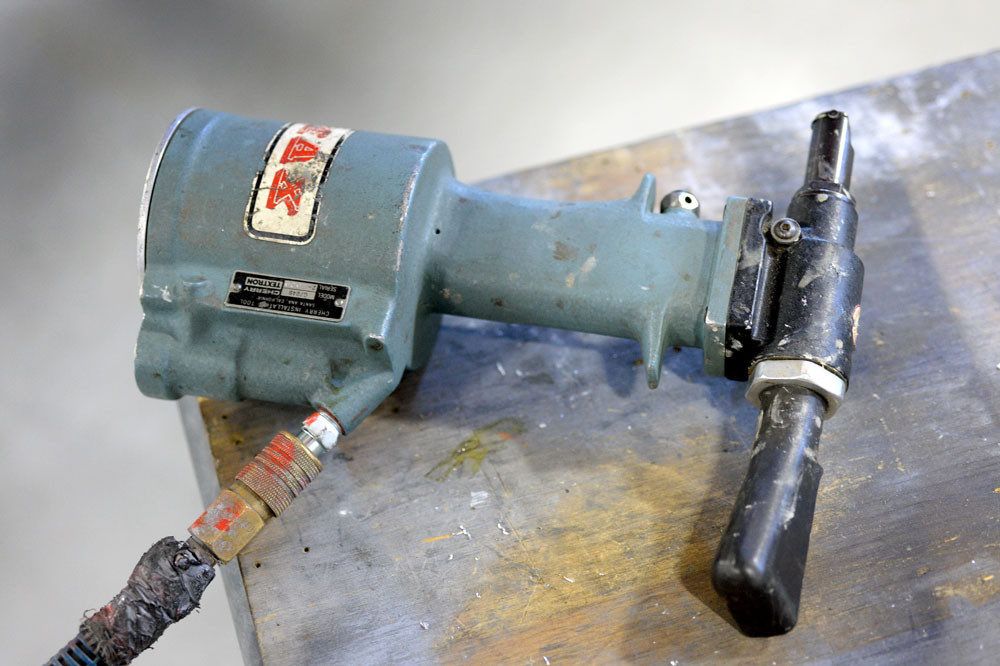
One final note… The kit comes with all the fasteners and rivets you will need. That said, make sure you double check the hole with a grip gauge before you pull the cherry Max. The stainless strap will use 6-6’s for all save one. This is where the skins lap. Here WingX provides a 6-7.
Wing X Install – Part 3…
March 2, 2016
Orig published over on BCP.org March 2015… This article is for entertainment only and is NOT an approved or instructional material. Consult the proper installation documents for reference.
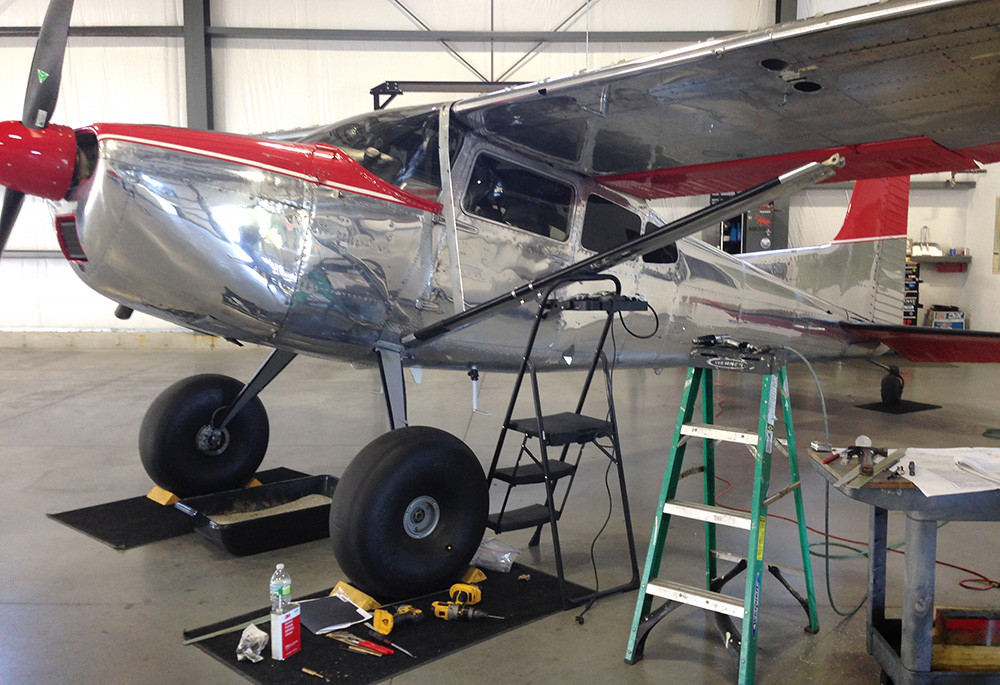
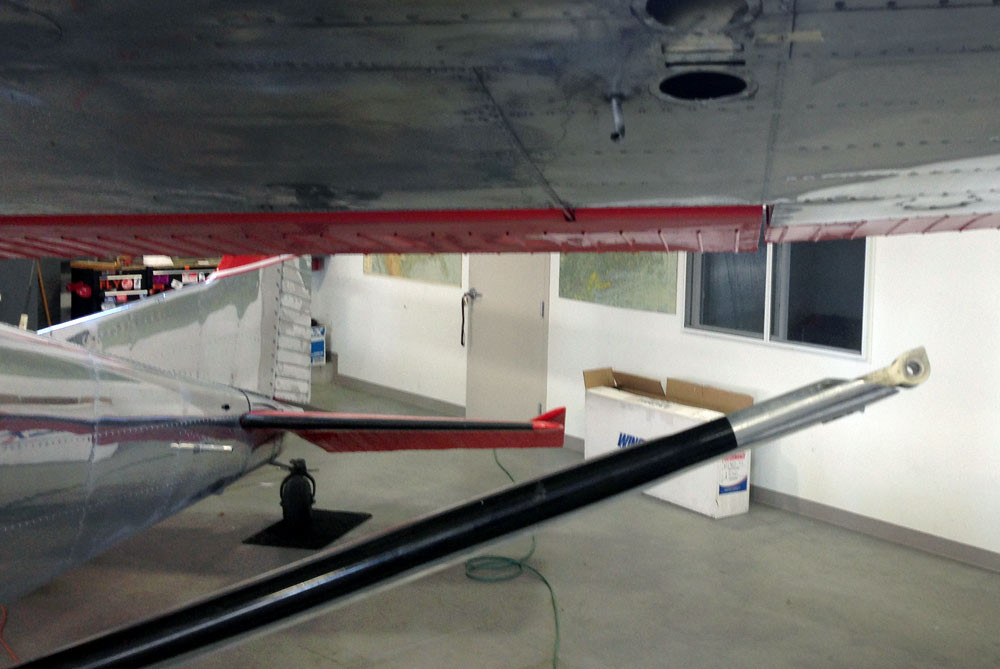
Next on the agenda is to get the strut out of the way so you can gain access to the Sta 100 lower rivets.
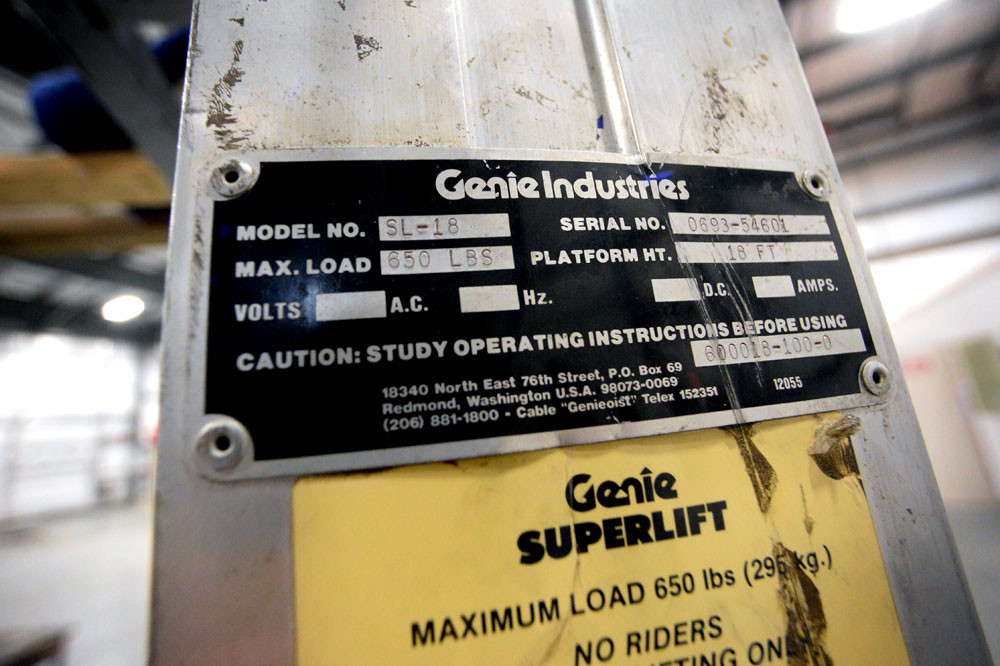
I use a Genie Superlift as it is perfect. Its manual crank allows for very small adjustments and its fork is just wide enough to lay a small cradle on and grab the outboard wing. It is also perfect for lifting the TW to get A/C into flight attitude for weighing, fuel calibration, or whatever… Once you have the bolt loose, releave the tension and drive out the bolt with a brass drift. It’s tough to get a hammer on the drift, so if you can’t get the bolt totally out, careful not to cheat and ease it out with a ratchet… This will gall the inside of the fork and weaken it.
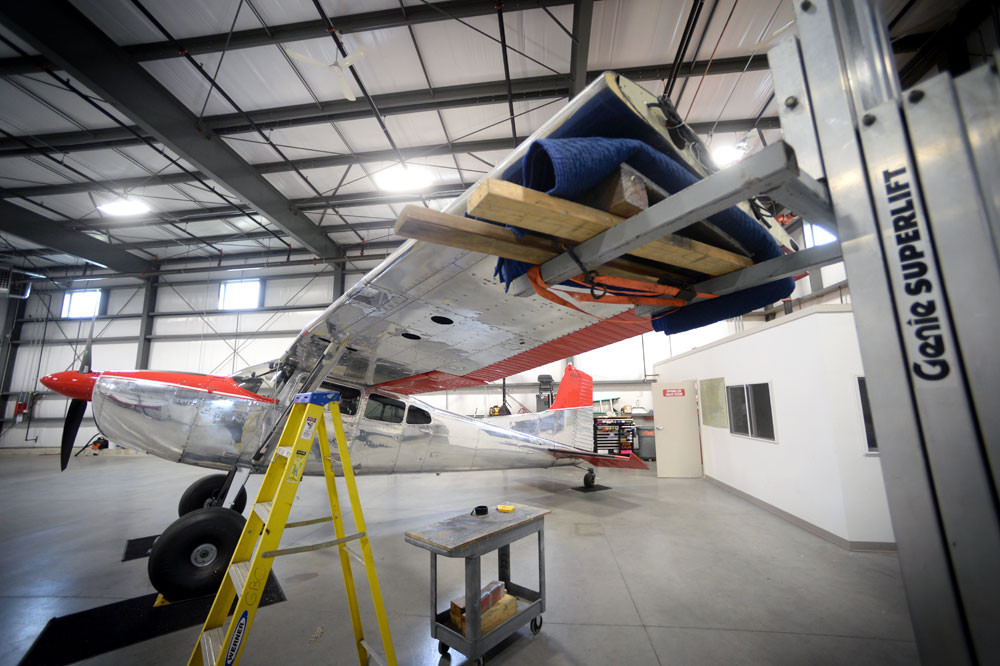
It’s a bit freaky, but crank the wing up just enough to let the strut end drop out. With the strut free, lower it just enough to gain access to the rivet line.
Wing X Install – Part 2…
March 1, 2016
Orig published over on BCP.org March 2015… This article is for entertainment only and is NOT an approved or instructional material. Consult the proper installation documents for reference.
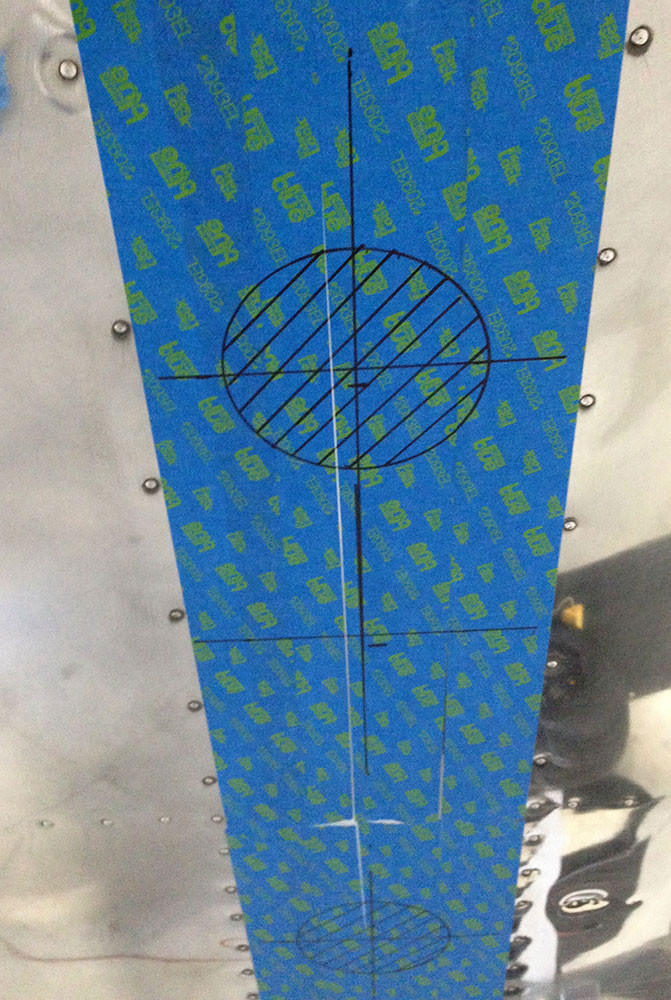
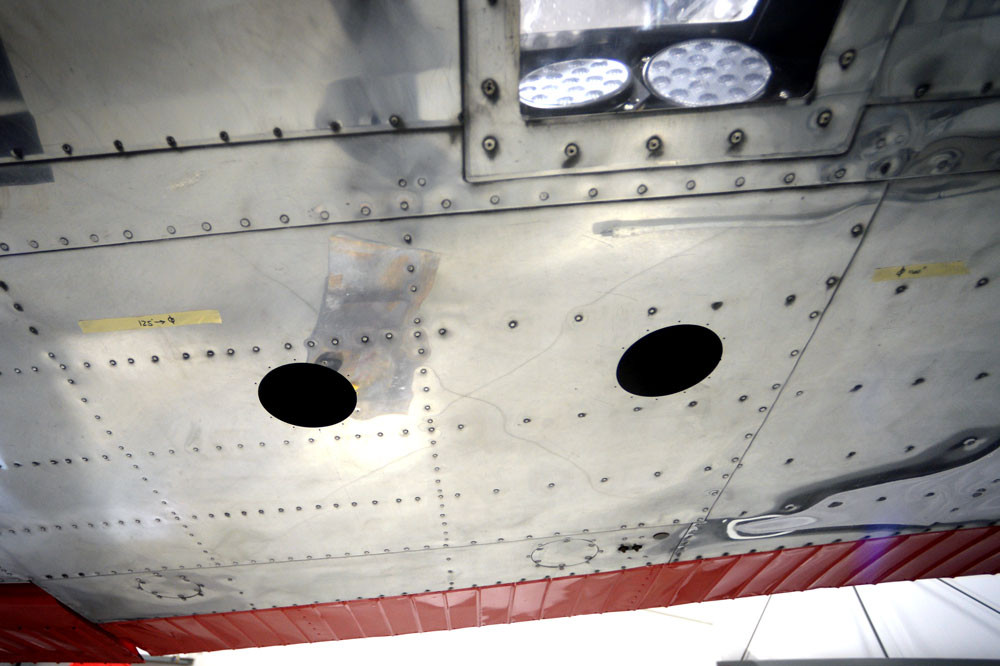
Lots of places to start, but the first step I did was to cut the access holes in the underside of the wings. The instructions say you can cut as many as needed, but really the job can be done with just two in the right spot. This is not a how-to, so confirm your own measurements, but the holes are roughly inboard of Sta 136 and 154, 2nd bay aft of the forward spar.
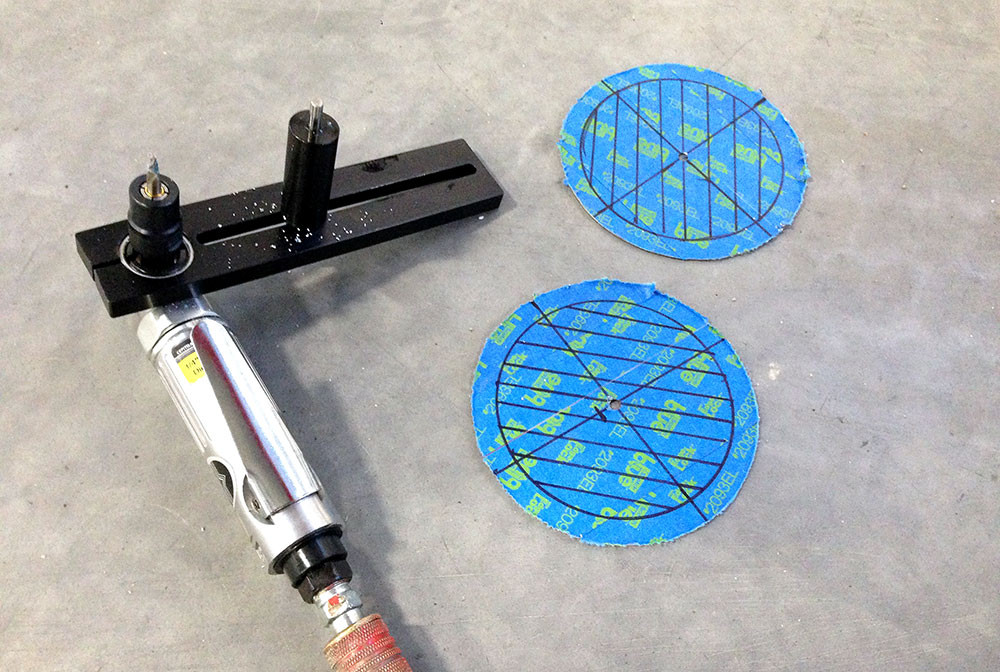
To cut the holes, I used the ARC360 from Spruce which is totally awesome. Super easy to use, fast, and perfect holes. No muss, no fuss.
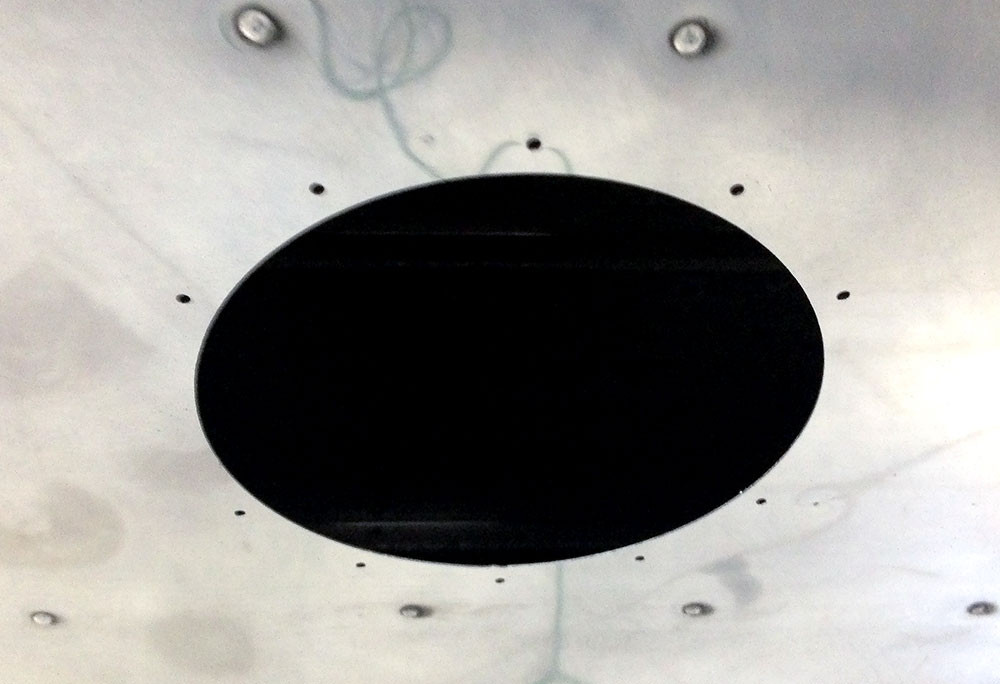
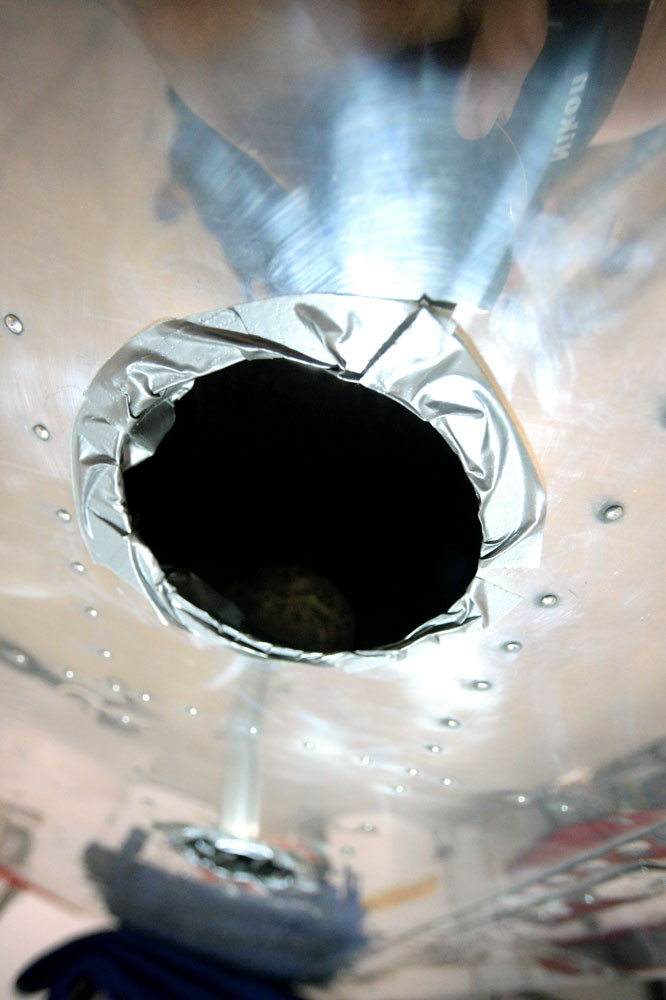
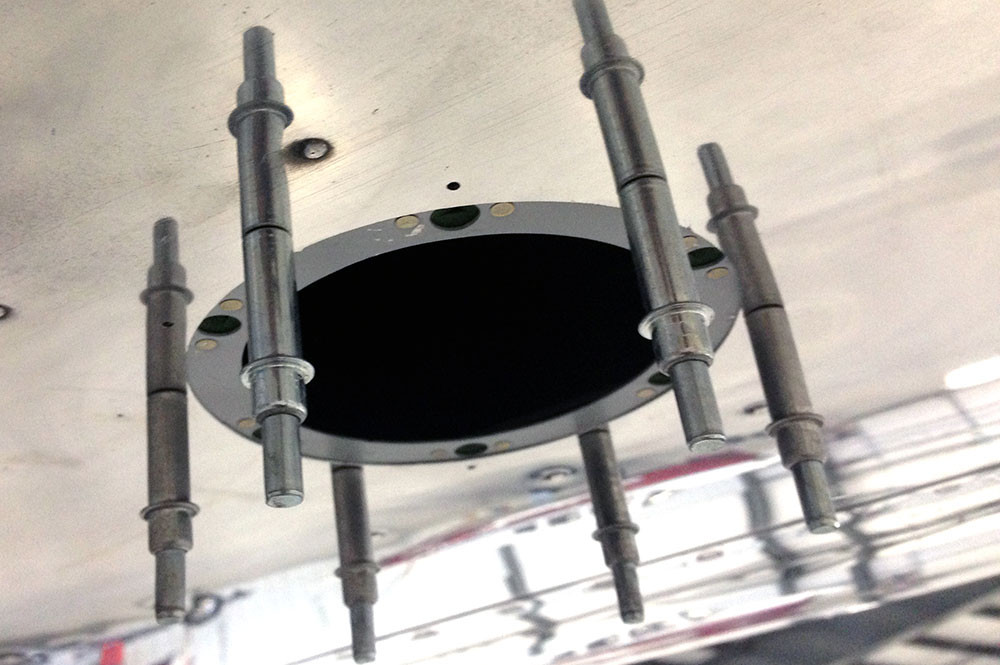 You may want to rivet the backing plates for the inspection covers at this stage, but don’t squeeze em yet as you will want the holes as large as possible to get your arms in there… and for that, make sure you wrap some tape around the edges of the holes to save your forearms from getting all cut up.
Wing X Install – Part 1…
February 29, 2016
Orig published over on BCP.org March 2015… This article is for entertainment only and is NOT an approved or instructional material. Consult the proper installation documents for reference.
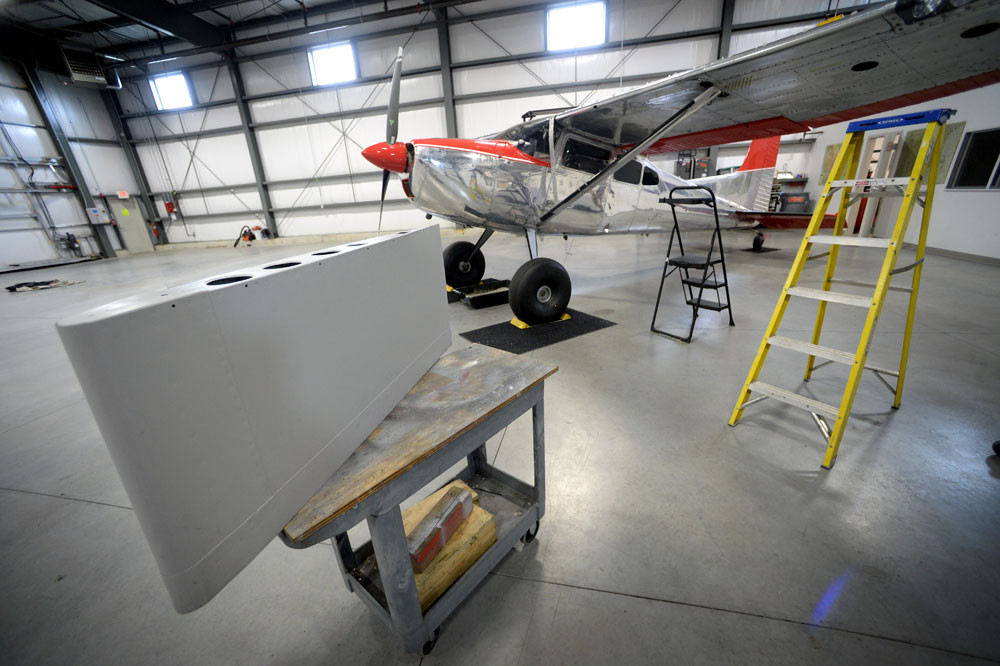
Alright… The Wing-X.
First thing to talk about is just WTF is this all about. Most 100 series Cessna owners knows about it, but exactly what is involved can be a bit of a mystery as there isn’t much install info on the web. One thing is for sure… it’s damn expensive. At $5k for the kit alone, its no joke. A shop that has done em before is in for 40-45 hrs while a first timer may be in as much as 60.
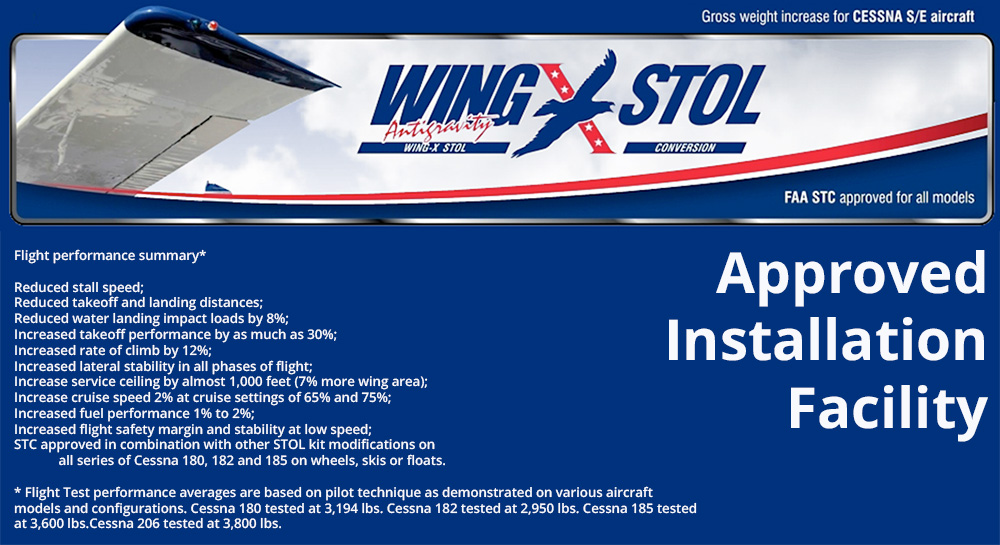
The WingX website claims the additional 12 sq feet will give a 25% reduction in ground roll (on wheels,) a 12-15% increase in climb performance, 1000′ increase in service ceiling, and a GW increase.
All sound good, so lets do it right?
Bummer is for me, I already put the big stab and Kenmore GW increase on, so nothing there… Increased T/O roll sounds nice though… An easy take off in the wagon is 250-300′, but any decrease is welcomed. A really good crisp cold day with light fuel is about 1700’/min so another 200’/min might be real nice indeed…
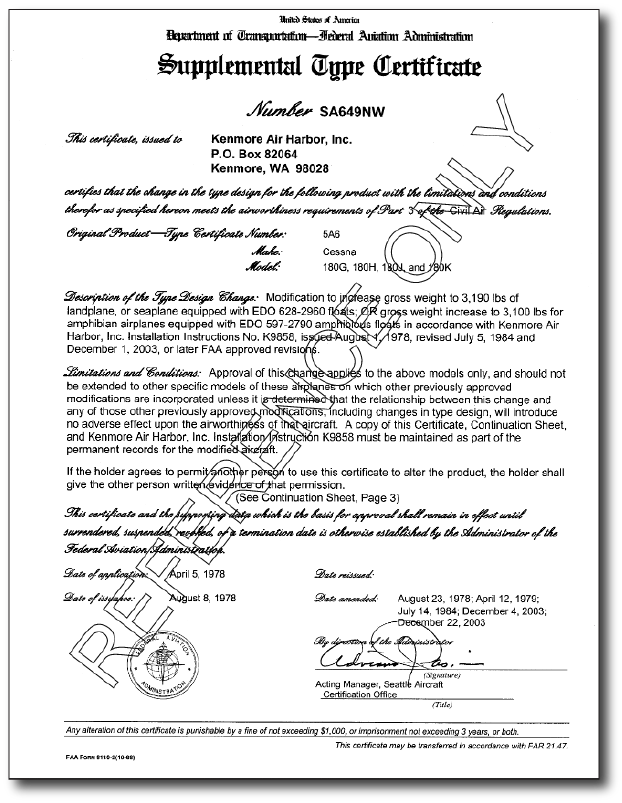
For the most part, the general consensus seems to be that for floats, the kit is for sure a winner. For wheels, it gets a bit more convoluted. I’ve tried to do the research, and unfortunately the “been-there-done-thats” that I trust generally say not to install it. I’m not sure if this is because they say it its tough in the x-wind, a bitch to get to stop floating/flying, or just damn near impossible to get inside a regular hanger, but because I own the kit, AND its super easy to take off once the install is done, I’m gonna put the damn thing on and make up my own mind.
You can order it for the stock wing, or as in my case, for the Sportsman. I did test fit the kit while I was doing the Sportsman install and the fit is pretty snug. Paul from WingX and Willie Stene work very closely and have worked out all of the bugs, so I expect no issues due to mod conflicts.
Here goes….
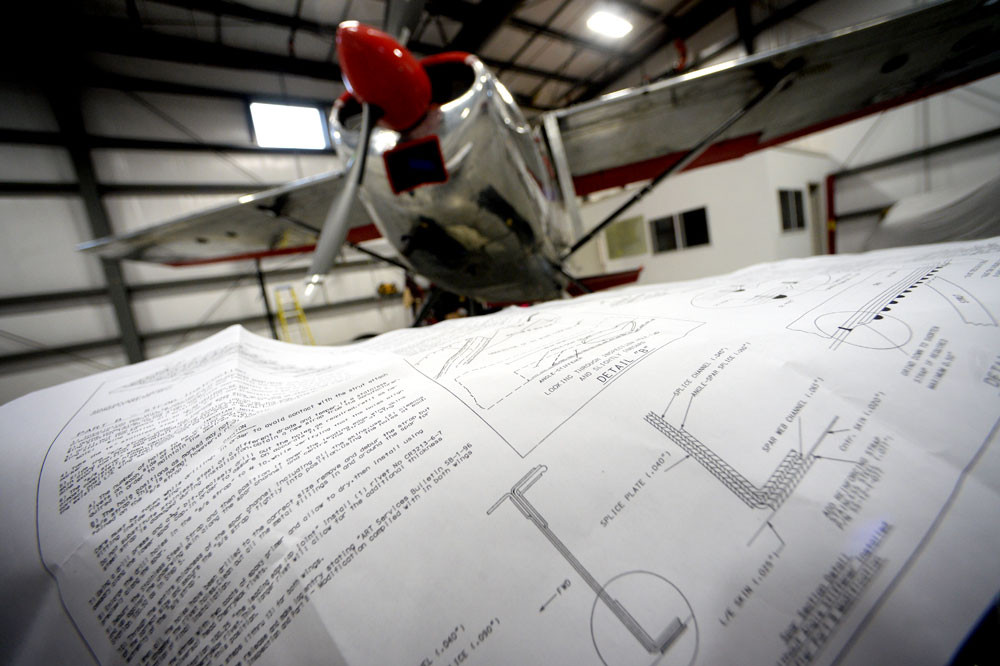
First understand the kit breaks down into three basic steps. 1) The stainless strap, 2) the packer, and 3) the tips. If applicable to your A/C
The stainless strap is used if your A/C does not have the later beefier angle bracket at and around Sta 100 and if you want or are operating above a certain GW. This strap is centered at Sta 100 (just under the strut) and is stuffed under the leading edge skin trailing edge. The bitch here is you will have to unload the strut by lifting the wing and then move it down about 12″. It also sucks ass to drill the stainless… But not impossible if patient. Go slow, and have some extra bits handy. The packer is fitted using #6 universal head cherries so make sure you have the proper pneumatic puller.
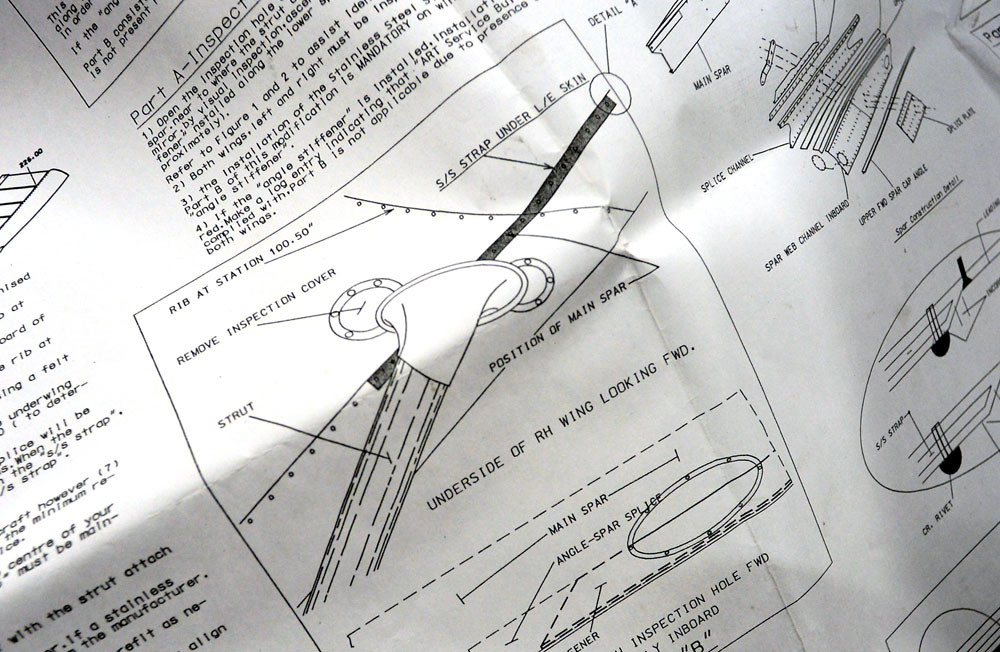
The packer is made up of two bits of alum straps that are riveted up under the forward spar cap centered around Sta 136. These are aluminum and much easier to drill, but require some modifications to the ribs to get them to fit.
You will need to cut at least two new inspection ports in two bays to gain access to buck the rivets. The Wing-X drawings are God awful, don’t follow standard A/C convention, and have a bunch of confusing illustrations (e.g. large views of the left wing with exploded views of the right.) Might take an experienced sheet metal worker a couple of head scratches and some time to sort it all out, but in the end, it ain’t rocket science. Actually being smart might be a detriment as I’ve seen the less experienced A&P just push thru this install w/out asking the important questions. Their installations aren’t pretty, but they go quickly.
Regardless, I will say that Paul C at WingX is FANTASTIC and will be there (even on the weekend) for support. Top notch customer service IMO. Although confusing, he provides a good and complete kit.
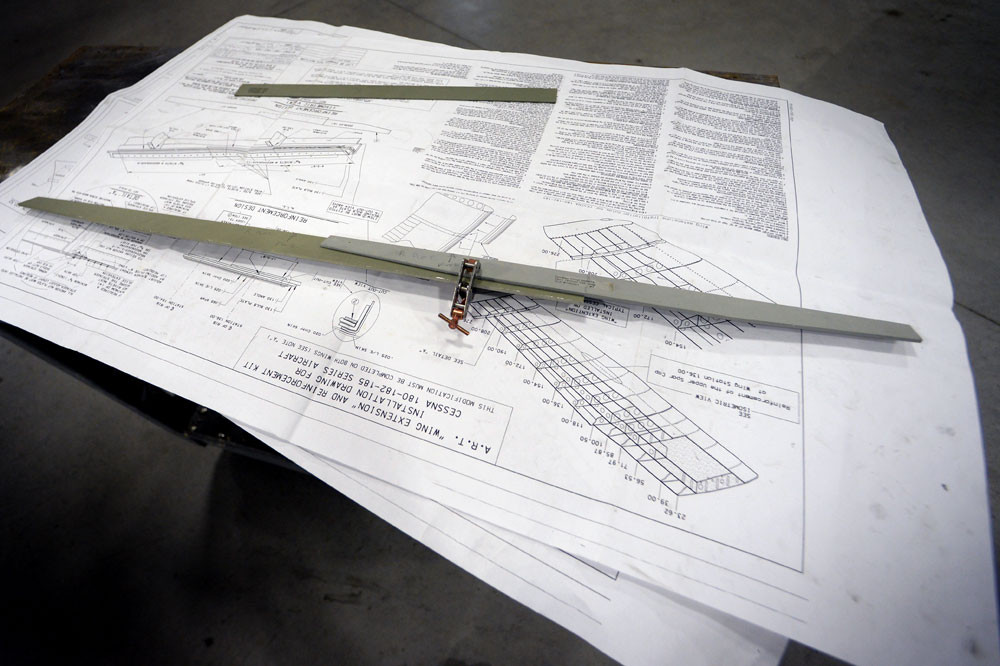
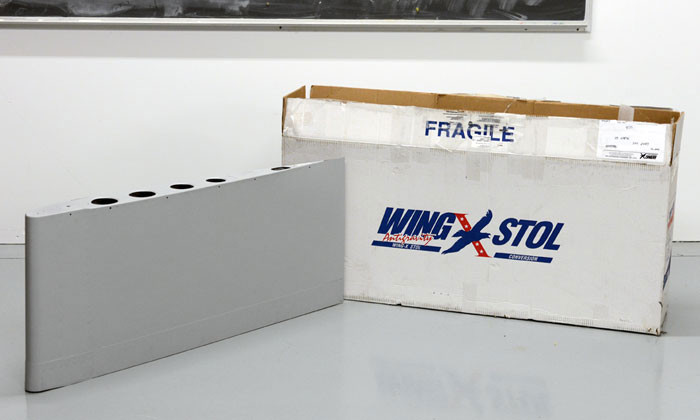
Last of the three components are the wing extensions. These come primed and will eventually just screw on like wing tips. Patience here is important as it is fairly critical to get the geometry perfect.
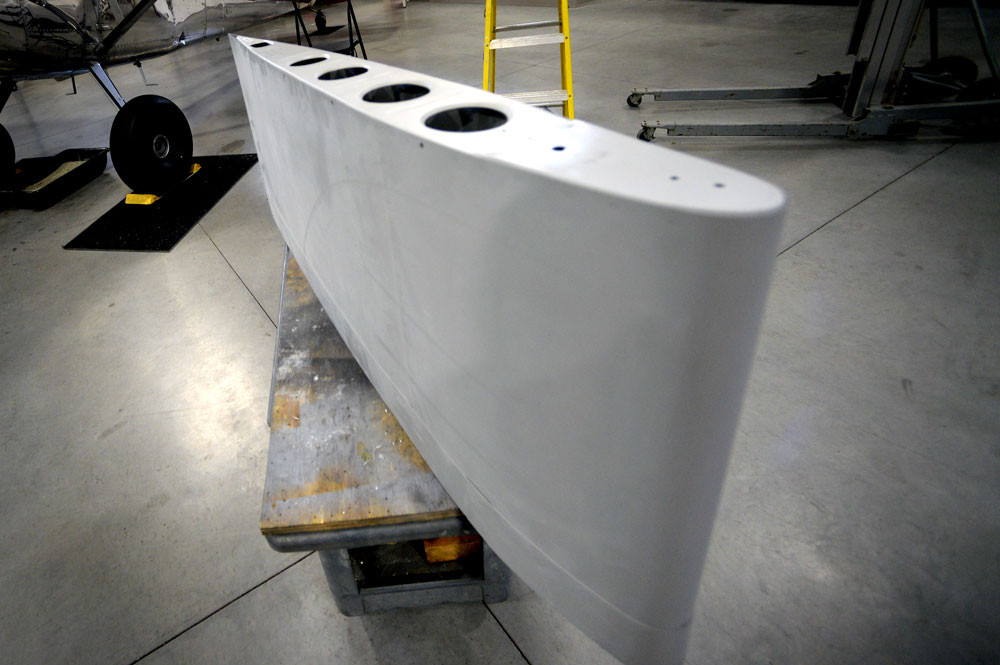
More tomorrow…
Wing-X Install Begins…
February 28, 2016
Post was orig published over on BCP.org Feb 2, 2015...
Well we have been slammed with snow here in New England… Just got our hanger plowed out yesterday in time for another 12″ of the stuff today…

Anyway… The non-flying WX is good for projects, so I thought I would start in on the Wing-X install. I’ll try to do a detailed install report, so stay tuned!
MT Flight Test…
December 27, 2014
WX finally broke and I got a chance to fly her today with the MT.
Was a really nice day, sea level, wind 280 at 8 (rwy 240) DA was -800. I was pretty light with 27 gal of fuel, 2170 gross at T/O.
Very first impression? Hard to say… For sure I wasn’t tossed back into the seat with some neck snapping acceleration. Really the biggest thing I noticed right away was the whacky sounding strange high whooshy noise. On the first take off I had to pull my headset off to make sure nothing was going to fall off. Later on I did a 170 mph buzz job on my friends field and he said it was much much quieter.
That said, I think I’m going to like the prop. I only was able to do a couple of laps around the patch, but although I didn’t feel the A/C accelerate any faster, the data didn’t lie and I was getting some pretty short T/O numbers compared to before.
Of course it wasn’t scientific by any means and just by eye, but with 2 notches of flaps, I was easily lifting her off in the sub 200 range with my best at around 175 ft. I’ll try a camera on the strut to get a more precise measure, but with some more confidence, I think I can do a bit better. Climb out was also a bit better. I wasn’t pushing it, but at 85mph/2550 rpm, I was seeing around 1300ft/min. All pretty respectable for a 180 I would say.
So is it worth it? Yes. Worth the price? Jury is still out.

Off Comes the McCauley…
December 6, 2014

Hit the 100hr mark since I started flying the wagon so it was time for the 4th oil change… Also pulled the stock prop today in prep for the MT.
I weighed the 82″ McCauley 2A34C20390D and she was lighter than the 64lbs the Flight Resources website claims. The blade w/out oil came in at 55lbs. The spinner, backing plate, and fasteners were 4lbs. I will weigh the MT and spinner tomorrow.
I was looking forward to the 18lb savings advertised, but I’m starting to think this “magical” super weight savings is a bit of hyperbole. We will see…
(flight resources advertising material)


MT on the Way…
October 22, 2014
Been flying the piss out of the old girl lately, but ran into a stumbling block that has had me grounded for two weeks with a bad prop gov. Sent the old Garwin out for overhaul which got my wheels turning….
Regrettably, I fell victim to temptation…..
Which prop did I go with? The STC only covers a two blade for the stock O-470 so its the only real option, but for me, it was really the better choice anyway. The two blade pulls a bit harder, is cheaper, and is lighter than the three blade. The jury is out on exactly what the weight savings is going to be. Time will tell indeed….
Sportsman Install on a C170B…
September 19, 2014
Spent the last week installing a Sportsman on my buddies 55′. Should be wrapping it up tomorrow. It’s really a nice kit and I cant wait to do some testing to see the perf changes.

ABWs…
July 6, 2014
Rolled out the ABWs to see the difference. New shoes are 39.3 lbs ea and are about 5.5″ taller than the 5.5 x 10’s. Ironically (from my previous notes) the 8.5×10’s on AB 10″ wheels are 42.5 lbs ea. I will weigh em when I remove em, but it looks like the
 weight savings continues….
Annual and FedEx…
July 1, 2014
Annual is done. Just hammering out a couple of squawks. FedEx brought a nice surprise today….

VG’s Finished…
April 21, 2014
Finished the VGs and got em on the wings…


Then pulled her out to get a look in the fresh air… Been a while since she’s seen the sun.

Sportsman Finished…
April 11, 2014
Well I’m happy to say that the is finally F-ing finished. Life really got in the way over the past couple of months, but its finally finished. Part of the time suck on the project was due to being super anal, but in the end, it was worth it. Since the wings will be polished, I painted the fiberglass parts the same silver Imron that I used on the gear legs. Matches polished alum pretty well. Here are some detail pics over the last week. They are a bit incongruous, but its what I got…


Sportsman Install…
March 31, 2014
This weekend I was able to get back on the Sportsman install, cutting and fitting the right wing. Everything is now cut and cleco’d with #10s. I should be able to get the detail work done tomorrow/Tuesday. I’m about half way there with the install. Sure is a bitch trying to make it perfect…


Sportsman Cuff…
January 28, 2014
Next step on the Sportsman install was to box out and WX proof the section between the nose blocks around the cabin air vents. This is done by cutting the provided foam to fit between the blocks on the left and right side of each vent, and sticking them into place with the provided RTV. Once installed, you cover the foam with RTV to make the cavity water tight.
Once this is done, mark the center of each vent as well as the stall reed on the top of the wing (far enough aft as not to get covered by the new cuff.)


Sportsman Continues…
January 26, 2014

Some more progress on the Sportsman today…
First step was to get a coat of zinc chromate on the skin where the blocks will be affixed. Next, test fit each block using the specific station templates and tape into place. Once fitment is ensured, mark each location, scuff, apply adhesive, and float each block into their final resting place. Register each block again with the template, then tape into place and wait for drying.
The holes in the leading edge were from the old OWL cuff that was removed. These will be buried under the new cuff as it is much larger. In looking at the second to last pic, you can see just how much more leading edge is added with the Sportsman over the stock wing. Crazy…
So far so good!


Sportsman Cuff…
January 23, 2014
Originally the Sportsman cuff was purchased for the C170, but once it was decided what was really needed was a C180, the cuff was put to the side until there was a Skywagon to install it on… Fortunately the two aircraft have basically the same wing (the cuff is the same,) and after two years of waiting, its finally time to get the cuff installed.
The old Owl cuff has been nixed, and the Sportsman install has begun. First step, cutting the templates out. Spray glue the paper on the Masonite cover (of the shipping box) and then cut em out with a jigsaw.


Pulling Flaps…
January 13, 2014

99% done with stripping, and in the spirit of never ever getting the Skywagon flying again, I went ahead and pulled the flaps and ailerons. It’s gonna be sooo much easier to strip the back side of the parts. Also a great time to replace the flap rollers.
I have made a decision on the final paint job. Wings will be polished, with painted flaps, ailerons, WingX and Tips.
Back in the 80’s, someone installed an Owl Cuff (Horton.) Of course like everything else, I couldn’t leave it alone, and it was pulled over the weekend. The Owl came off super easy with no drama. Should be pretty easy as the Sportsman has a bit more material and will bury all the old Owl rivet holes. Looking forward to the install!

Micro VGs, Part 2…
December 22, 2013
As mentioned, its pretty simple. (Of course this post is just for fun, truncates the full instructions, and is in no way meant to instruct one on the installation of Micro VGs. Please follow their directions)
First find the landmarks in the drawing, in my case, 3″ from the trailing edge of the horiz stab.


Use masking tape to lay down a reference line with the thread provided.


Find another landmark and lay out the VG templates. Once the sticker is on, use the provided Scotch Bright to prep the surface for adhesion.


The VGs are adhered with a two part Loctite system. First, spray the activator on the surface (small aerosol can,) then place one drop (only one drop) on the bottom of the VG.


Spread the adhesive across the bottom of the VG press it on the flat surface and hold for a couple of seconds. Once they have set up, do a cursory clean of the excess material, and remove the green template.

Once the templates have set and you have waited a bit, clean the remaining Loctite for a nice install.




 You may want to rivet the backing plates for the inspection covers at this stage, but don’t squeeze em yet as you will want the holes as large as possible to get your arms in there… and for that, make sure you wrap some tape around the edges of the holes to save your forearms from getting all cut up.


