LED’s
November 26, 2012
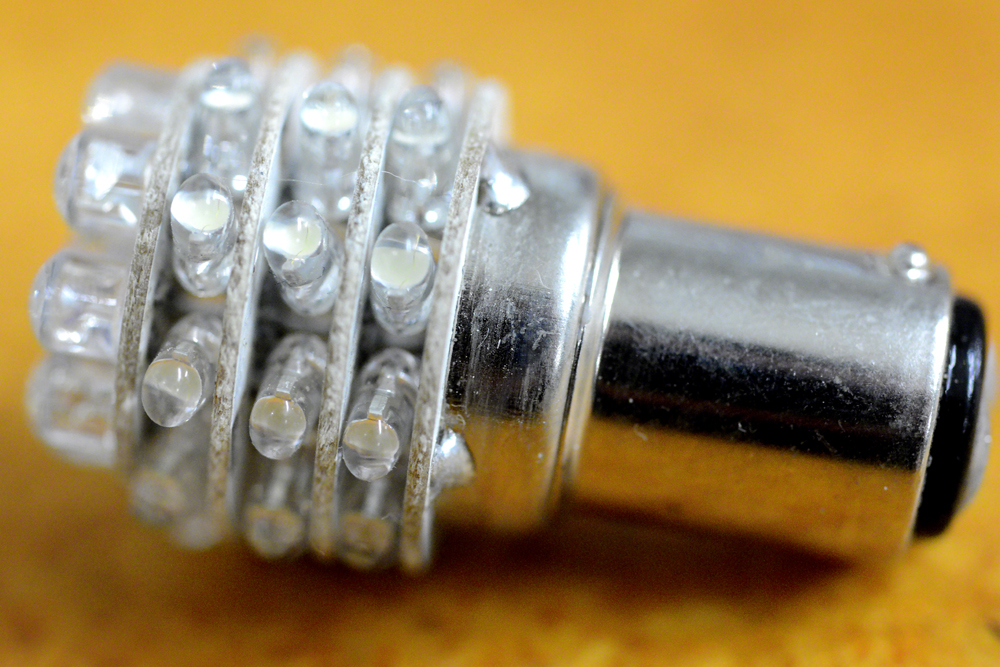
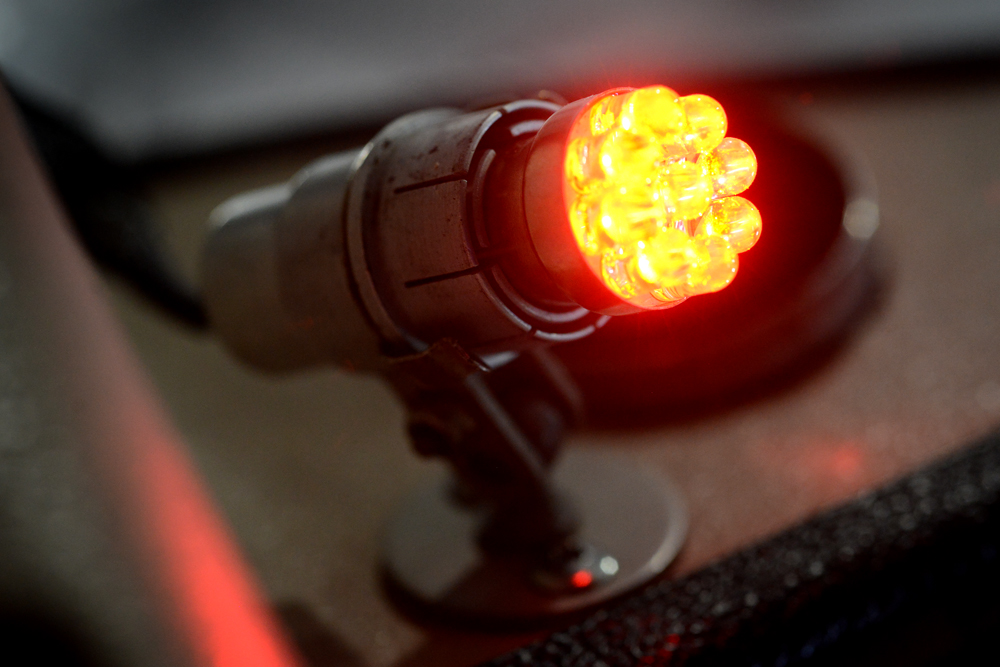
On the C170, I had swapped all the old school bulbs for LEDs, and in the continuing pursuit of “all things LED,” today’s quick task was to swap out the overhead panel light with an LED bulb.
For the C170, I ordered all my LED’s ledlight.com. I’ve had great luck with these bulbs thus far, and will continue to do so for the C180.
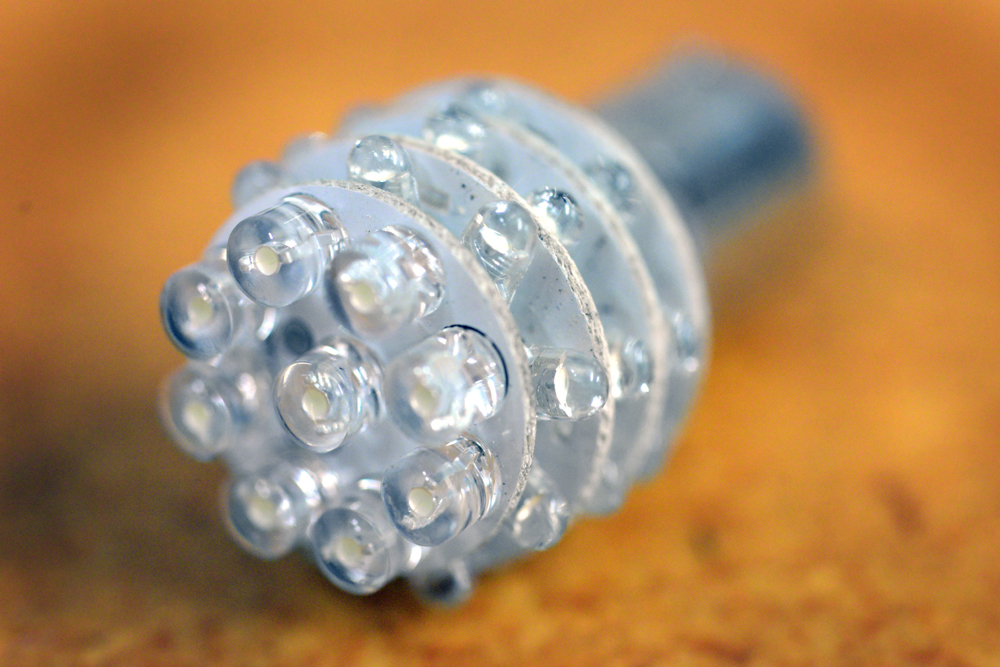
Why LED? First off they are much brighter. Second, they use way less power, and the combination of the two makes it a no brainer.
There are some limitations with LEDs, the biggest of which is how the light is emitted. In a traditional bulb, the glowing fiber of the tungsten filament throws light 360 degrees. This, along with the warm yellow glow is one of the things that makes it such a nice looking light. The LED on the other hand tends to be much cooler (blue rather than yellow.) The LED light also comes out in just one direction rather than spilling everywhere like a incandescent bulb.
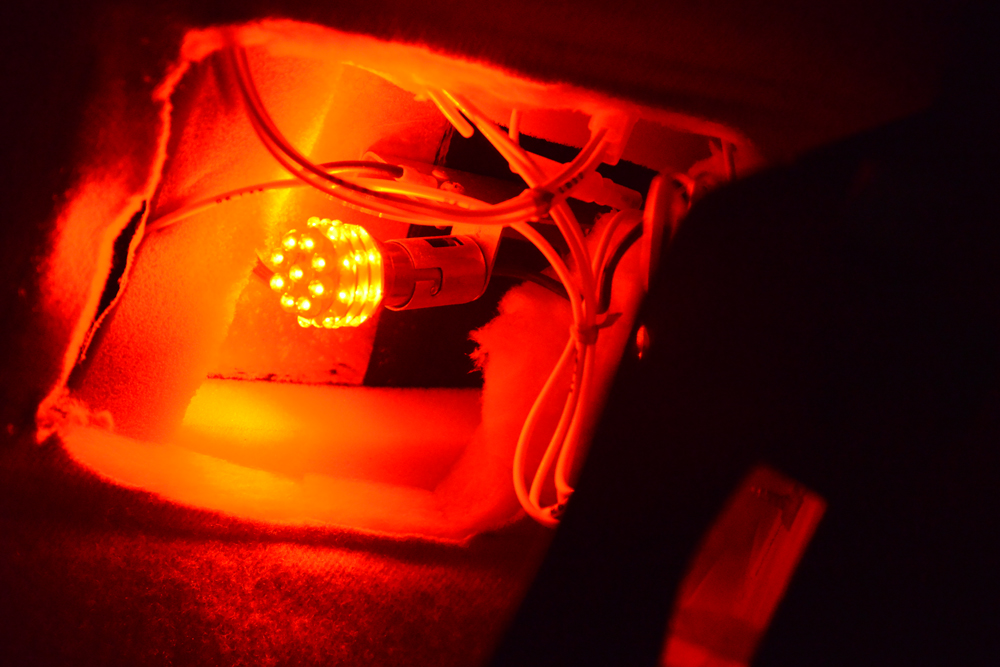
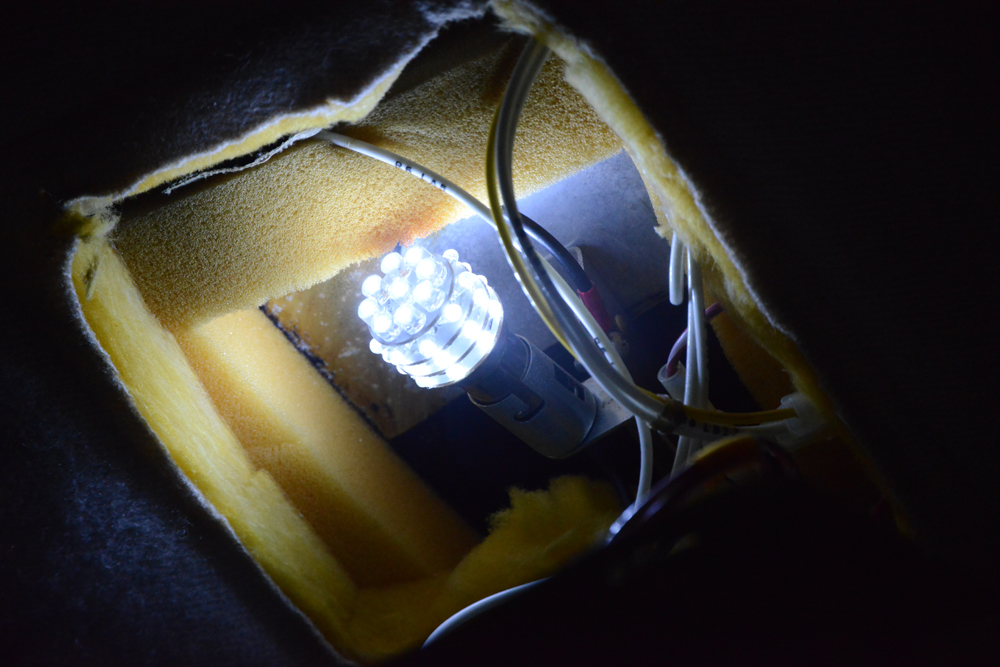
Think of it like a candle flame versus a flashlight. In the flashlight, the light has to be pointed at where you want to look while the candle flame spills willie-nillie all over the room. In order to counter this flaw and for an LED bulb to throw light in many directions, many individual didoes are needed.

The swap for the overhead panel light on the C180 was easy. I just looked up the P/N for the OEM bulb, and then ordered the same in LED. What I didn’t know was whether I should order red or white. The overhead fixture has a red lens in front of the old incandescent bulb which filtered out everything but the red light. I obviously wanted the brightest light possible, but didnt know if that would come from the bright white, (in which case most of the light would be lost in the filter) or with a red light from the beginning.
I’m sure smarter people than I have already figured this out, but since I wasn’t sure, I just ordered both the damn bulbs and did an old fashion “seeing is believing” test.
In short, I shut off the hanger lights and tried em both… Net net: The red LED was much brighter.
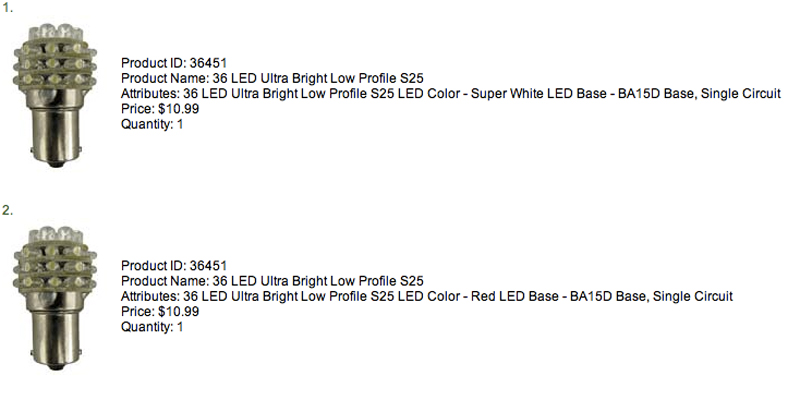
What I ordered:
One Step Closer…
November 25, 2012
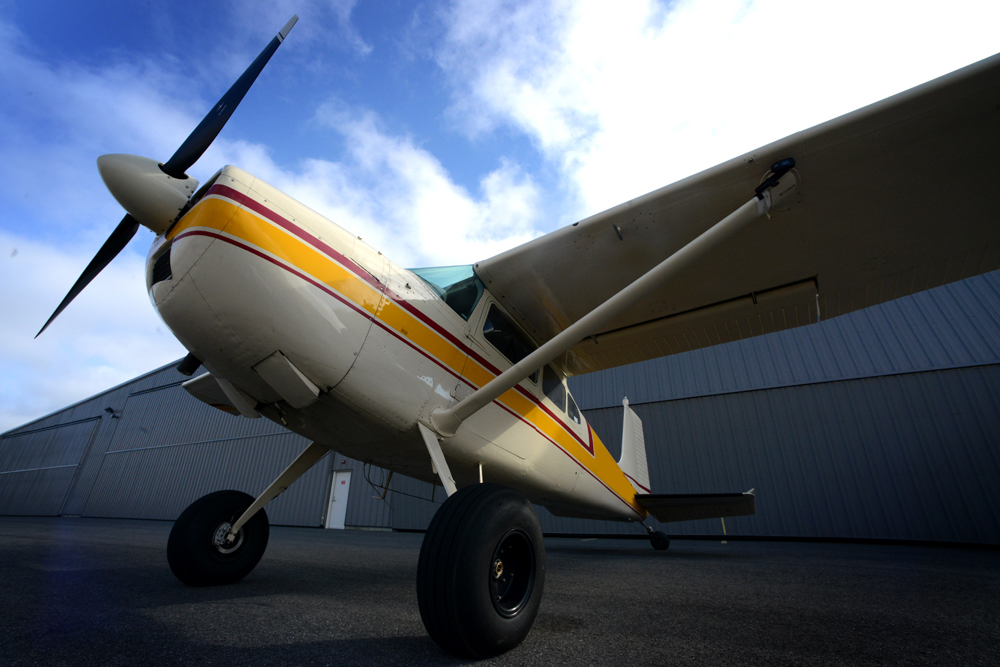
Got some good work done on the bird today. (And I finally got to go fly her!)
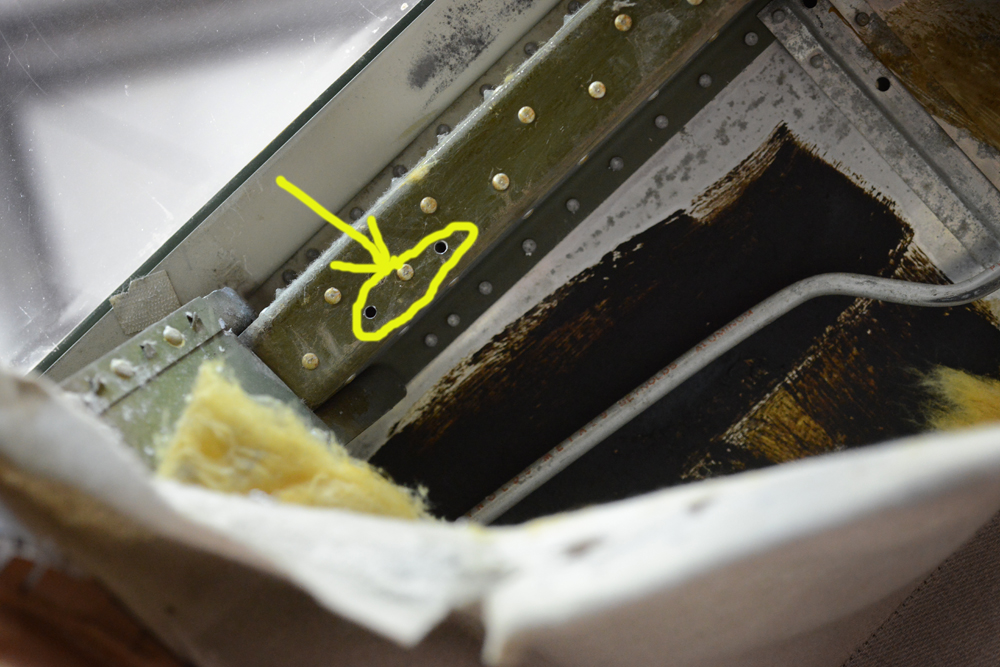
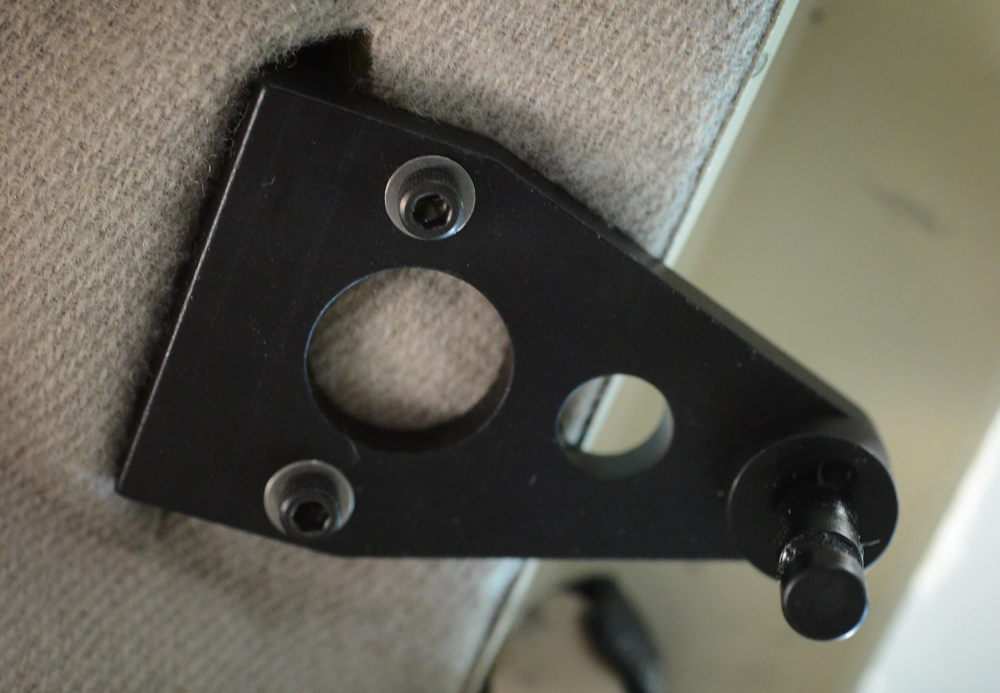
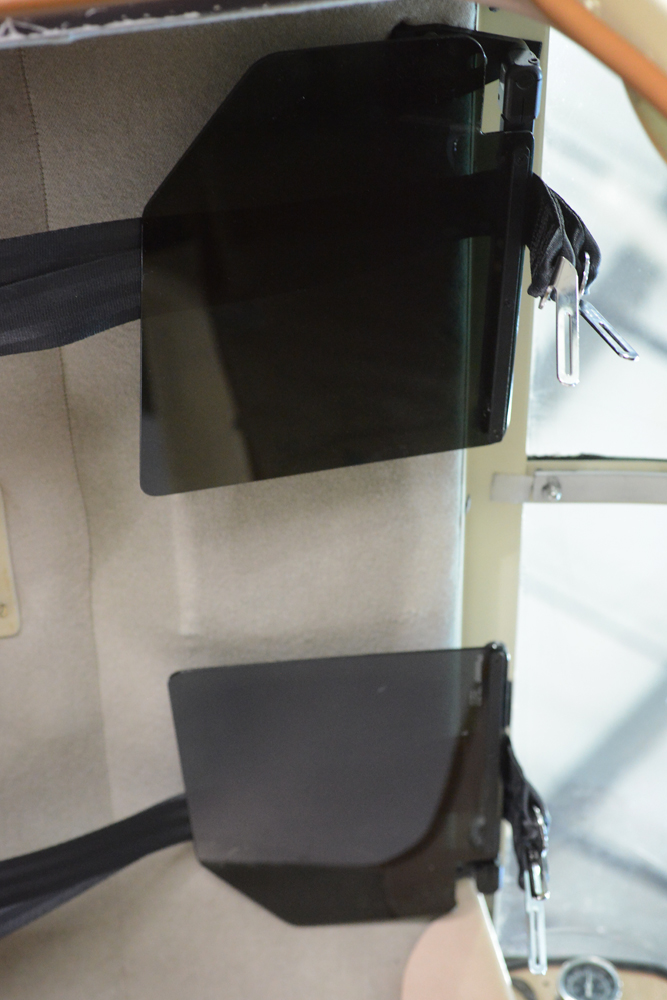
We got the Rosen visors in today. If you havent done the install, its really damn easy. Two holes in each side, rivnut, and your off. Truth be told, whats really hard is holding myself back from ripping everything out. In peeling the headliner back I got a good peek at all the fiberglass insulation and the glue underneath. Ugh… What I really wanted to do is just toss it all, but I have to try to show some restraint so I can fly it for a while.
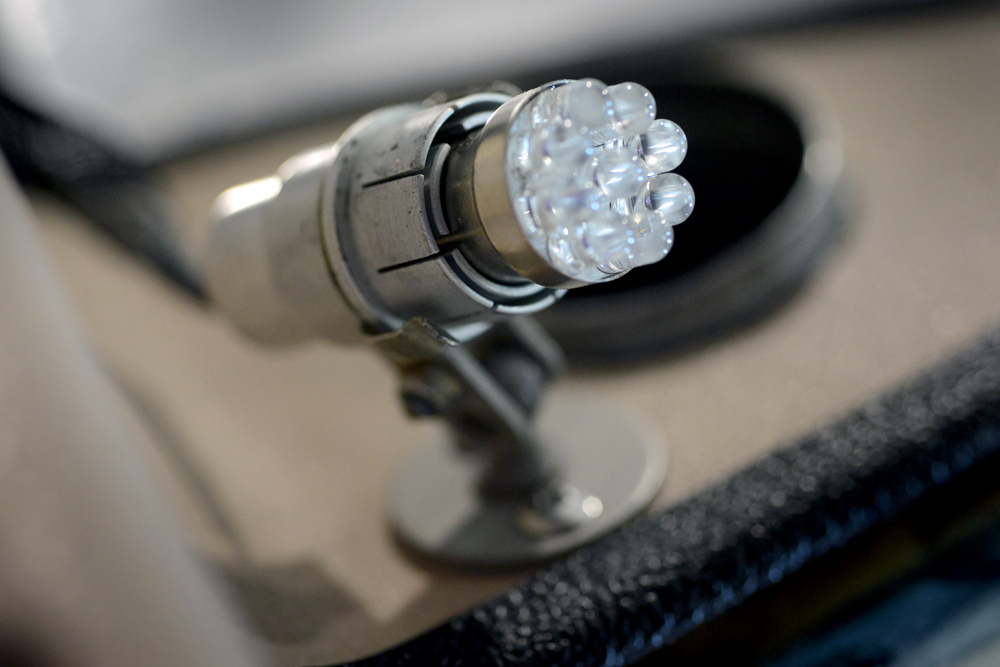
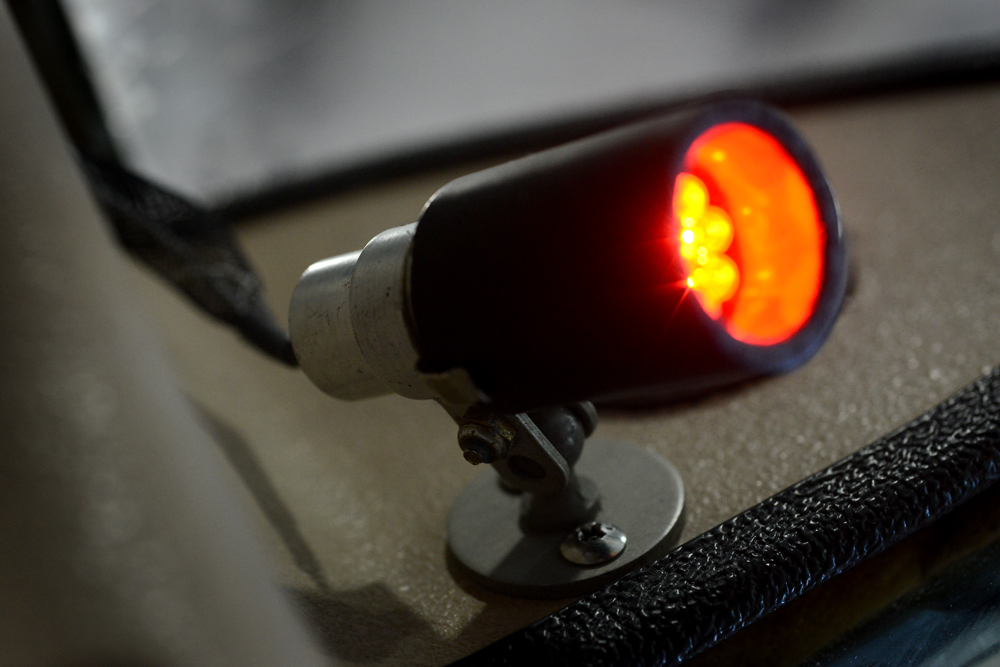
Also was able to swap the map lights with LED’s. Basically you pull the torpedo light apart, add the LED bulb, then fab a PVC shroud for the snout. There is a good post on the International 170 board on this mod. Works really well and is damn bright.
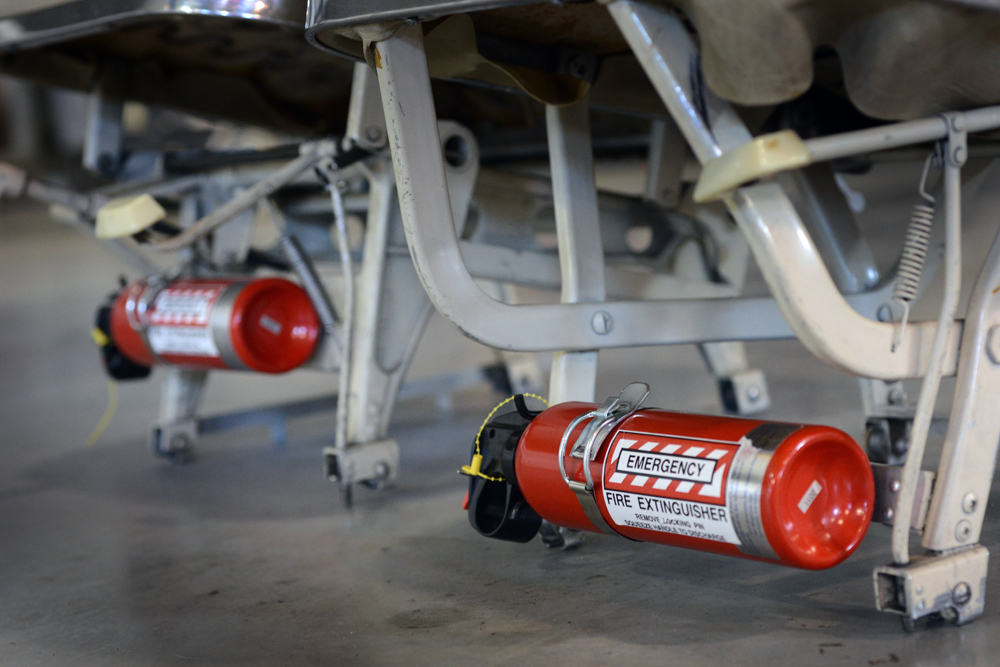
Also got a chance to add some fire extinguishers to the seats. These are pretty light and real easy to get to in the cockpit.
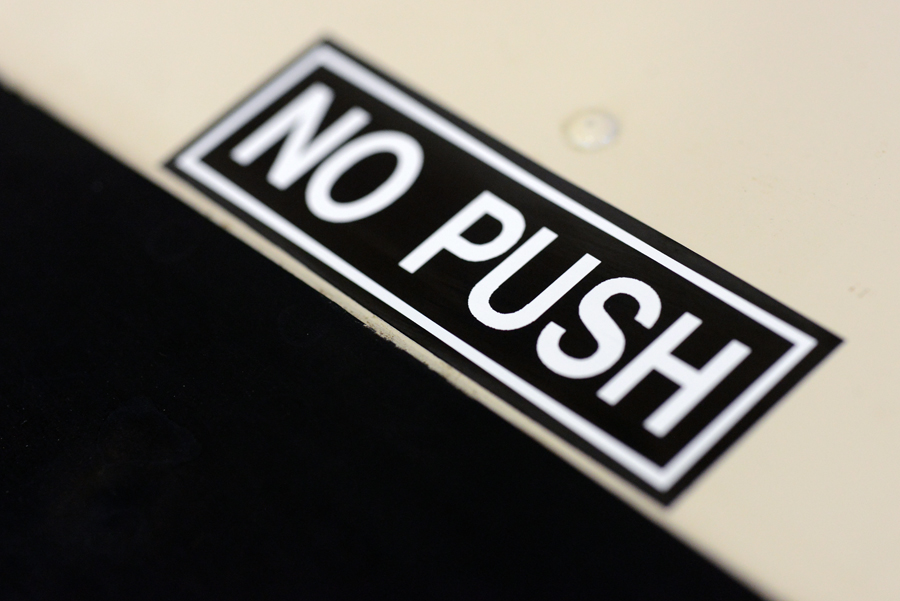
Finally I added some “NO PUSH” stickers on the horiz and vert stabs. Gotta keep those line guys away from reefing on those surfaces…
Cessna Seat Stop
November 24, 2012
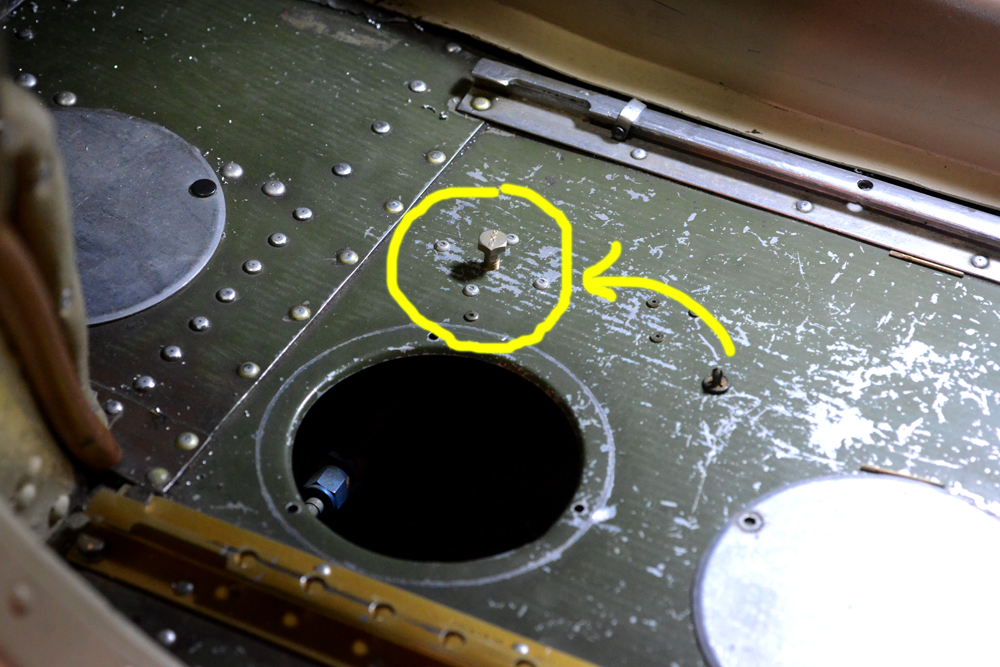
We started in on the Cessna Seat Stop kit this AM. If you own an applicable Cessna and haven’t done this, you really should. Aside from preventing the famous “Cessna Slide,” the biggest incentive of the install is that ITS FREE!
You can bring it into any shop and they will take care of it, or, like we did, just order it from Yingling, install it, send them a copy of the log book entry and they not only reimburse you for the cost, but pay you for the labor.
First step is to drill and rivet the backing plate to the floor. Tomorrow we’ll add the inertia reel.
Mains…
November 21, 2012
I should also quickly talk about the mains for the C180.
Back when I bought the C170, I was hell bend on the idea of “going big or going home.” I was convinced that I wanted at least 29’s, or even 31’s. I think the best help I have gotten in this whole airplane thing has been from Wup at ABW. He could have sold me all the bells and whistles that I was asking for, but instead, talked me down from foolishness and set me up with a set-up that has been (for my particular need) perfect.
So much so that I was able to transfer it all right over to the C180.
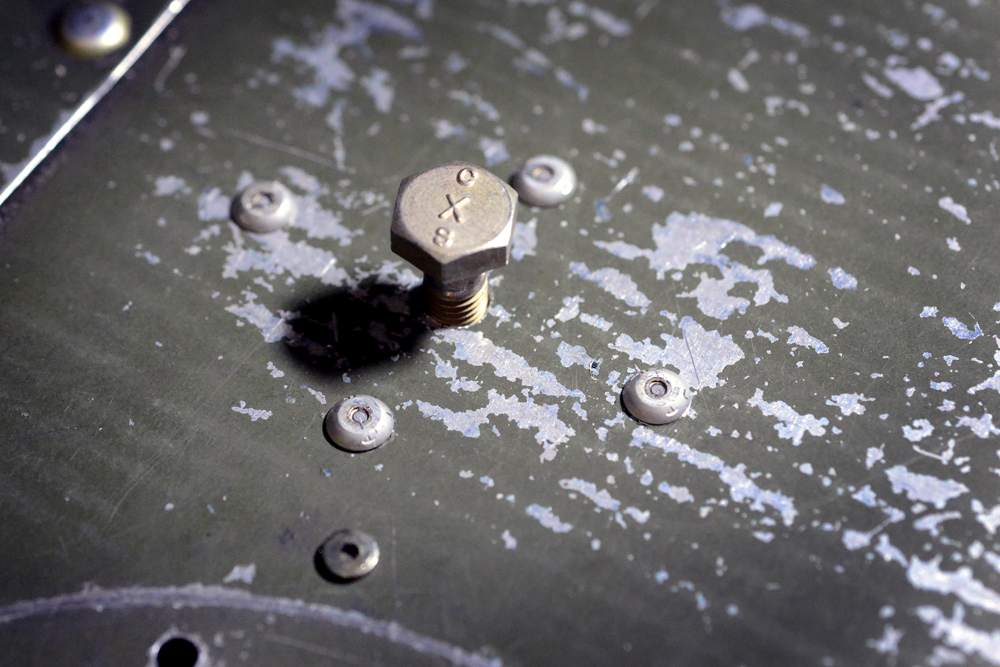
For the mains, I am running 8.5×10 Airhawks on ABW 10″ wheels. The brakes are Cleveland 199-62 “double puck” with custom SS brake lines from Sacramento Sky Ranch. So far on the C170 they have performed flawlessly, and I am looking forward to the ride on the C180.
(note: its not all gravy and pie. The 8.5×10’s are heavy. Each tire, tube and wheel is 42.5lbs. For reference, the 6.00x6s that were removed were 16lbs each.)


For what its worth… ABW has the cheapest price around for Cleveland’s. I think I paid somewhere around $250 under Spruce for the kit. The best part about buying the kit was that I also have a set of 600 wheels for 8.5×6’s (for skis – another post)
Also thought this might be interesting… an 8.5×10 vs/ an 8.5×6
Tailwheels…
November 20, 2012
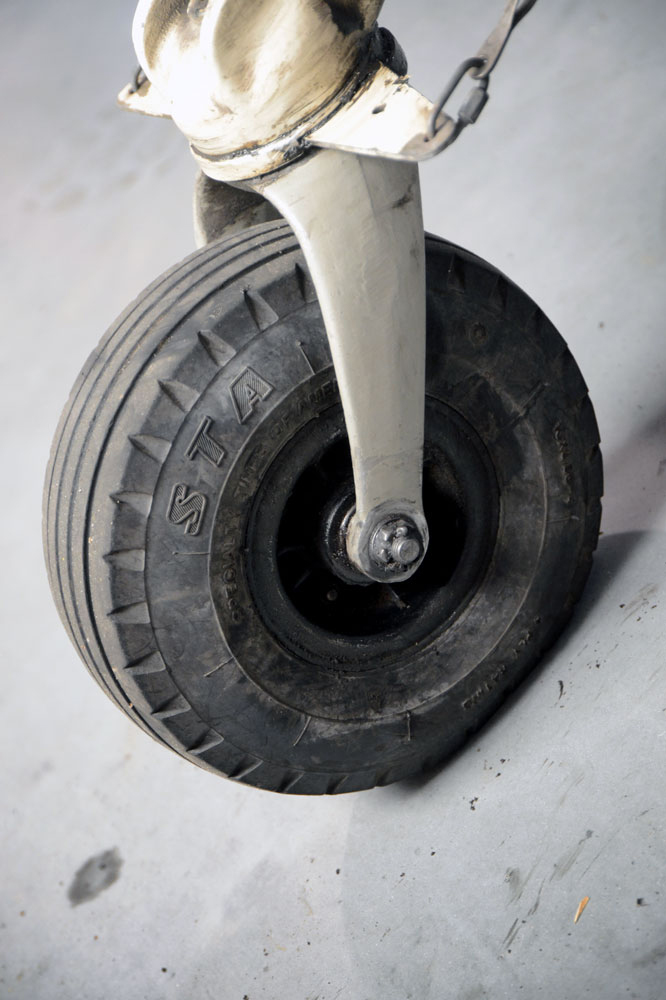
Started in on the TW today.
The C180 came with an XP Mods 10″ TW, but after the flight from LA to Boston and comparing the performance between that and the Alaskan Bushwheel TW I had on the C170, it was an easy decision. Originally had hoped that I was going to be able to use the C170 TW fork on the C180, but of course I wasn’t going to be that lucky. A quick call to Wup had a 3400 TW fork kit on its way.
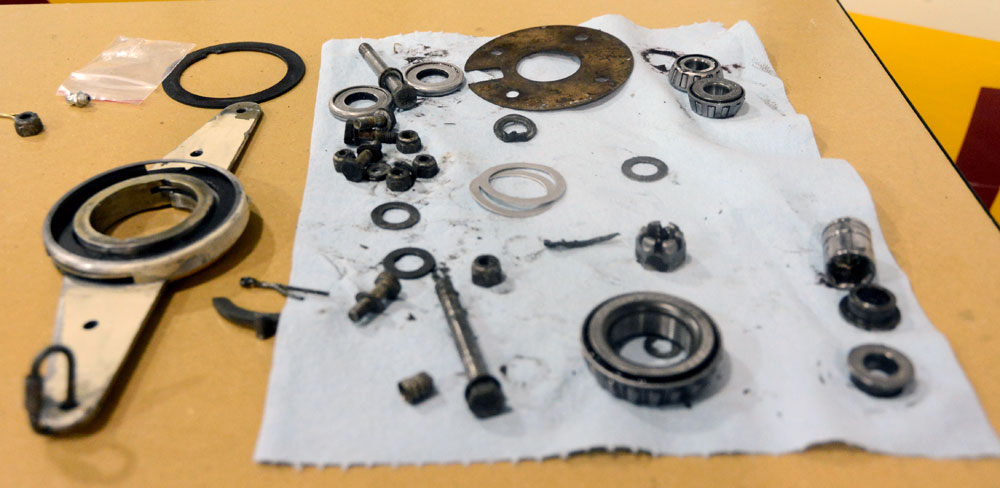
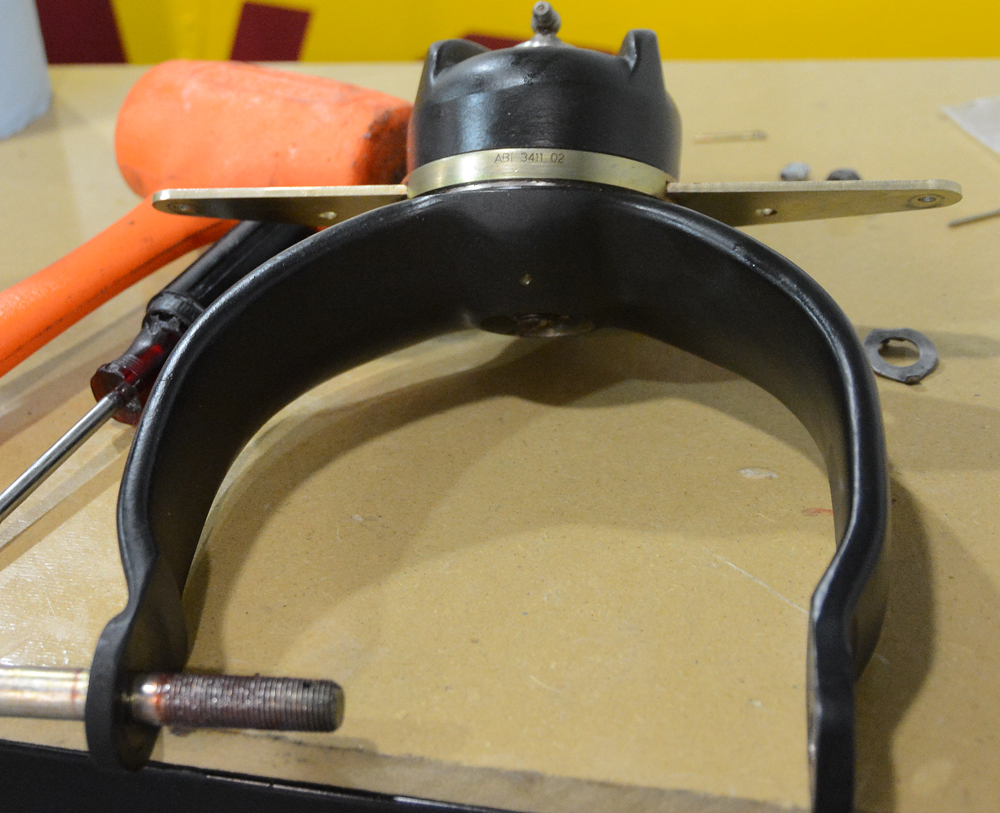
I also thought that I would be able to re-use the innards of my TW, but once it was disassembled, it was obvious that it was going to need a full rebuild.
For what its worth.. as most of my flying will be on pavement, I have chosen to run the 4.00×4 tire that was on my C170 in the 3400 TW fork. If I get a bit crazier with my flying, I will swap over the Babybush.
These photos are a bit interesting… Here are some shots comparing the XP Mods 10″ vs/ the ABW 3400, the 10″ tire vs/ a 4.00×4, and a 4.00×4 vs/ the Babybushwheel.
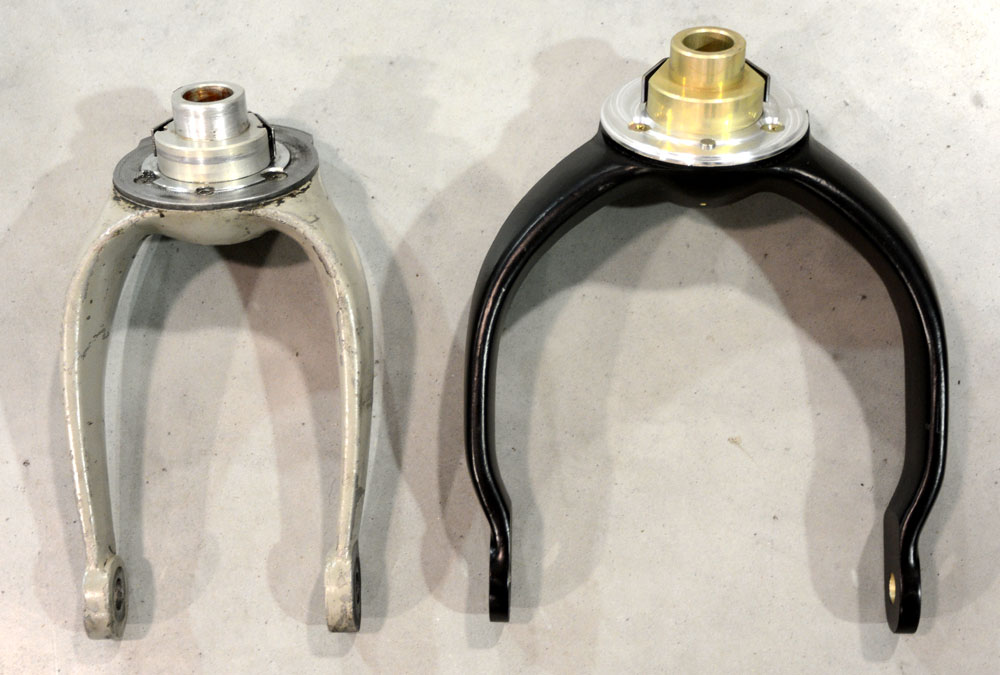
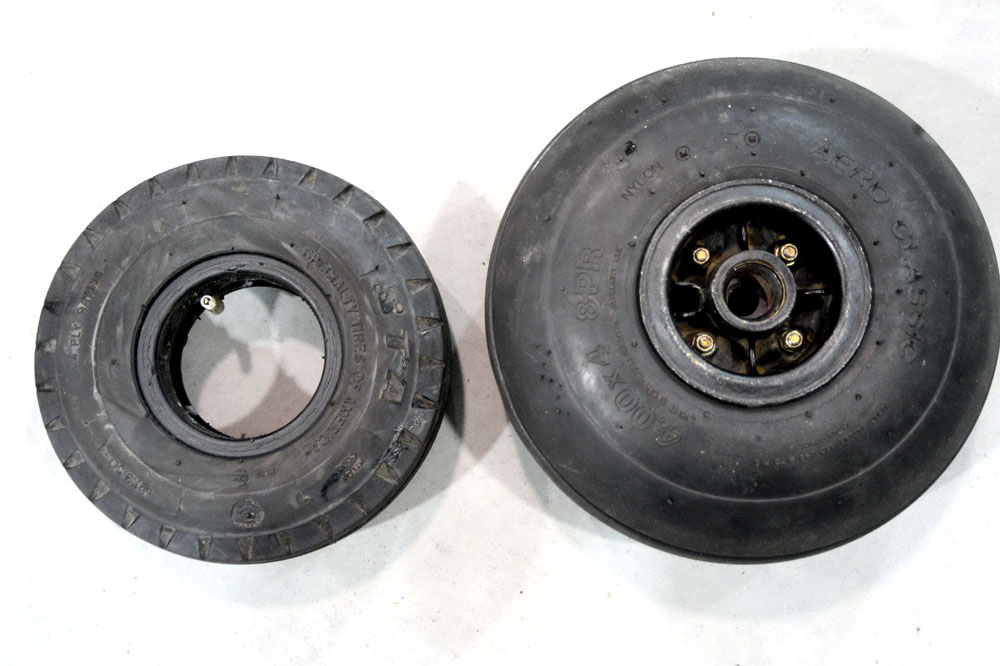
Last of the Transfers…
November 17, 2012
As I mentioned, there were some “bush” goodies that easily transferred over from the C170 to the C180.
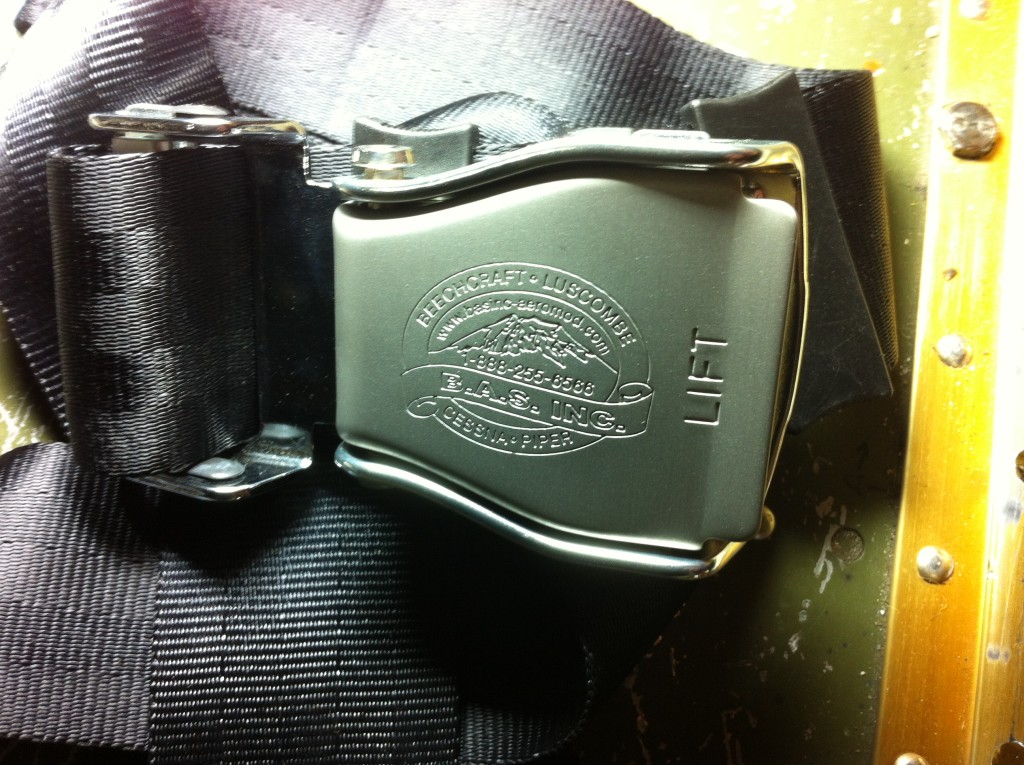
We’ve pretty much got everything over thus far with today’s project being the Great Lakes Aero 4″ bubble windows and BAS Harnesses.

The windows were pretty easy with the hardest part being drilling out the rivets. The bigger pain was the removal and then re-install of the BAS harness.
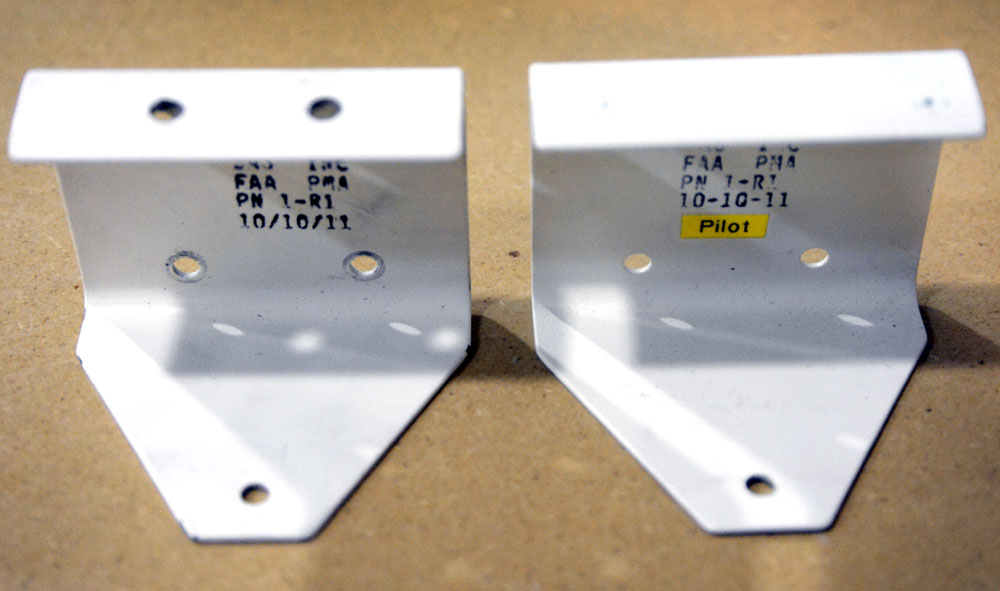
As with all the vendors we have been dealing with, Jim at BAS was super cool with the transfer of the STC from the C170 to the C180. He just supplied us with a “permission letter” to use the P/N in the new airplane. He also sent along new brackets in case the rivets in the carry-thru did not match up. Of course they didn’t, so we were real glad he had the foresight to send em along. I’ll keep the old ones with the Cessna 170 and give them to the new owner to make it that much easier in case they want to put them back in.
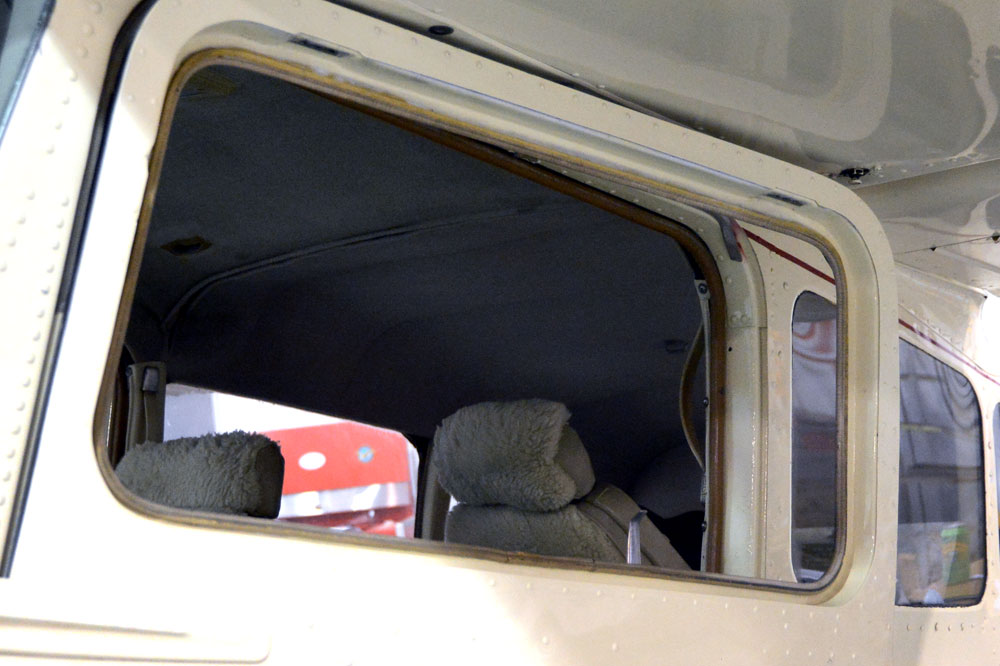
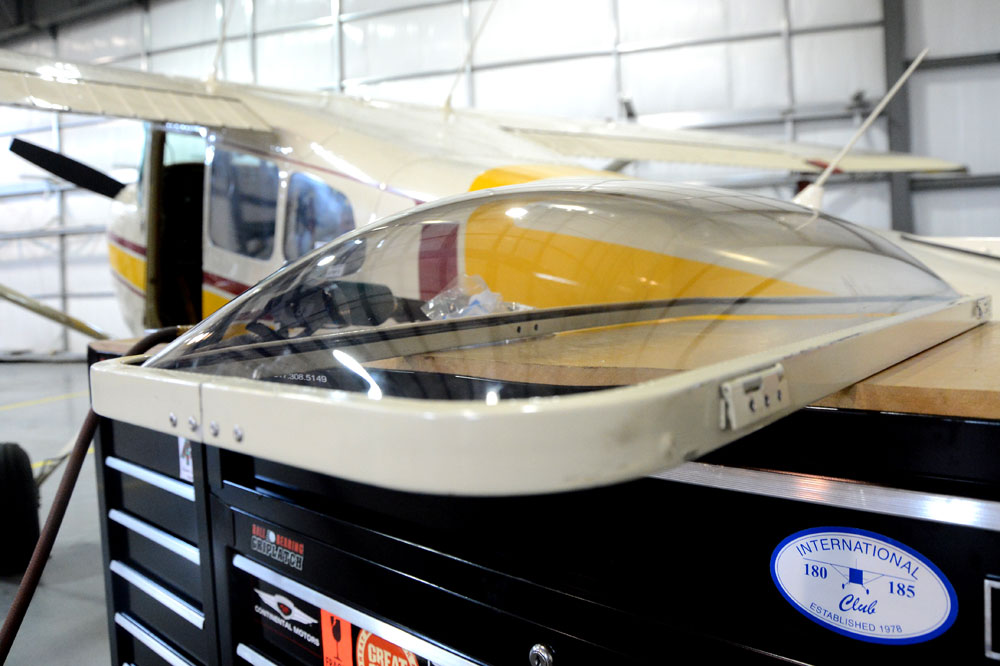
Every time bubble windows get mentioned, all sorts of folks chime in with their opinions. For me, I think they are awesome and couldn’t imagine having the new C180 w/out them. It was an easy decision and worth the time swapping them over.
Since I like to have both a tach and a Hobbs, we quickly popped one in as well.

New Shoes…
November 16, 2012
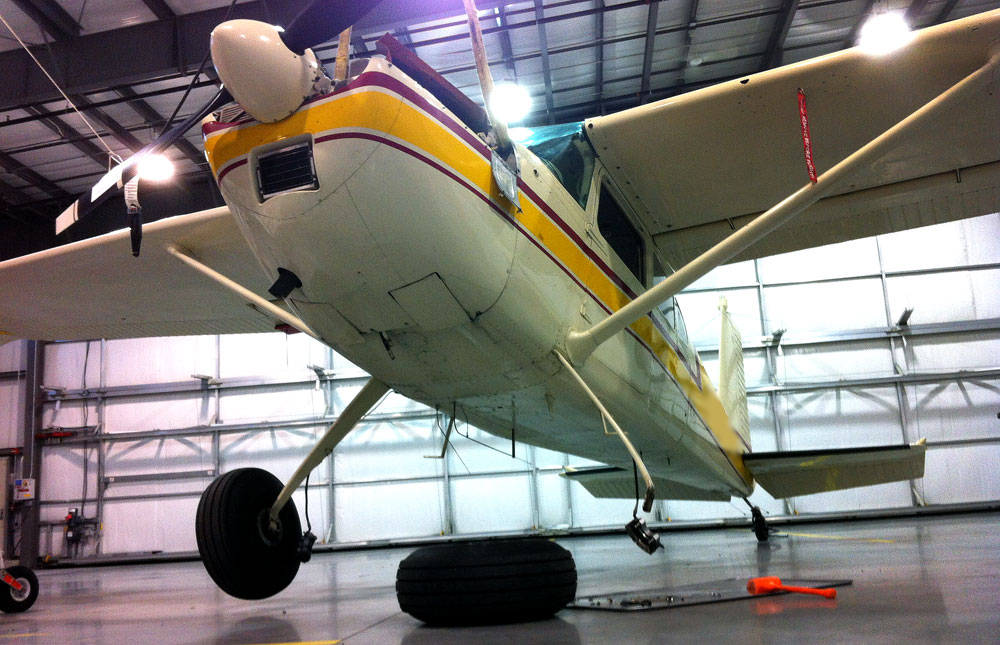 One of the reasons that I went ahead and jumped on the C180 was the fact that lots of the goodies that I had purchased for the C170 would transfer right over to the C180, and first on the list were the tires…
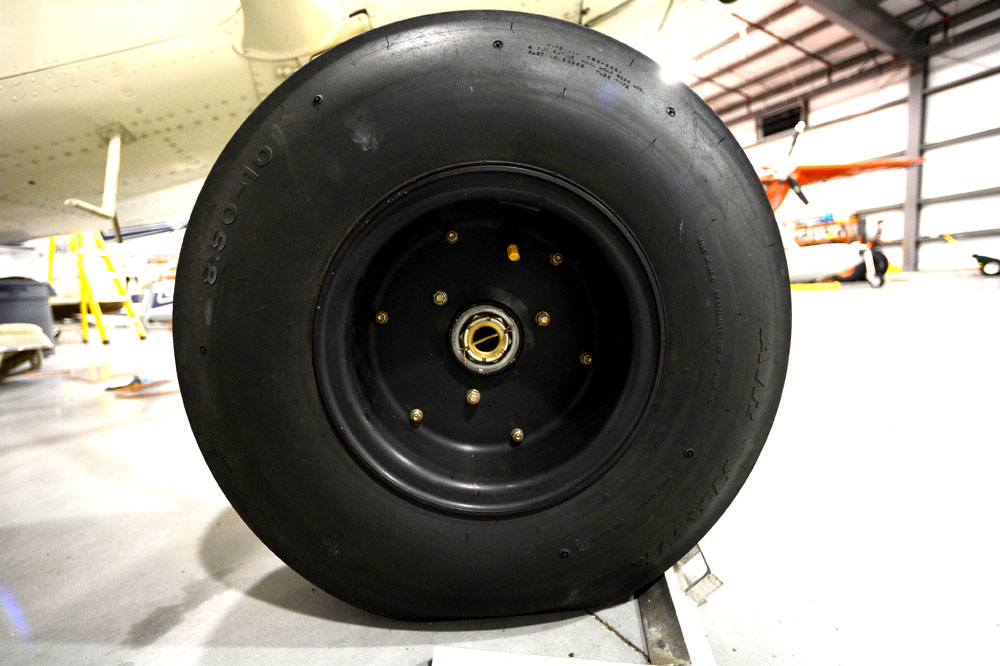
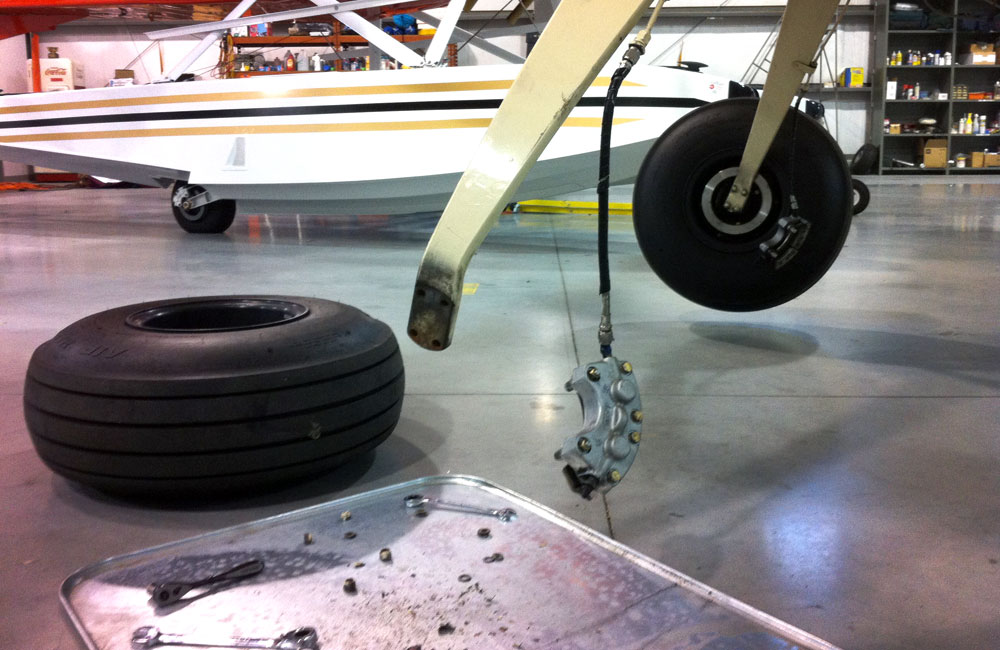
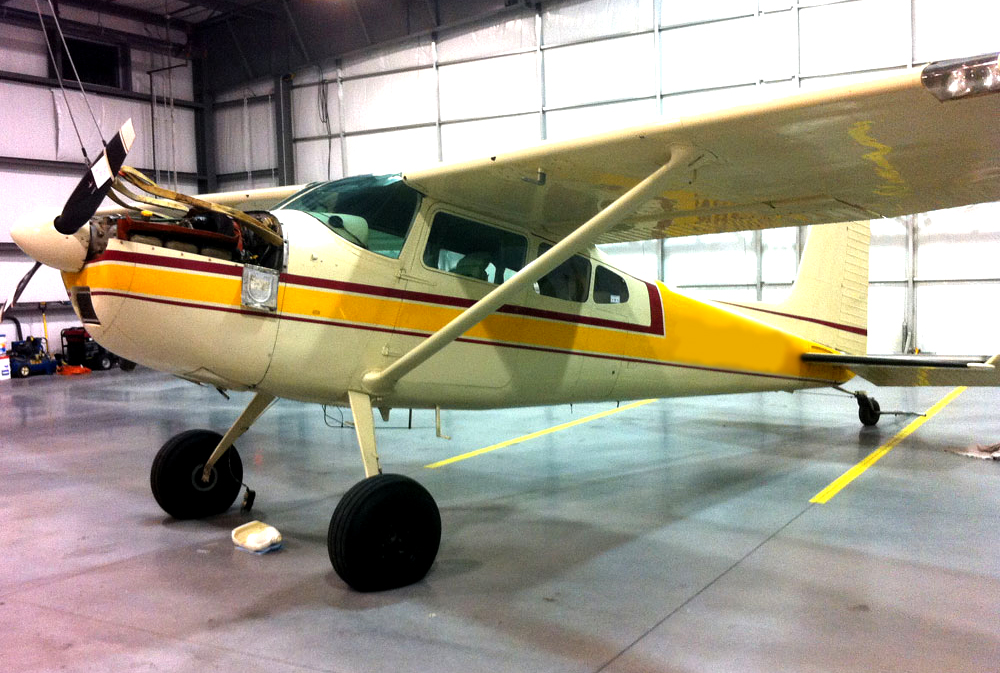
Fortunately Alaska Bushwheels allowed the transfer of the STC so it was quick and easy work to install the 8.5×10 wheels and tires. Of course while the airplane was on the hoist, we took the time to upgrade the brakes with new Cleveland double pucks and HD Axles.
The upgraded brakes on the C170 sure made all the difference, and now with a much heavier airplane and larger tires, these are a must!
ABW Baby Bush vs/ 400×4…
Thought this might be interesting…
If you have a Scott 3200 TW, you have the option of upgrading your TW fork with the Alaskan Bushwheel wider fork. This will allow you to run a much larger and wider TW. For $1050, you can buy the kit which comes with the yoke and BabyBush. But for much less, you can opt for the 400×4. This is the option I chose and am now running on the C180.
This was done not so much for the cost savings, but for the longevity of the tire. Since the majority of my flying is on the tarmac, Wup advised that the 400×4 would be a much much better option. It would work almost as good in the rough, but last soooo much longer whilst on the tarmac.
Here is a photo I shot of both these tire options side by side.

Axle Aware…
Denial ain’t always the best ingredient for longevity.

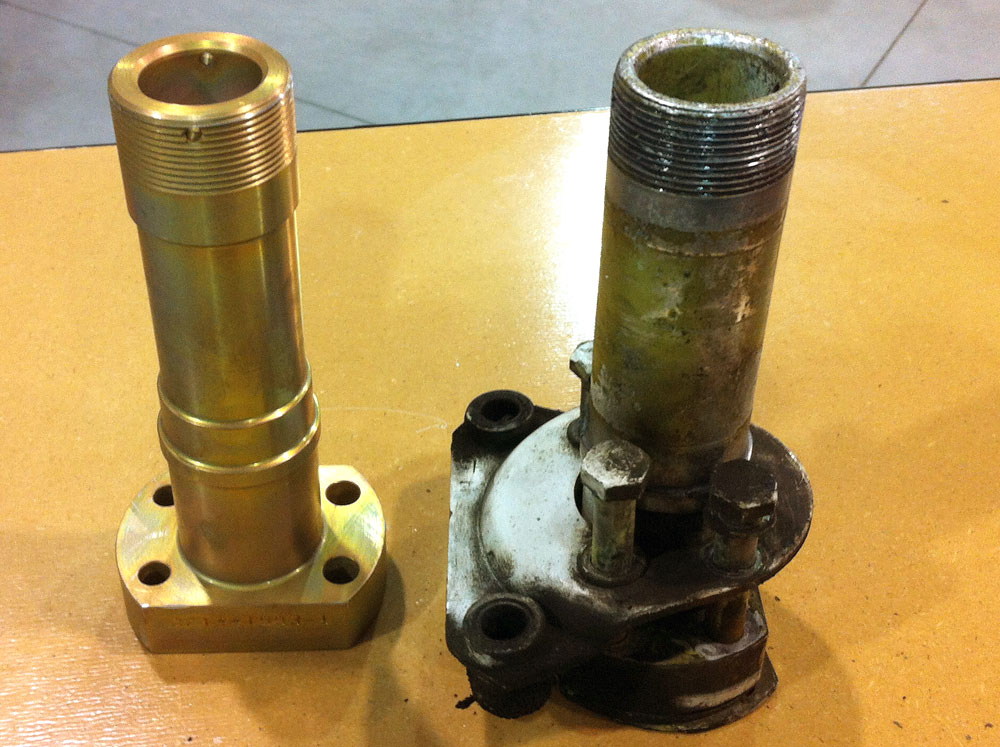
I have these on my C170, but in going thru the logs on the C180, I could not find any mention of an axle upgrade. The previous owner mentioned he had done lots of Idaho and Baja work, so I assumed he wouldn’t have been foolish enough to run stock axles the past 34 years of his ownership, but when I got into upgrading the tires and brakes on the C180, I was really surprised to see what was underneath the hood…
I know it comes down to cash, and at $380 per side it ain’t no joke. But after inspecting what I had, and comparing them to the HD parts, there was no question the stock ones had to go. Sold at Spruce.
Anyways… food for thought.

Gear Leg Steps…
August 1, 2012
I got an eMail asking about the steps on the C170. They are a one off that were field approved. Here is the drawing…

And the PDF:
Cessna_Gear_step
Sportsman Pirep from Rob…
April 12, 2012
Robw56 Posted this over on the C170 board and I though it was worth sharing… Thanks Rob!
“I know the topic of STOL kits gets brought up here every once and a while so here is a review of the Sportsman STOL Kit. I know there are strong opinions here on wether or not one should get a STOL kit for there 170. Some love the idea and others think it is a waste. I hope this doesn’t turn into a big debate I just wanted to share my results. For ME, I’m glad I put the kit on for the type of flying I lke to do. Hopefully this can help others in deciding for themselves if a STOL kit is worth it or not.
I got my Stol Kit installed at Q-Aeromotivet in California City. I picked up my plane yesterday and flew it home. First I went up for a little bit with glidergeek in the right seat and we did some slow flight and a few stalls and only one landing back at Cal City before flying back to Rio Vista. Today I went out by myself to see what it could do and I was even more impressed with the kit, I think having less weight and not as mush of a forward CG changed the feel a little from the first flight test. First I did some slow flight with 20 degrees of flaps and power, I could keep it level at about 35mph and start to get a slight buffet. Next I tried 40 degrees with power… this time I was flying with the ASI below 30mph. At this point you could take the yoke all the way back put in full power the ASI is fluttering back and forth between 0 and 20 and it still doesn’t really want to stall. Power off stalls with 40 degrees of flaps are impossible, it would just decend at about 600fpm at 40mph indicated. You can make turns back and forth at this speed with no problem. Next I went and shot a few landings at Rio Vista on the grass next to the taxi way. Yesterday when I flew I just approached at 60mph and it felt like it used to at 70mph. Today I was flying approaches at 45mph indicated and carrying power. WOW before there was no way I could do this. Before if I got a little below 60 you could feel the plane want to drop out from under you. Not anymore, 45mph carrying power into the flair and I would plop down on the grass nice and soft and stop in about 100 feet or less… I also had about a 15mph head wind. I felt like I was flying a helicopter on approach. Taking off with 20 degrees of flaps I’m airborne at 35 mph and climbing out nicely at 45mph. Stene’s site lists VX at 48mph and VY at 75mph at gross. Also on the flight back from Cal City I noticed no loss in cruise speed. Overall I’m very happy with the kit and glad I got it. I’m looking forward to seeing what it can do in the backcountry this year. I hope this review can help anyone that’s interested in installing the kit on their Cessna.”
ROBW56


C170 Seat Design…
April 11, 2012
Thought I would share some of the design process RE: my seats. I Have been working with Ron Matta in AZ of Aviation Creations.
I asked him to help me with some ideas. I told him I wanted light seats that had modern comfort but yet had retro styling ques. He sent along these three sketches. The logo will be the same vintage logo I made for my yokes. We have tossed the orig wire springs and will use new synthetic blatters. The sub frames have been powder coated, and are on their way out to Ron’s shop. Ron has been awesome to deal with thus far. I cant wait to see the finished seats!
I am going with #2… Just need to decide on leather color.


8.50×6 vs 8.50×10…
March 15, 2012
Went ahead and added some larger tires…
Here is a shot of the Airhawk 8.50 x 10 on Alaskan Bushwheel 10″ rims. They are way too hard now at 18psi (Wup at ABW recommended going down to 12psi) This will obviously decrease the size of the tyre, but as of today, at 18 psi the increase in height from the old set-up is 4″. Geeze!


Here is the shot of the Goodyear 8.50×6 on 6″ Clevelands.

Bubble Windows…
March 12, 2012
From the beginning I had always loved the bubbles… It wasnt long before I was doing the install.
When I was researching bubble windows and trying to figure out which ones I should install, I could not find a good images of the Great Lakes Aero 4,” so here they are…


First Mods…
February 14, 2012

Modifying anything is the best way to make it “your own,” and that’s the plan. Pulled the A/C into the hanger and got started today. What mods are the “best” and where to start is a topic of debate… It’s generally thought that B.A.S. Inc. shoulder harnesses, B.A.S. Tail Pull Handles, and larger tires are a great place to start.
For this reason, I started with the Tailpull.

Next was a Selkirk glare-shield. Selkirk makes some nice stuff, however don’t expect any of it to fit on the first go round. Trim, fit, trim, fit, trim fit…

Next was an oil pan heater. I went with the Reiff Hotstrip sold by Spruce. I probably should have gone with the more complete Tanis heater as it is a much better unit, but I’ll be keeping the airplane in a hanger and wont need it that often.

Last, I installed a belly drain from C-Mods Inc. C-Mods is no longer in business, but this is just a standard fuel drain and can be sourced at Spruce.


Best Three Mods…
January 7, 2012
If you are a C170 owner, are in the market for one, or just love the model, a great resource is the International Cessna 170 Association.
In prep for modding out the airplane, I started an interesting thread on what to tackle first.


