Great Article and New Film: STOL Tips (Tricycle Gear Airplanes)
May 16, 2016Patrick Romano of Backcountry Aviation has released a great new STOL Tips film along with a detailed article over on BCP.org. Worth a watch…

Patrick Romano of Backcountry Aviation has released a great new STOL Tips film along with a detailed article over on BCP.org. Worth a watch…
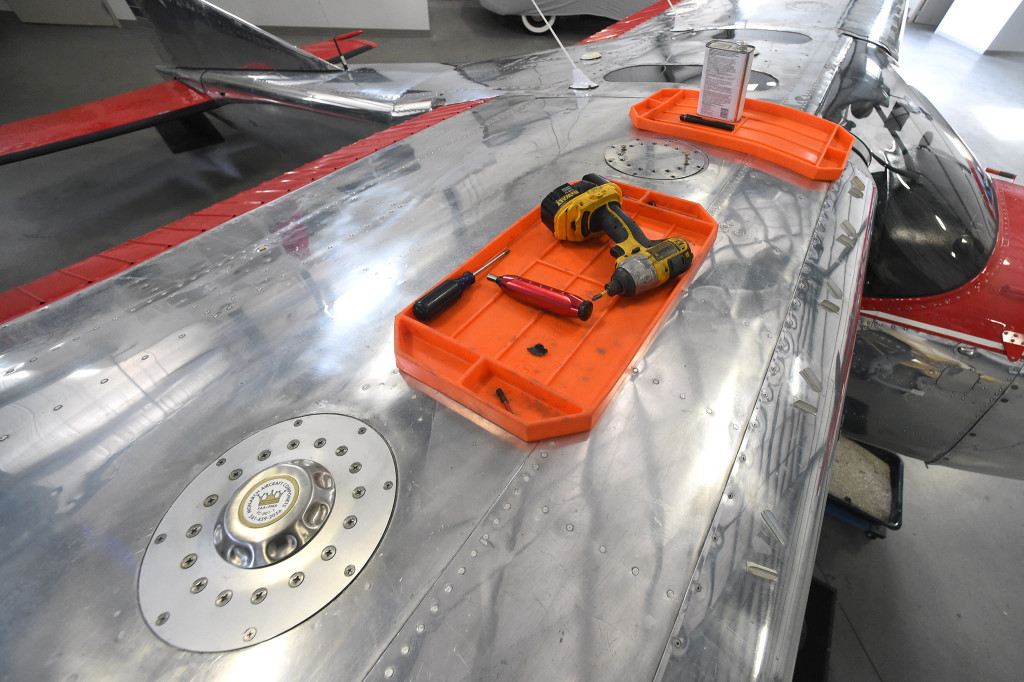
If you haven’t heard, probably the least loved task to do on a Cessna Skywagon is replacing bladders. Fortunately for me, I was happily tapped by fate to take this dive after springing a leak.
Since I started on the resto of the Wagon, I knew that I was going to have to face this at some point, but have been pushing and pushing it off until finally my number was up.
My 66 has extended tanks, which is both a blessing and a curse. Curse because the tank is bigger. Blessing because there are two ports to allow just a bit better access.
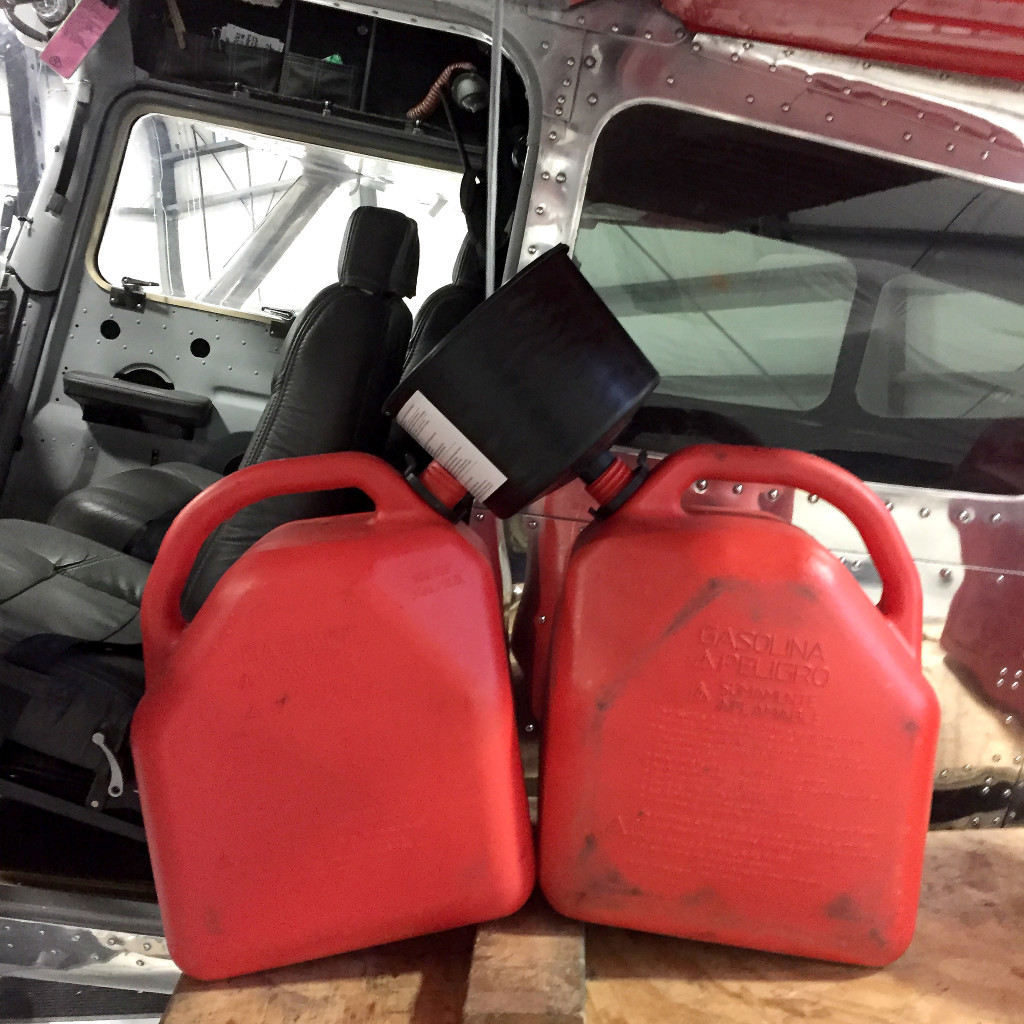
First step is pull the bung and drain all the fuel. (This is a great time to order new sump drain valves and stainless steel safety wire screws)
Next, pull the ports and caps. Also a good idea to order new stainless fasteners here as well. On my airplane, the large machine screws are MS24694C48, the small ones are MS24693C293, and the stainless safety wire screws for the drain are AN500AD8-7.
Be very careful removing the screws as chances are they are in there good and solid. Get some penetrating oil on and let them soak overnight. Use the CORRECT screwdriver, and take your time.
If your unlucky enough to round out the well, don’t fret as you can use a Dremel and cutoff wheel to carefully make a slot in the head for a regular screwdriver. Takes practice, but doable without getting into the surrounding alum. (Just make sure there are no vapors kicking around!)
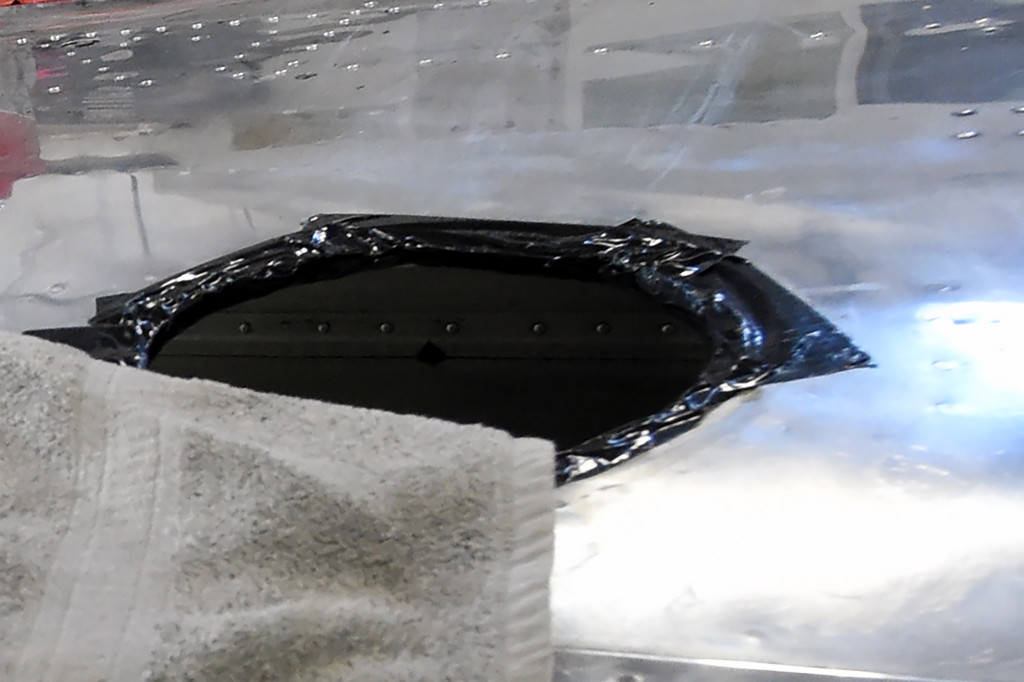
With the caps out, a good idea is to line the edges of the cavity with duct tape to protect both the tank AND your arms. You will thank me later…

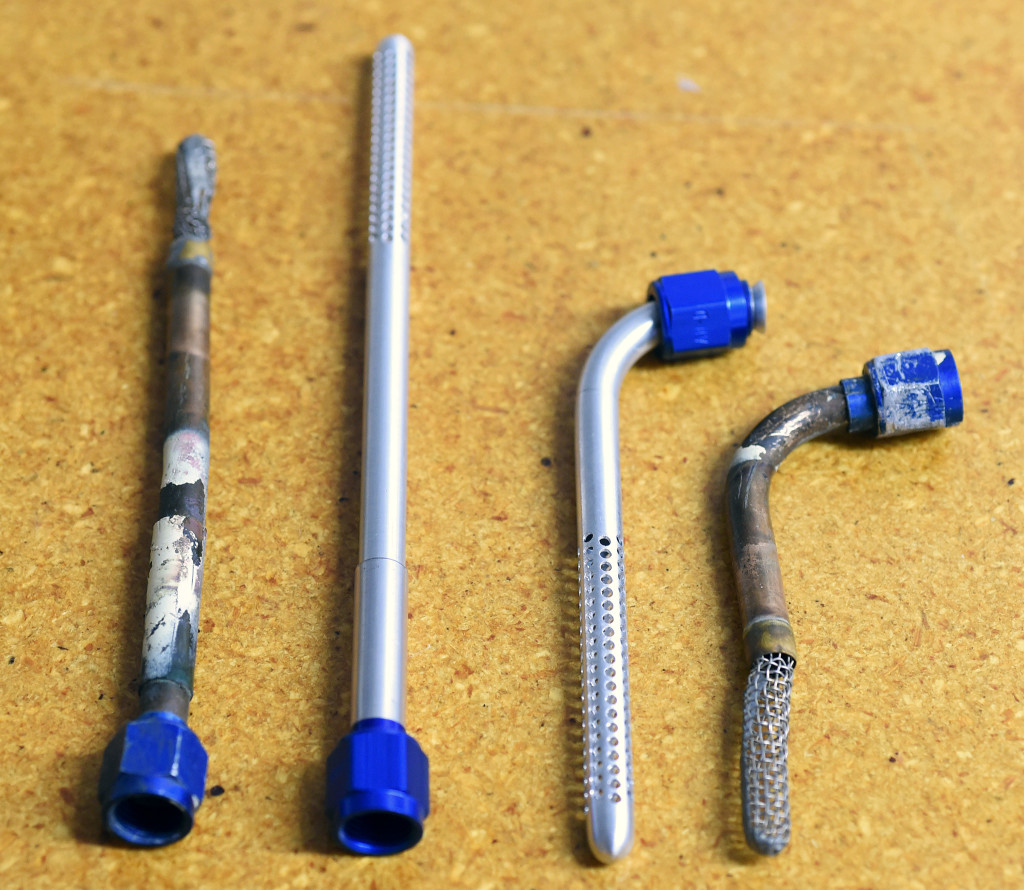
With the caps out, take your time and remove all fittings. This will be fuel outlet screens (forward and aft in later models) crossover vent, fuel sump, fuel sending unit, and outboard vent.
The fuel outlets are the trickiest because they are delicate. Once out, it’s a good time to give em a real good inspection. Although not always possible, I am a big fan of replacing parts with new. The problem with these screens is (like everything) Cessna wants an ungodly chunk of change… Have a late mode bird and you have now doubled that ass raping cuz you need two.
The good news is that Burl’s Aircraft in AK has a fantastic solution. Their STC’d spun aluminum screens are not only cheaper, but they provide a much better flow rate. Worth checking out!
Anyway… reach in the cavity and roll the bladder into a nice tight sausage, and then CAREFULLY work it out the port. This part sucks for sure, but enjoy it cuz getting her back in will make this part feel like cotton candy and prancing unicorns.

With the tank out, get her in a box and ship her out. There are two big places to send out the bladder. Although their website is cerca 1990, I have had great luck with the service from Heartwig. Eric is a good dude and worth a phone call.
If you weren’t having fun yet, strap it on…
Lots of AP’s lazy-out here because when it comes down to it (you know who you are,) it’s really tough to send the customer a bill for all the time it actually takes to clean and prep a tank bay. But if you want it done right, make sure you take your time and get it clean enough to eat off. (Took me 9 hrs of labor to remove tape & clean.)

Start by pulling the old tape that you can grab. Heating it up with a heat gun makes this a bit easier and if your lucky, you will be able to get most out without falling into small strips.
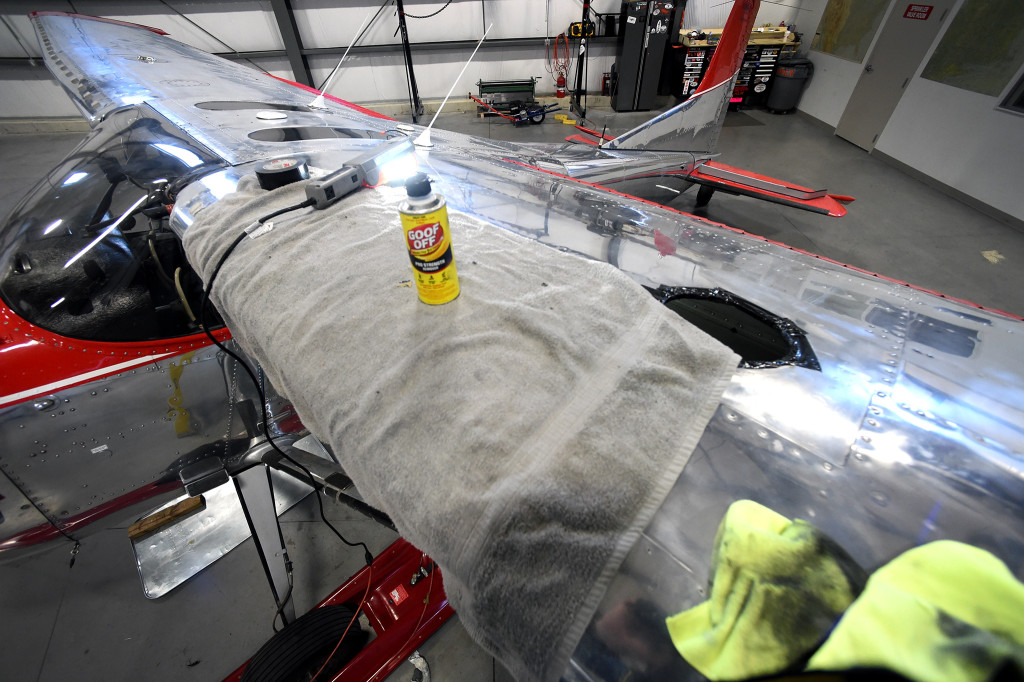
Once the tape is off, you will be left with the dried glue. I find that the best solvent to get this stuff off is called “Goof Off.” Stuff works fantastic, but a real killer… so make sure you have good gloves and a solid respirator.
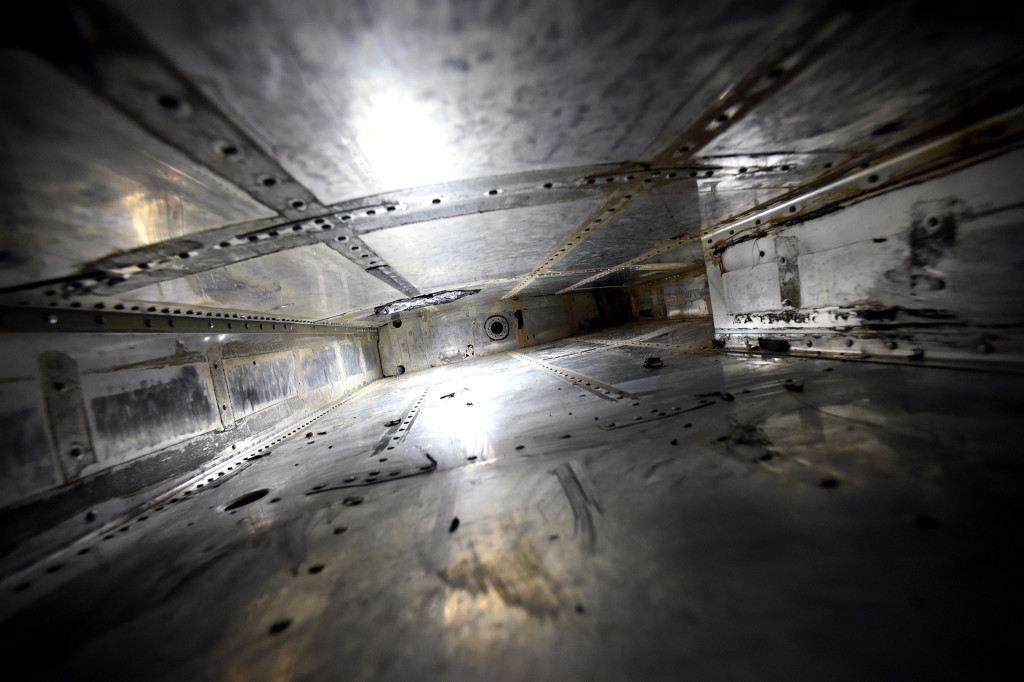
Now that you have cleaned the bay, you can start laying in the new tape. The point of the tape is to protect the bladder from chafing on corners and rivet heads. Some think that you can just use Duct tape, but this is not the case. Tell Eric at Heartwig you need a roll, and he will provide you with one on return of the bladder.
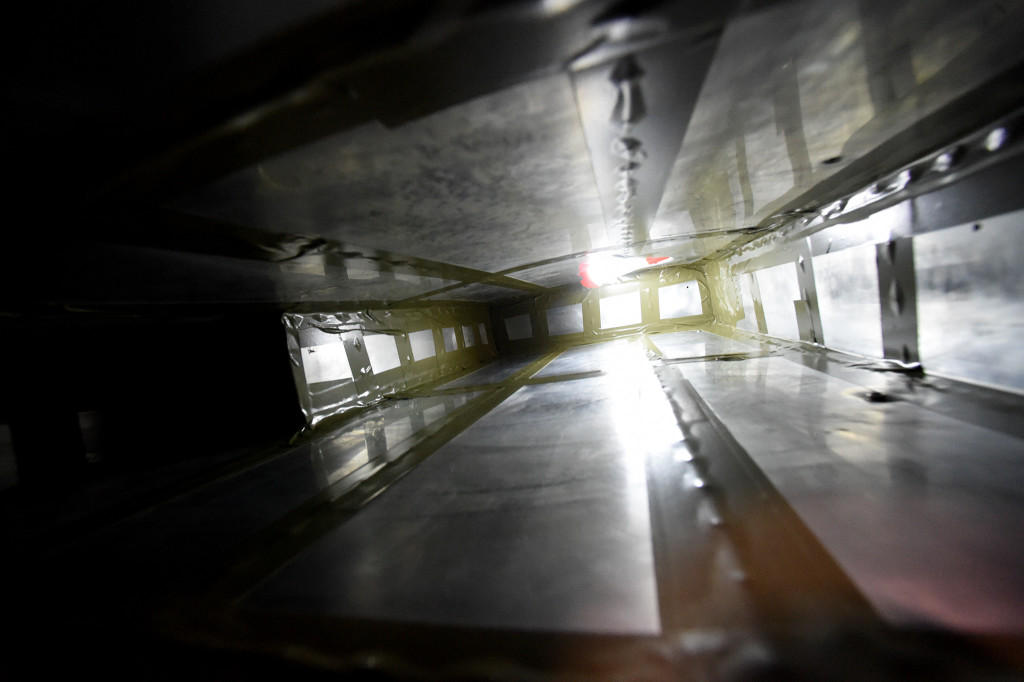
Laying the new tape in perfectly is next to impossible, so don’t get too bent if it isn’t 100% pretty. Just take your time, and do your best. If you did a kick ass job with the prep, the tape will hold solid for another decade and the next guy wont shake his head at you when he gets back in here.
Sometimes they are too far gone, but with some luck, Heartwig will be able to repair the bladders. They will come nice and shiny and oiled. If you can, put the bladder in a heated room overnight to get it nice and playable. You will also want to crank the heat in the hanger.
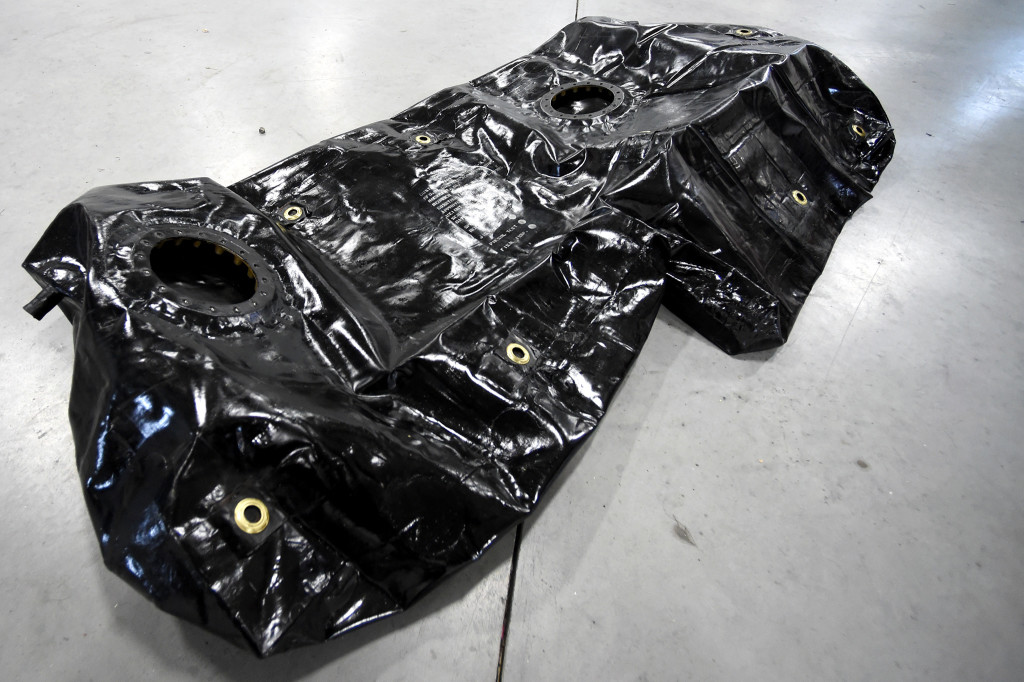
Lay out the bladder, roll it up into a sausage again, and start sliding it in.
Once in, lay it flat and start asking Job for patience. First, connect the snaps (bottom of the tank) to their position in the corners. Once you have these, patiently work the top fittings, getting the furthest ones first. Ain’t gonna candy coat it… this really blows.
Truth be told, this isn’t the hardest thing to do, but there is no doubt that this is the most trying task one can undertake. All I can say is know it can be done. You don’t need to take the damn wing off, remove any ribs or skins… Just take your time, don’t get frustrated, and motor thru. Oh… and if you have short arms your F’d.
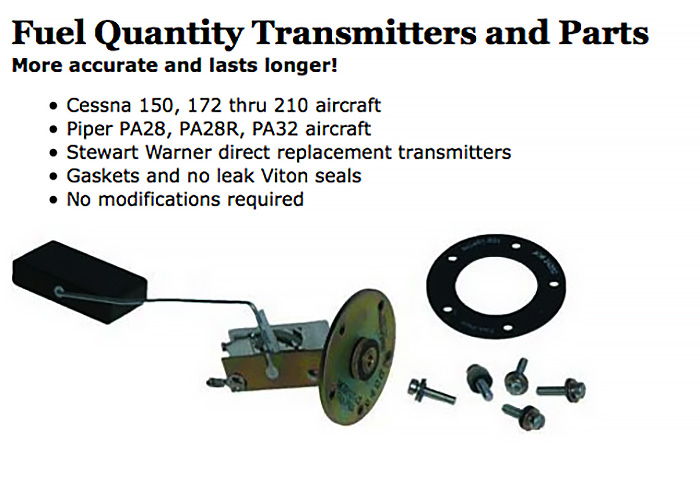
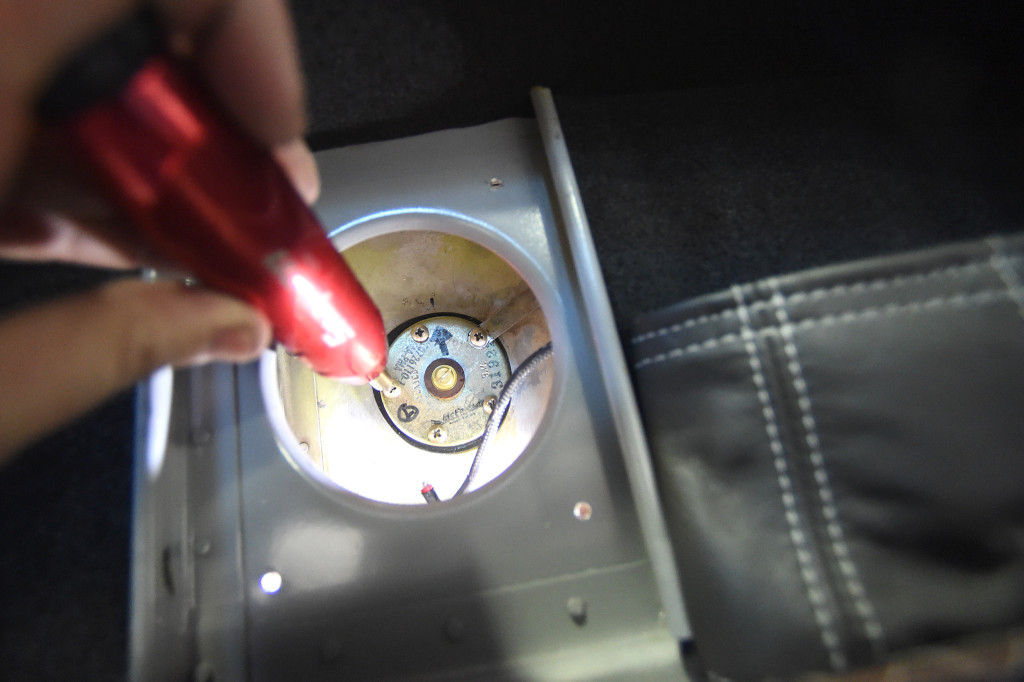
With the bladder in and all the snaps fitted, go ahead and reconnect all the plumbing, caps, and sending units. Make sure you use NEW gaskets! If you are really progressive, you might think about installing new McFarlane fuel sending units here, but I guess I should remember how easy it is for me to spend your money on the interweb.
If you don’t have a good torq wrench, make sure you pick one up. It’s always critical, but here, an overzealous wrist can cause a leak pretty fast… And that blows.
At any rate, that’s a quickie on Wagon bladders. Good luck!
I got to see this presentation at OSH this past summer from Bill Ross. It’s worth taking the time to watch.
Of course with a carb’d engine its not really possible to run LOP, but this is a great presentation none the less! You will def pic up some nuggets!
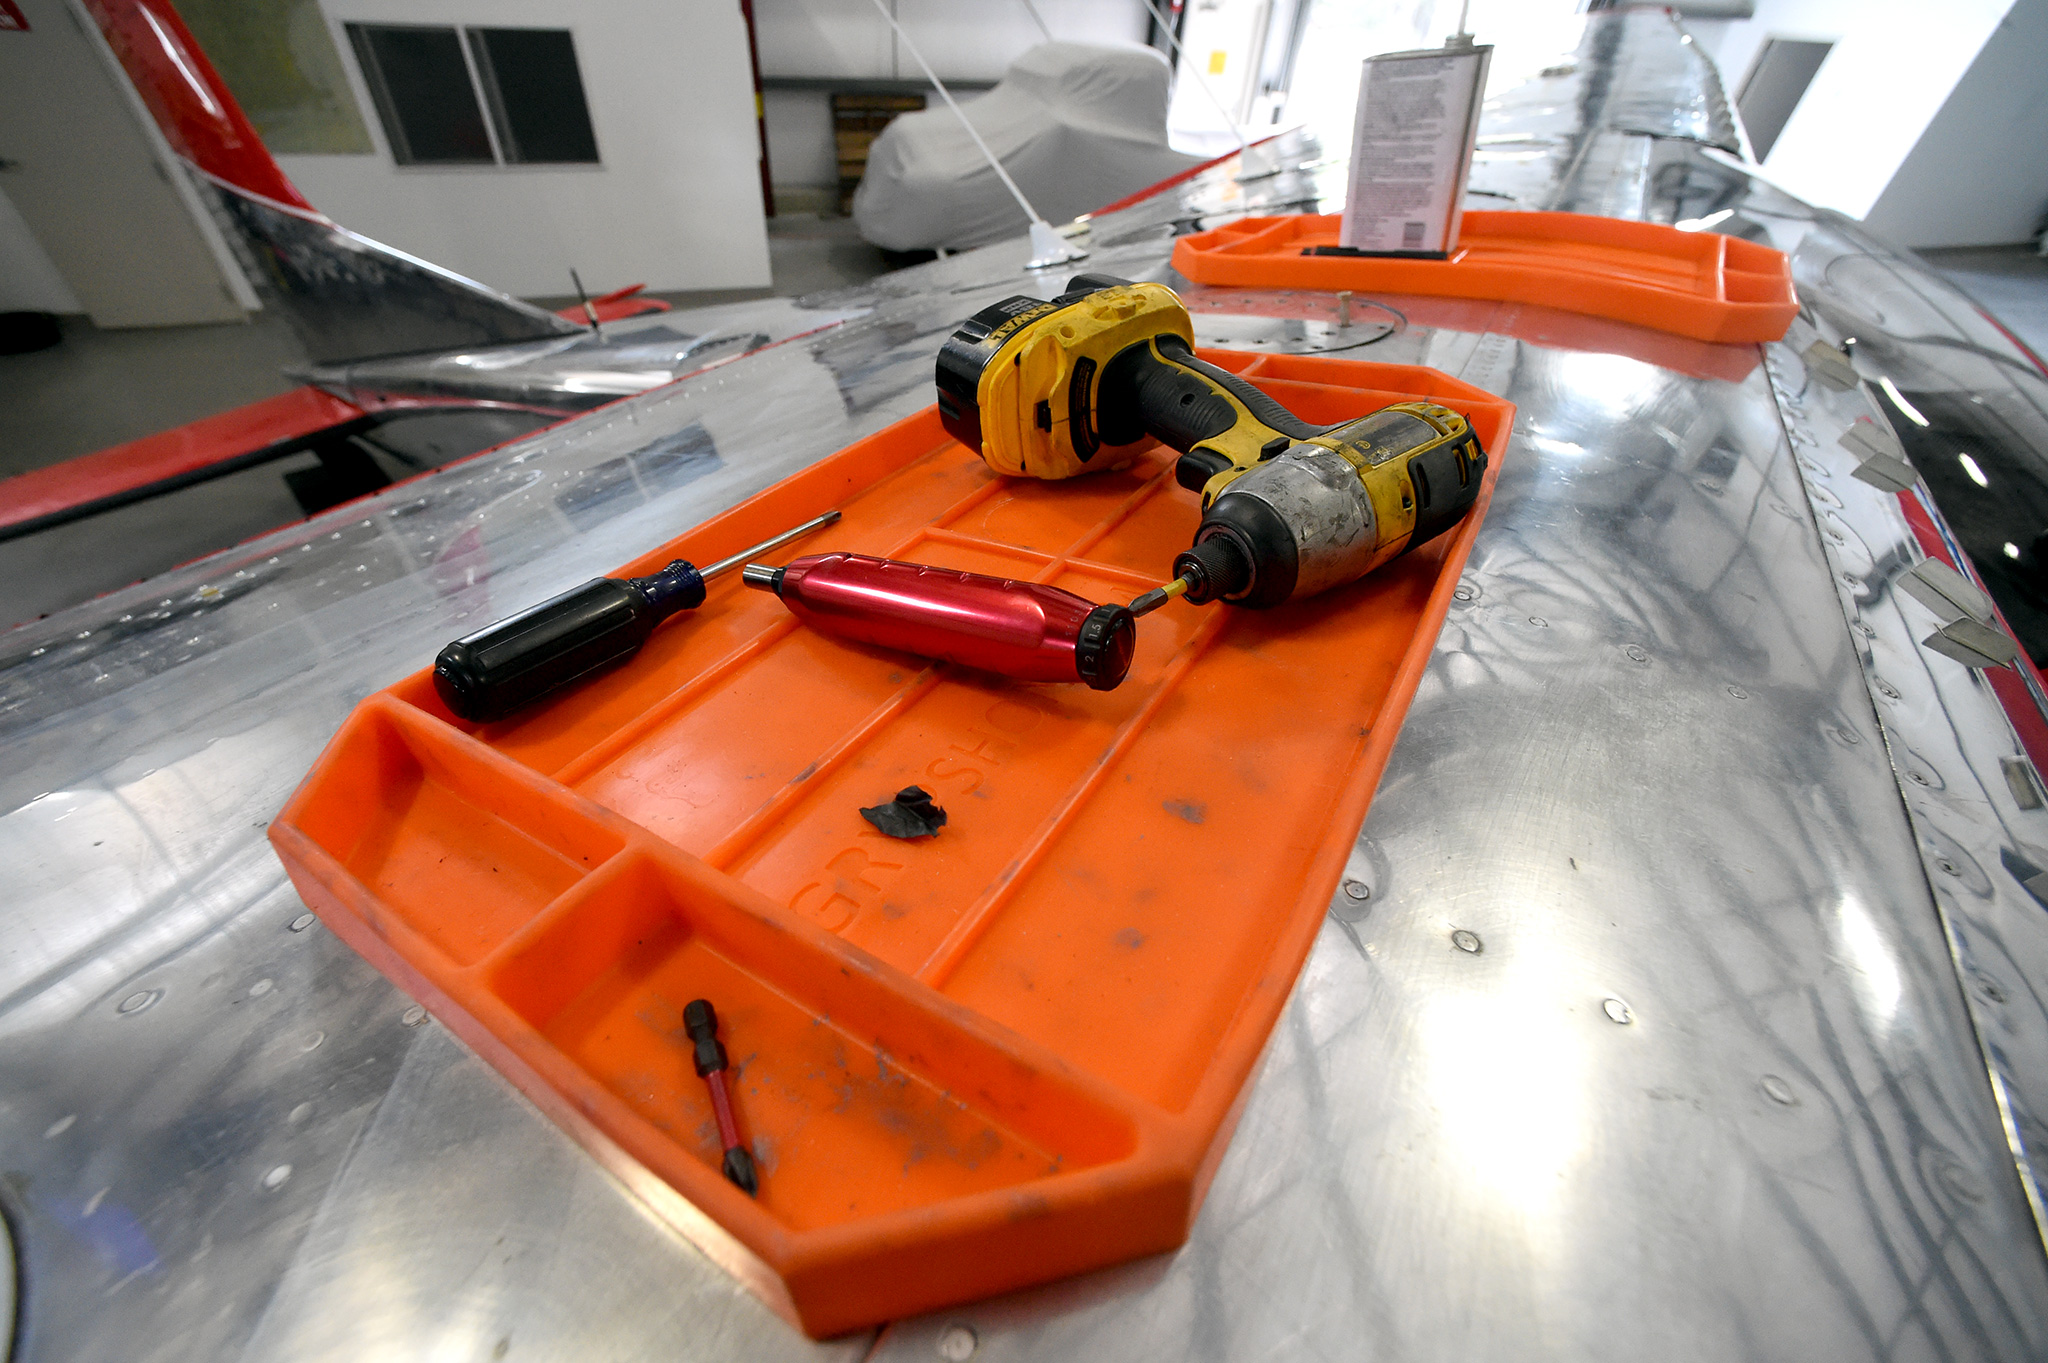
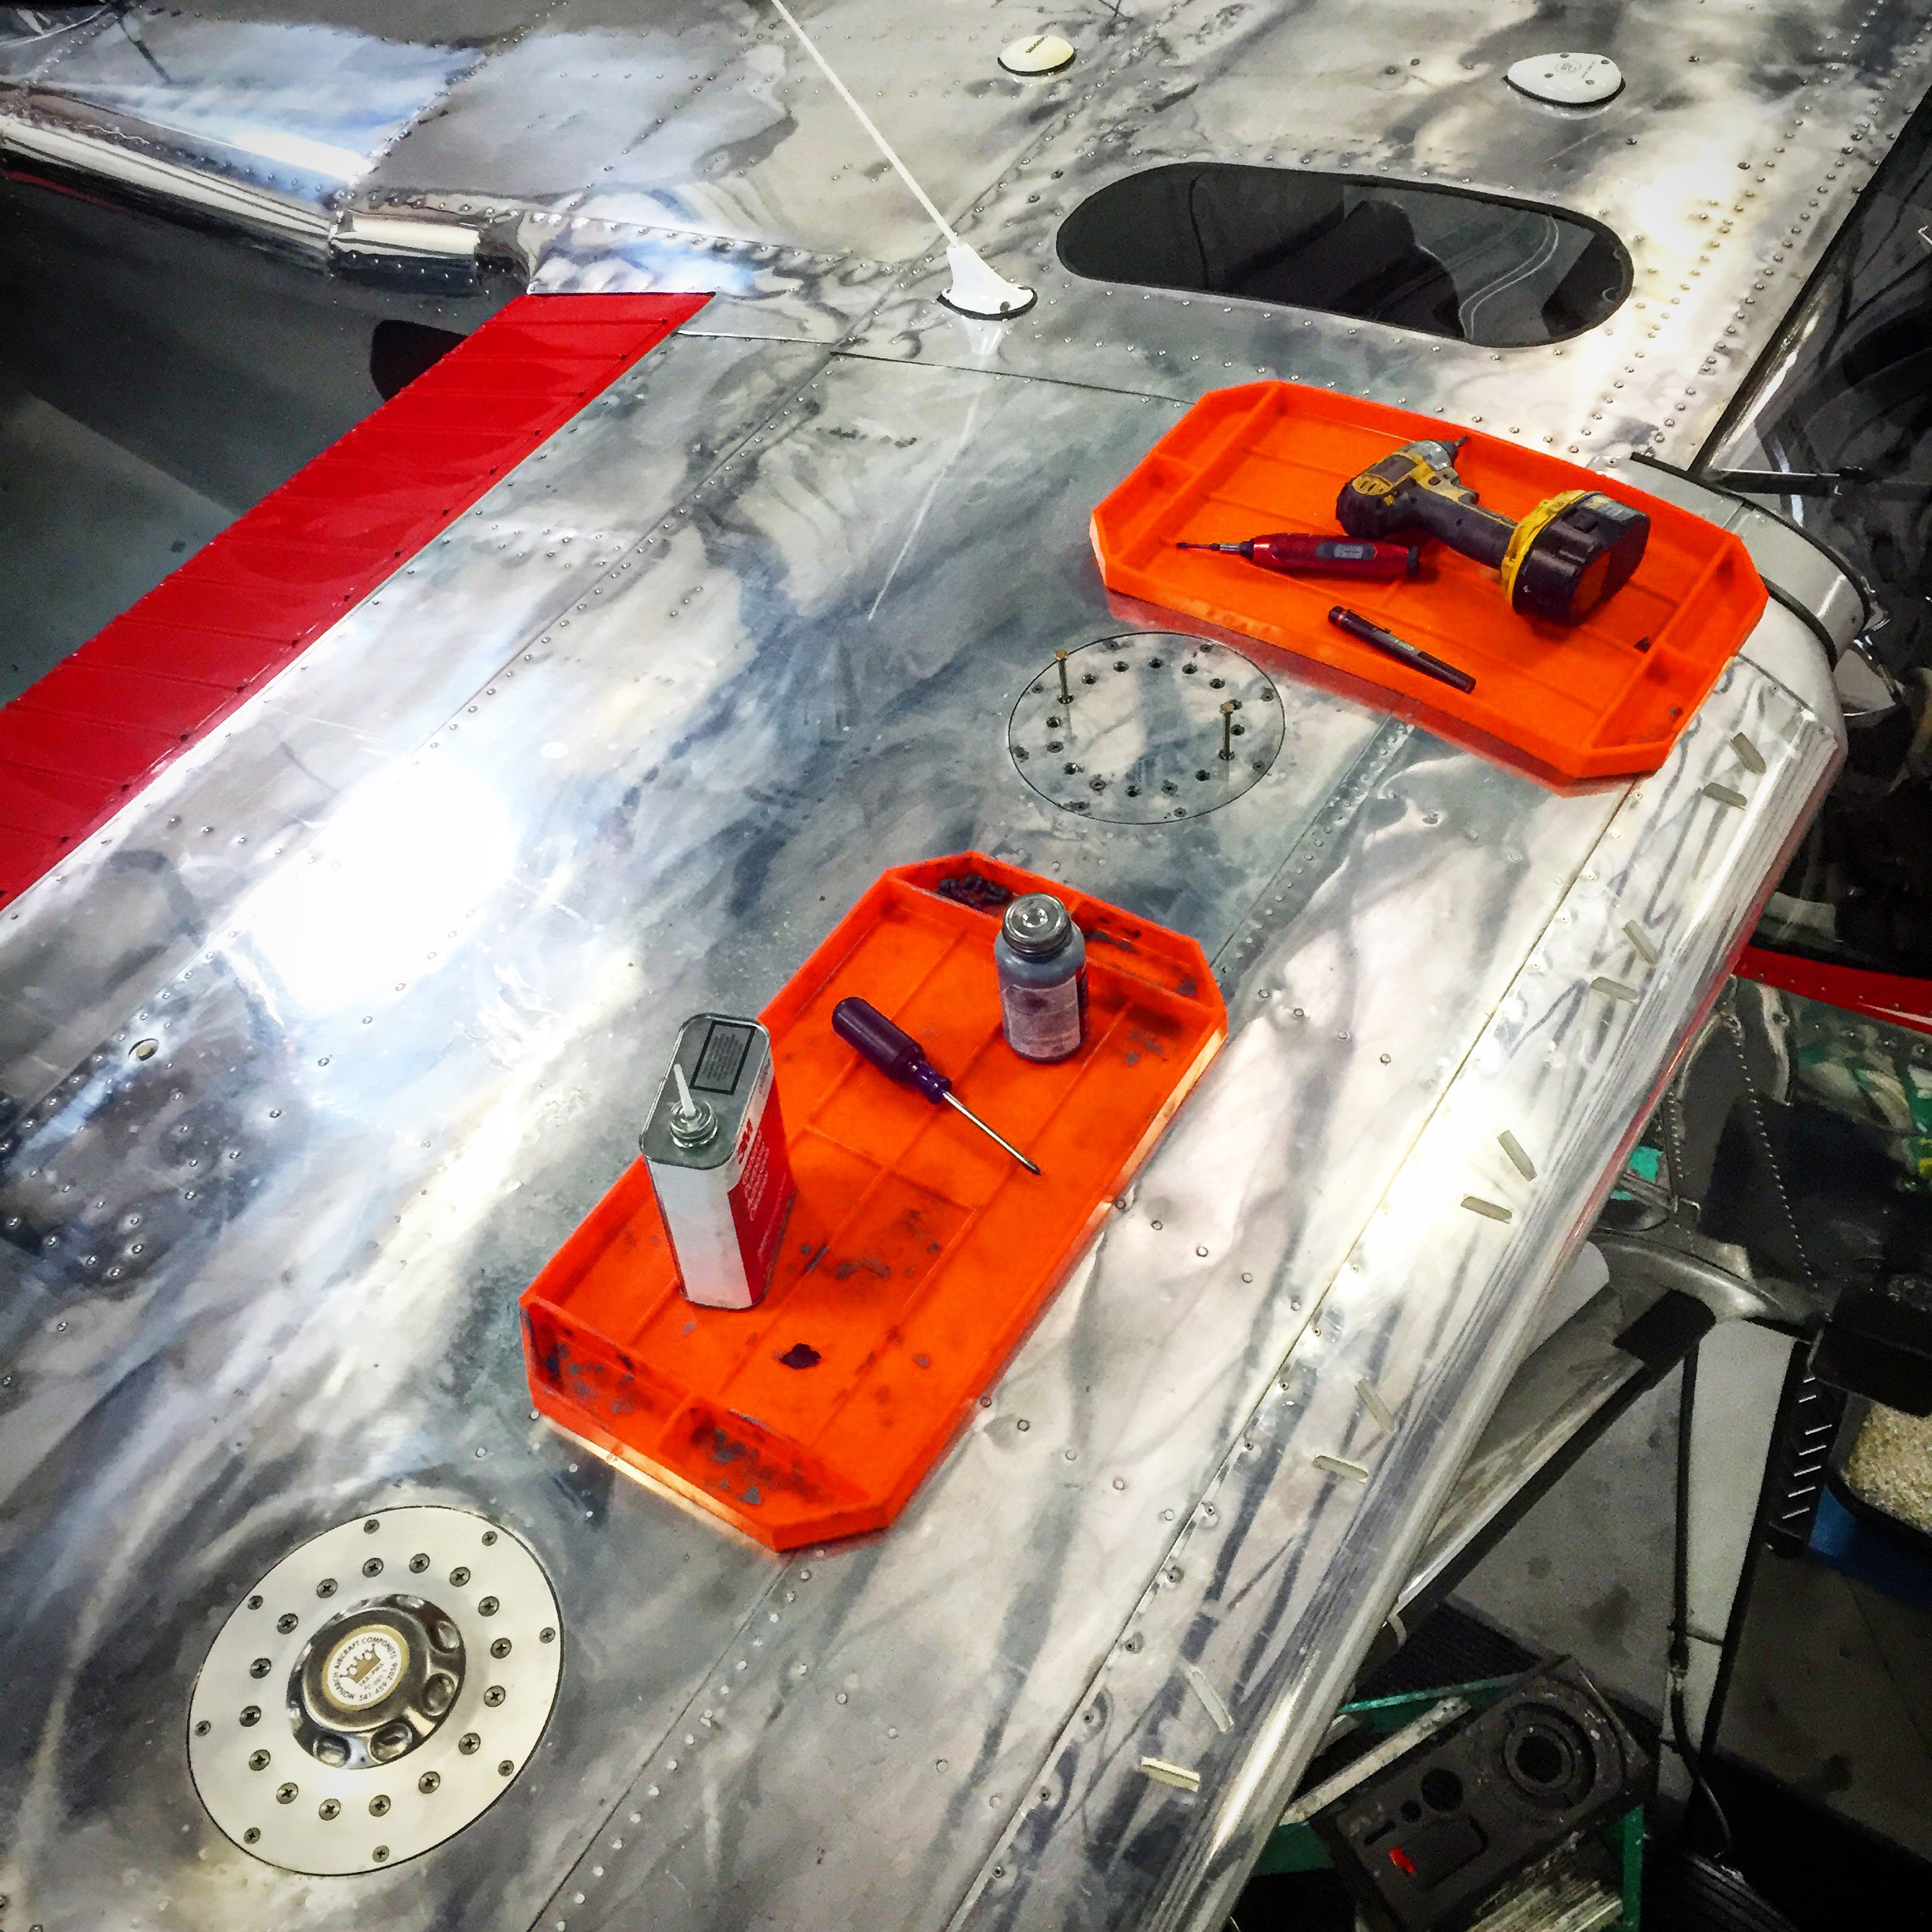
Last month I was contacted by Alex Fried, the CEO of Gryphson Industries asking if I would be interested in doing some user testing of their first product, the Grypmat. I had just discovered a leak in the wing bladder and would be needing to work up on the polished wing, so the timing couldnt be more perfect.
First, how the company describes their product: The GrypMat consists of a 2’x1’ rubberized, flexible, non-marring, non-slip, anti-static material. GrypMat is designed to give mechanics a safe and secure surface to store tools without worrying about damaging the equipment they are working on. GrypMat works where other tool trays won’t, such as the curved surfaces found on aircraft wings and bodies. Using GrypMat reduces Foreign Object Damage (FOD), lowers maintenance times, prevents scratches and damage, and helps mechanics do their jobs.
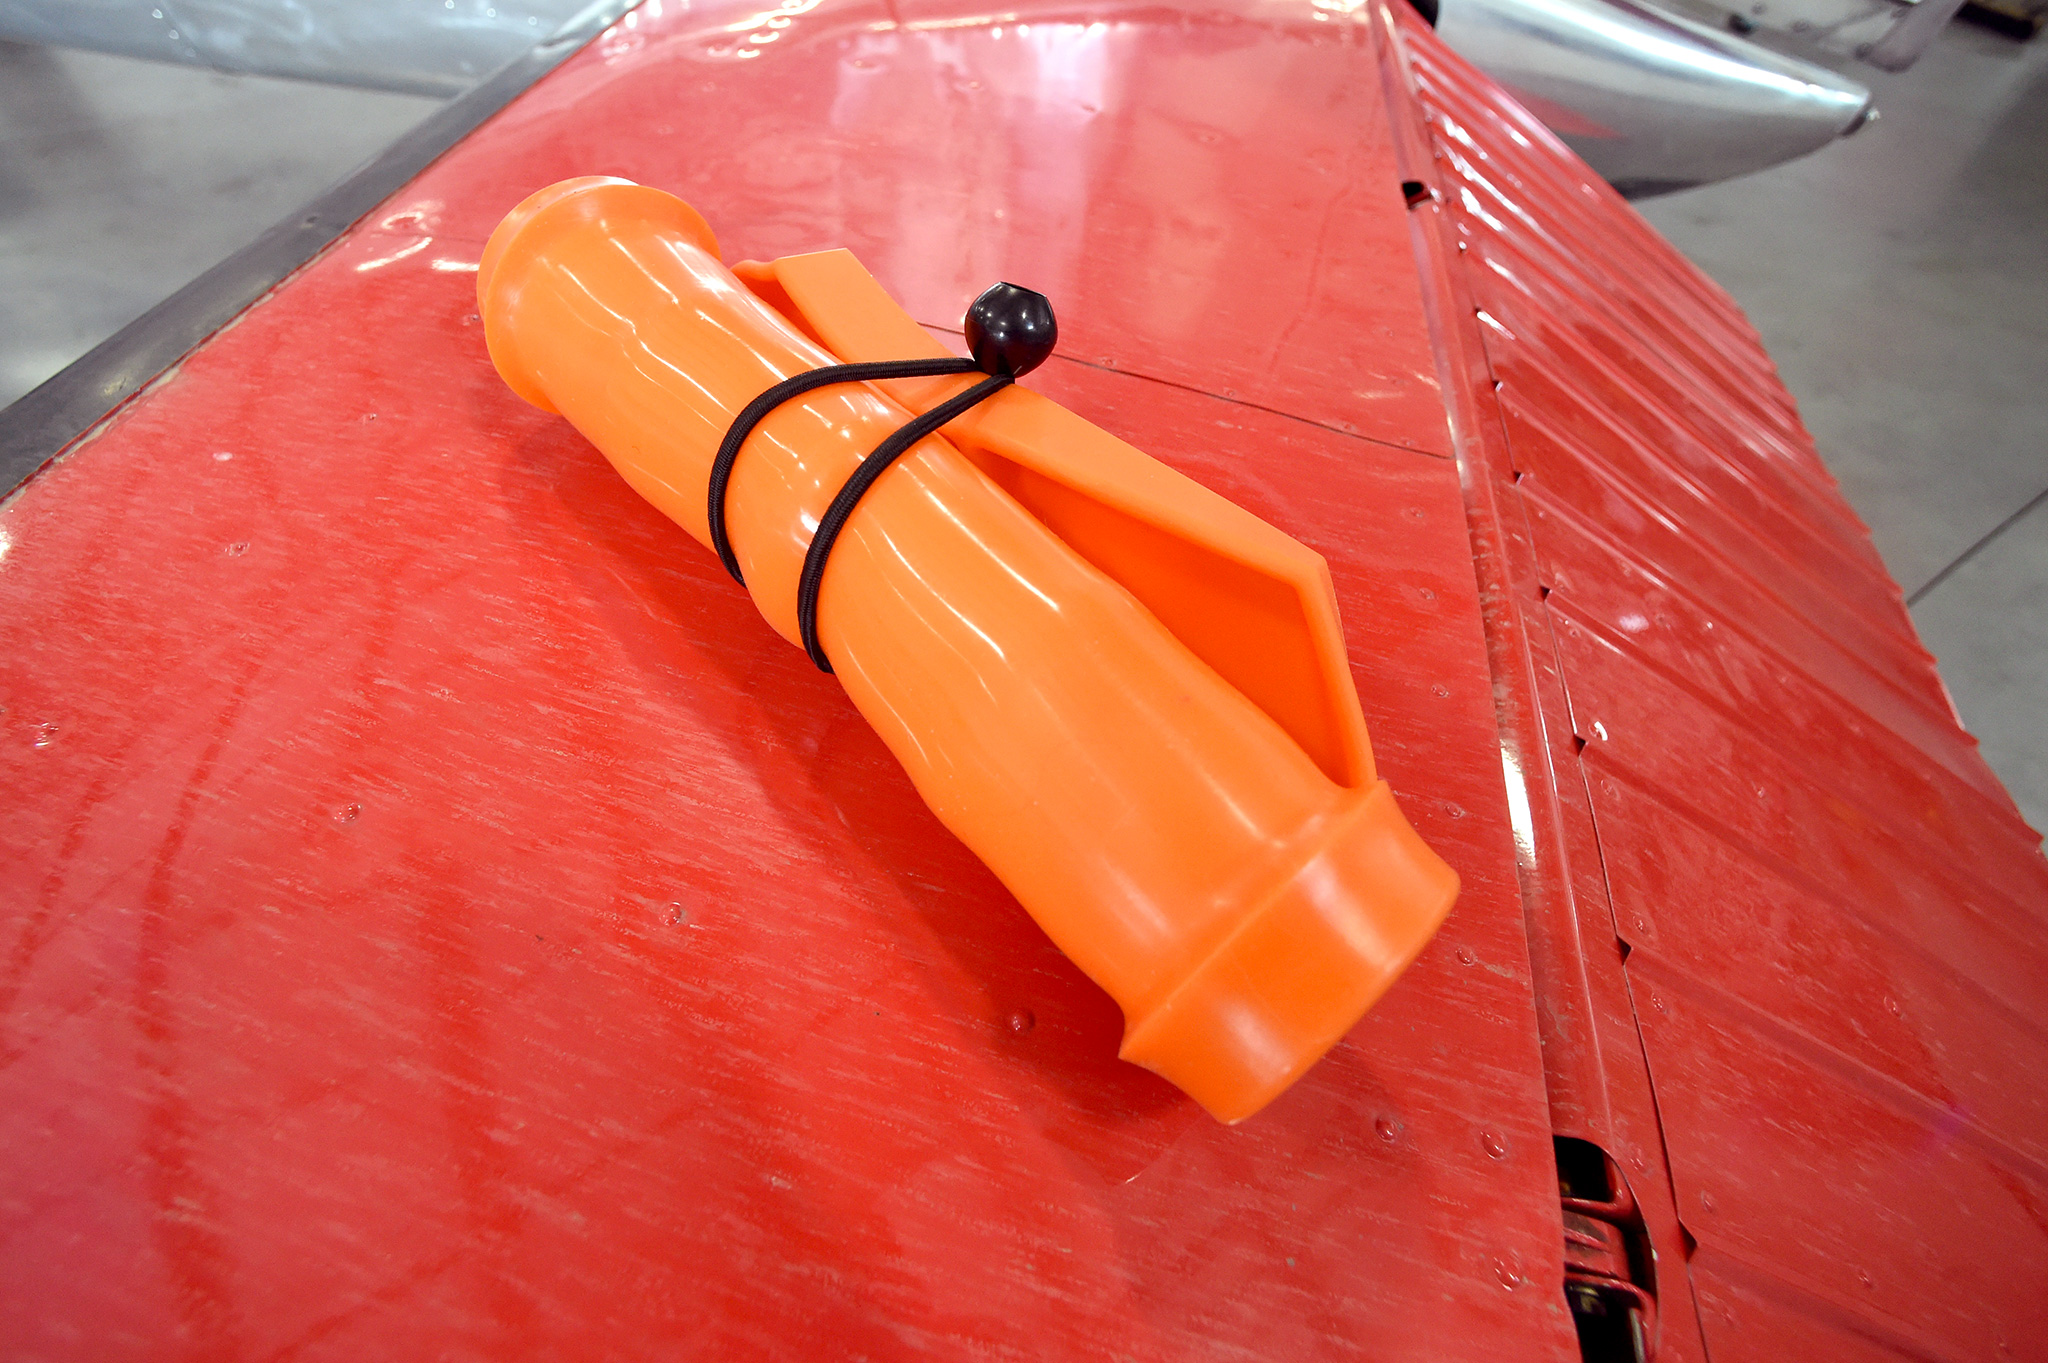
The mat I received came rolled up with a nice bungee to keep it small. The material was unlike anything I had handled being super flexible and gripy. I quickly put it to work laying out two mats on the tops of the wings. In principle, the idea seemed worthwhile, and in practicality, quickly became invaluable.
Thoughts: Overall, I loved using the mats, and am happy to help promote the product. The units I received are pre-production, but have been assured that the final units will be even better.
NET NET, the mats were super helpful working on top of the wings. My tools as well as the fasteners stayed in place, and I was able to avoid any unwanted scratching in the bare aluminum. Other than working on the exterior, I can see the most important benefit being an aid to working inside. Anyone who has ever worked in a tail dragger knows what a huge pain in the ass it is when stuff starts rolling backwards and then disappear into some secret crevasse.
At any rate, keep an eye out for the Grypmat once it hits the shelves!
One of the things that is really important to think about when working with solvents is ventilation. It’s often easy to think “it’s only for a couple of seconds…” but the reality is that chemicals like MEK can really put a kink in your day. Maybe it will be a few years down the line, but the kink will be there.
Here is a cool ventilation fan from Harbor Freight. It’s called the 8″ portable ventilator and moves quite a bit of air. For only $75 bucks, it’s a worthwhile investment.
Started in on the stripping yesterday. I had fought with this stuff on the C170, and all I can say is it’s insidious. No fun at all.
I have no idea what Cessna called it, but the thick black mix of petroleum based goo ain’t no pick-nick. But as Kennedy said, “We choose to do these things not because they are easy, but because they are hard.”
The best way I found to deal with this stuff is to paint on a layer of aircraft stripper (being very careful it doesn’t run between the seams) letting it soften up the material, then scrape off the heavy stuff with a plastic putty knife.
Once that is done, 3M makes an amazing elixir called “General Purpose Adhesive Cleaner.” This stuff is perfect for dissolving the goo and cleaning it right up. Its a long hard slog cleaning each of these panels, but will be well worth it once a fresh coat of paint is on!
Thought this was kinda cool and worth sharing…
For the C170, I found that Home Depot sold a pretty cool canvas bag in their Husky line that worked perfectly for the A.R.R.O.W. documents.
It’s called the Husky 12 in Document Bag and it’s $3. Worked so well, I did the same for the Skywagon. I used a Sharpie Paint Pen to write my N#. Keeps the docs nice and safe. FYI… Fits in the glovebox.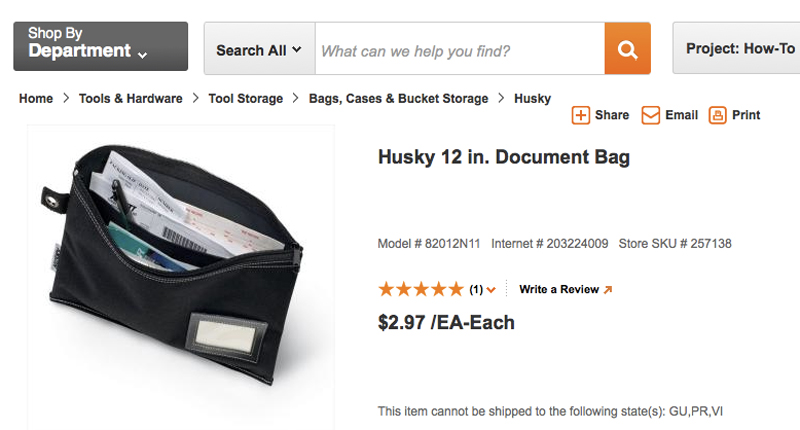
One of the “cool” things you see the BC Pilots do in all the Alaska films is taxi around with their tail up. Takes a bit of skill, a bit of power, some delicate braking, and a whole lotta smile.
Since I am constantly being drawn into this black hole of the back country, I thought I should get to know the airplane a bit and see just how much clearance I was dealing with between the deck and the prop tip while in flight attitude.
Since the Skywagon was already set up for this measurement, I would have been a lazy ass had I not pulled the tape and walked around to the danger end of the airplane.
The reality was that there is WAY more clearance than it looks from the pilot seat. From deck to tip, with the 82″ mac I am running, I have 18″ of “leeway.” Interesting…
Got the updated A-Bravo helmet from ProTec today. As I mentioned in a previous post, I had ordered this helmet because ProTec claimed that the Lightspeed headset would fit inside.
I can officially report that they are wankers and obviously just wrote that it would fit and never did any testing. Lightspeed headset will NOT fit inside the helmet.
It seems like a nice helmet with some pretty different styling changes over the A-Alpha, but I didn’t order it for the new look, I ordered it cuz I wanted to wear it with my Lightspeed headset, and they lied. Waste of time and $$$. Sending it back.
My last post RE: clothespins really got some interesting debate started on the Backcountry Pilot site. Some think NEVER switch the fuel off. Some leave it on just one tank, and yet more see no issues with shutting the fuel off.
In my C170, and now in the C180, I try to be extreamly vigilant with my checklists and have listed “fuel on both” in many places. I flip the selector to one side or the other to prevent cross-feed, and now add the clothespin as a memory aid to remind me to switch to both even before the checklist is out.
The fact is we are human, and humans can be pretty damn stupid from time to time. I certainly am no where near an expert on what is right and what is not… but the debate leaves food for thought.
I had mentioned a bit before about how the previous owner of my C180 used copious amounts of cloths pins as memory devices inside the cabin. At first, I thought it was a bit schmarmy, but I have decided to fully embrace them and go all the way.
This past summer I landed at a friends private grass strip. After two hours of farting around I realized that the slight hill the 170 was on had caused almost all the fuel in the right tank to shift to the left. I spent a half hour hanging on the wing after spinning the 170 around to get fuel back in the wing.
Today I deployed the P-Touch and have fully gone cloths pin. No regrets!