Rip em and Strip em…
December 20, 2012
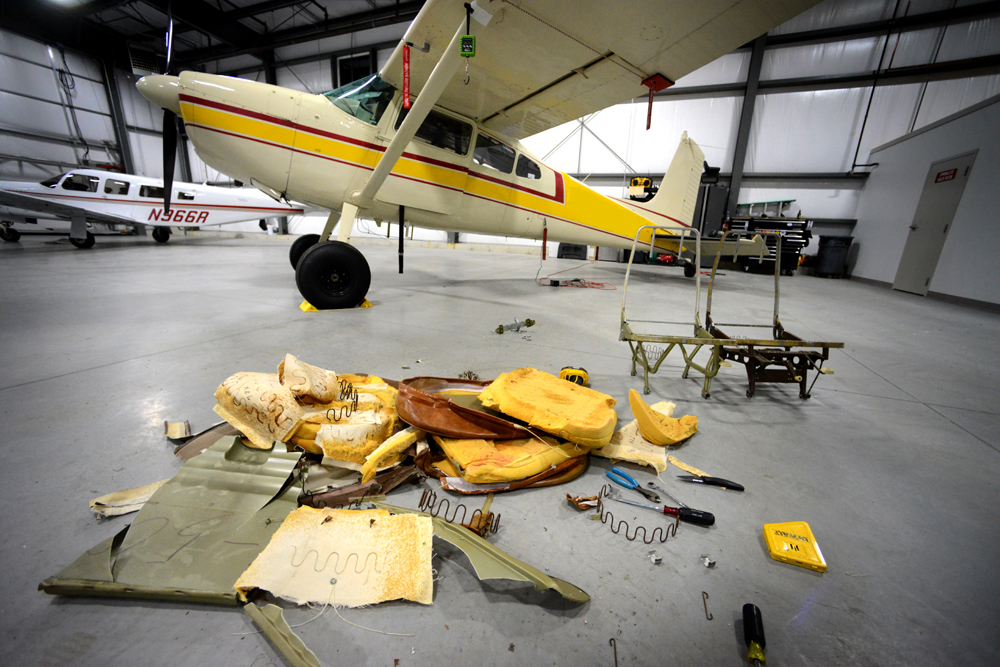
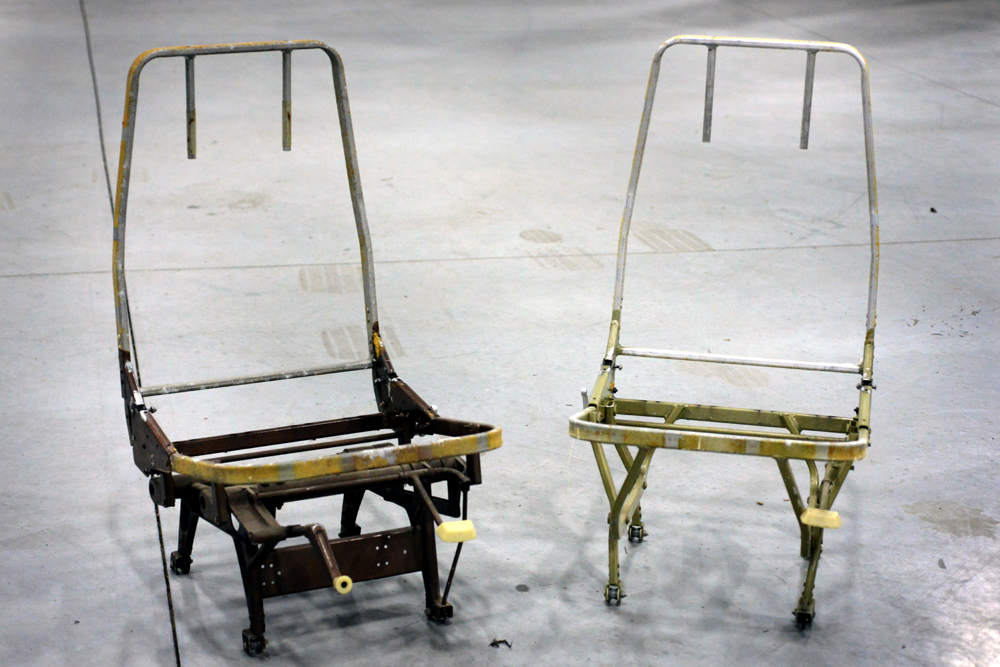
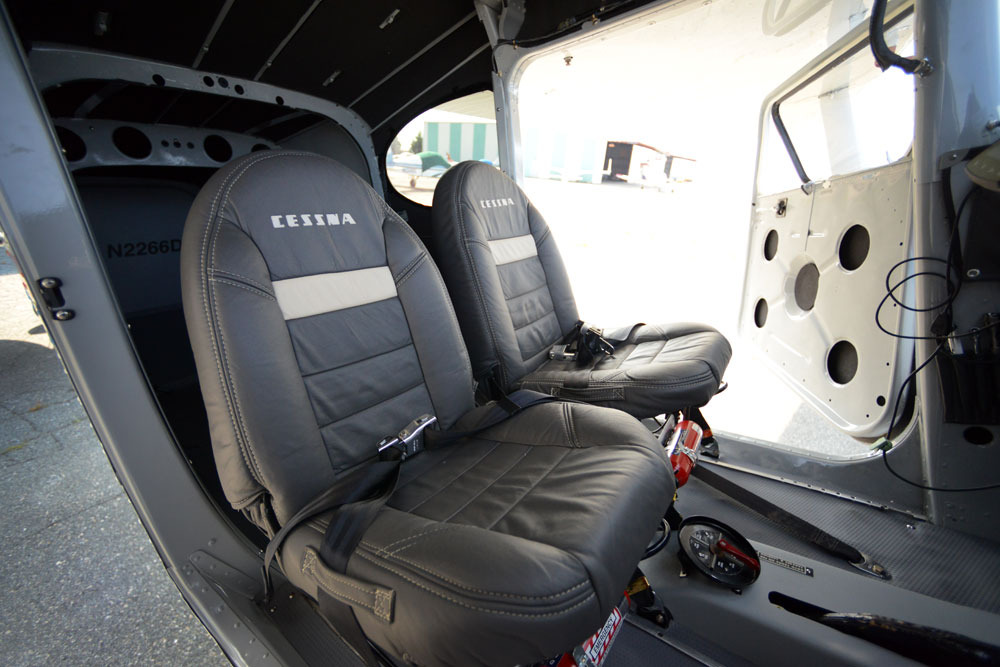
So obviously the first thing to do when you get new seats is to strip em down and give them a good once over. Luckily for us, both seats pass with flying colors and will be good to go for the restoration.
But all this talk about weight, the question is will it really be worth the fuss?
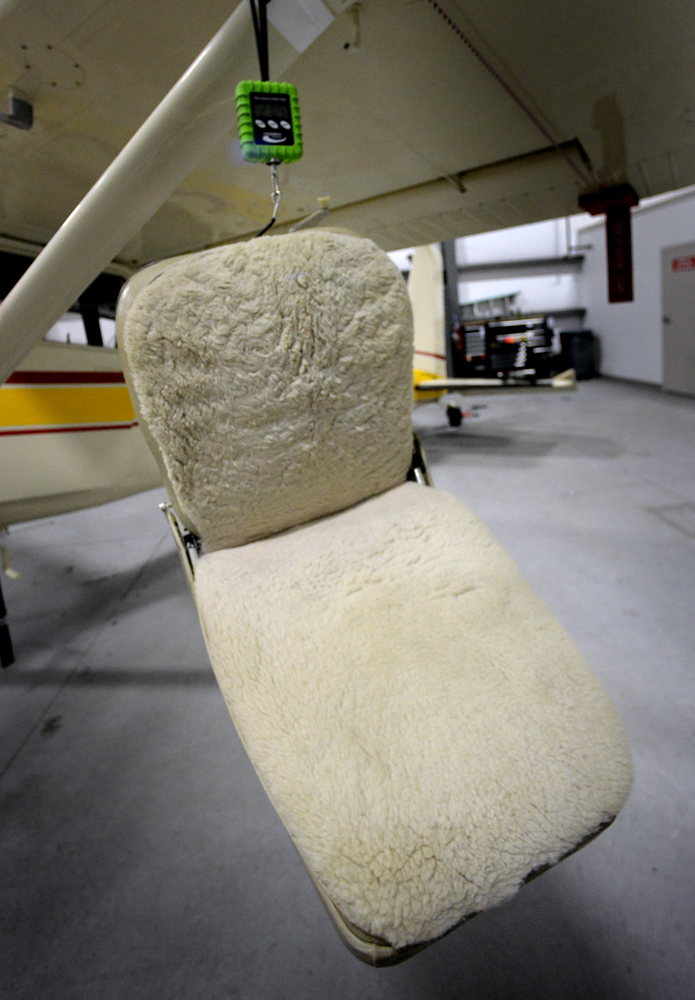
To answer the question, again, baseline weights are needed. Knowing what we are starting with will give us an idea of just how much we saved once they are back from Aviation Creations.
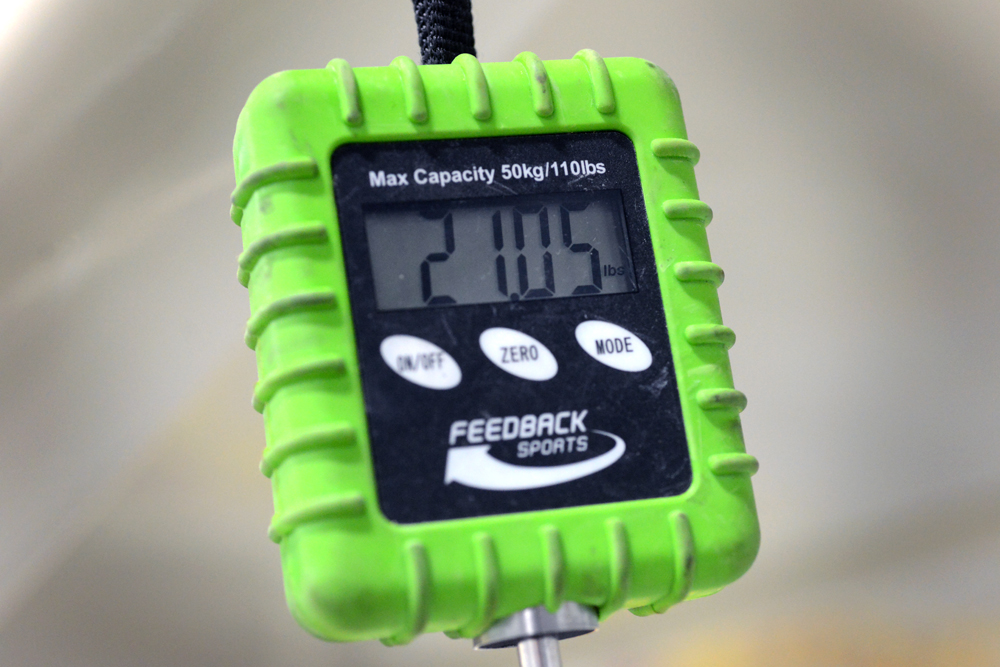
The Skywagon came with an articulating pilot seat, and a standard co pilot. We could of course gone really crazy and tossed the articulating seat for a standard seat to save even more pounds, but for this project, although we are weight conscious, we are not being insane. (There will be some comfort) So the articulating pilot seat goes back in.
So here’s the deal… Articulating Pilot w/ upholstery: 21 lbs. Co Pilot w/ upholstery: 14.86 lbs. Keep in mind that I suspect that the sheep skin is a bit on the heavier side, but out comes 35.86 lbs of front seats. The goal for the new seats (finished) will be 25 lbs. For the C170, Ron was able to shave off 6 lbs per seat. Hopefully we will be able to do the same.
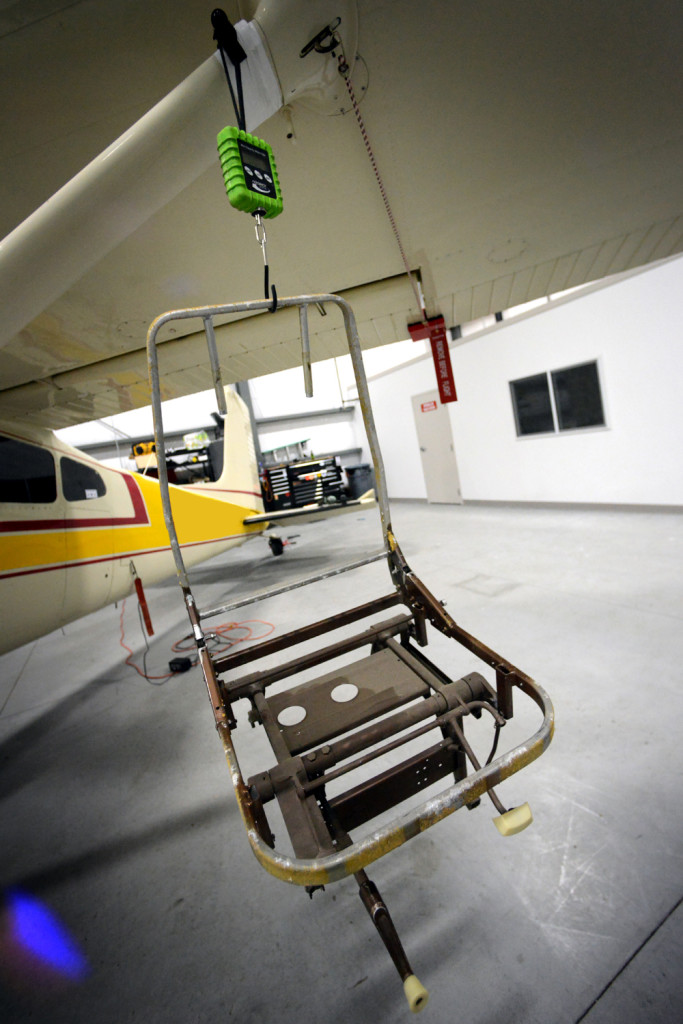
But what about the articulating seat vs/ the standard seat? What are those guys actually saving who forgo the articulating seats in lieu of the standard seat?
Stripped, our un-upholstered articulating seat weighed 10 lbs. The standard seat (stripped) weighed 6.46 lbs. So is it worth the extra 3.5? I really don’t know, but for me… it’s stayin.
Seats…
December 19, 2012
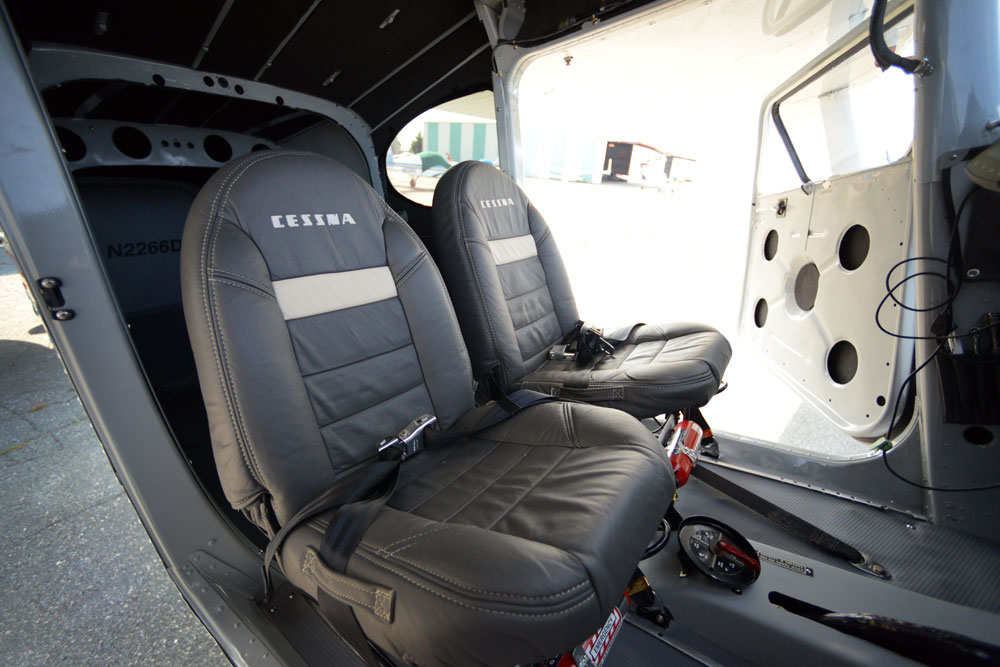
One of the best things I did for the C170, was to have Ron Matta at Aviation Creations in AZ redo the seats. It really did make a huge difference (and saved a bunch of weight,) and I was hell bent on doing the same thing for the Skywagon.
The wire frames are removed, subs are stripped, powder coated, and sent along to Ron. He then heat shrinks nylon to the frames, and builds up memory foam cushions. (super comfy.)
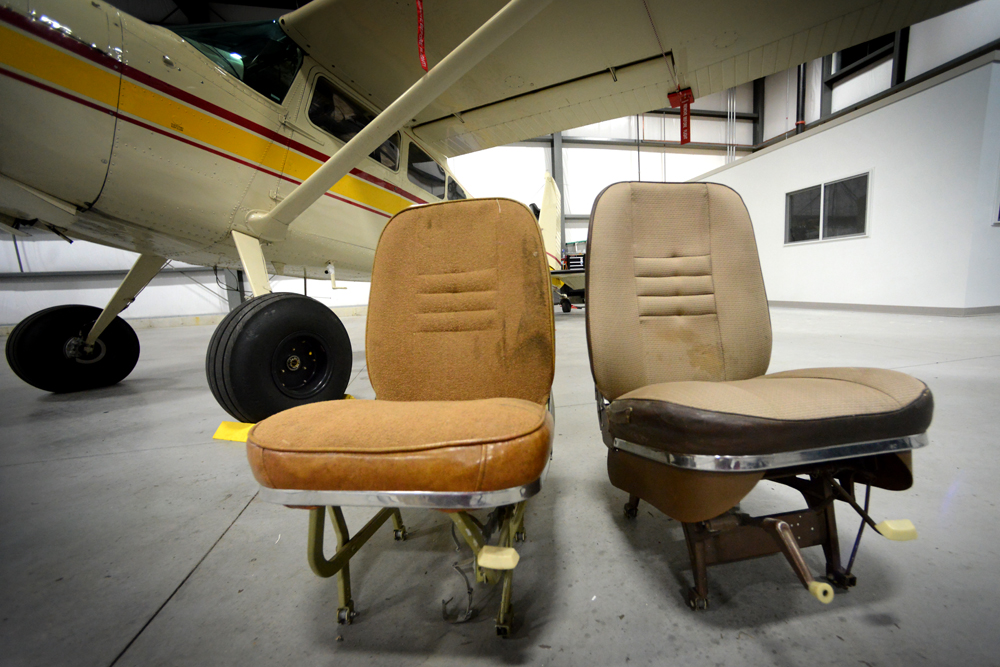
One of the things that the previous owner of my Skywagon was really proud of were the rear seats he had field approved and installed. During the install, he had all four seats custom upholstered with sheep skin and are actually really soft and comfy.
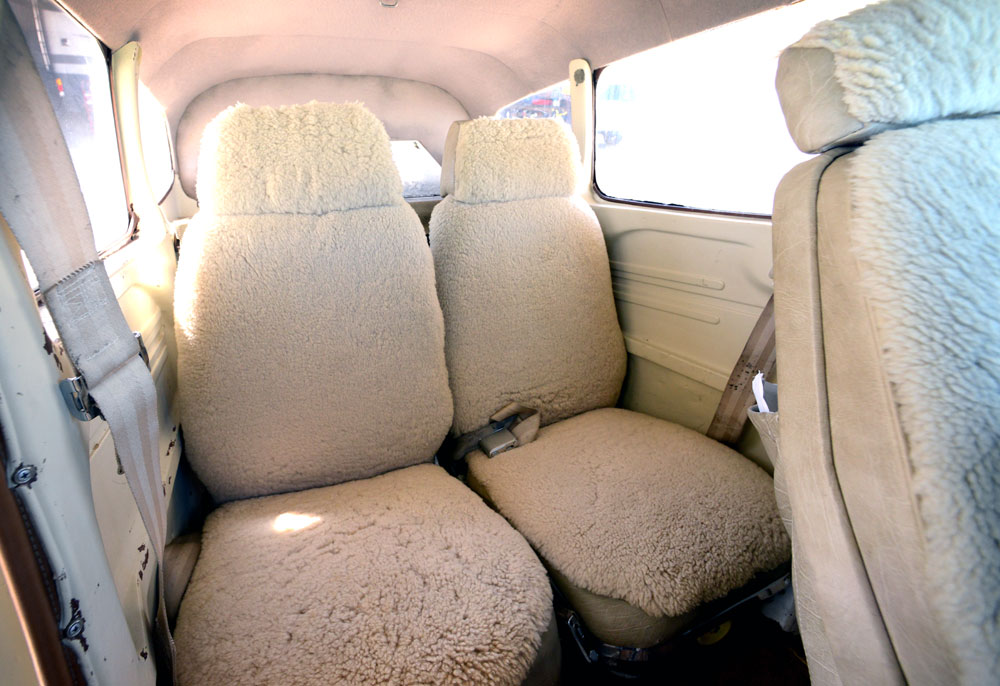
Although nice, I was sold on Ron working his magic, which meant the covers (if I used them) were going to have to be destroyed which would be a shame. What to do???
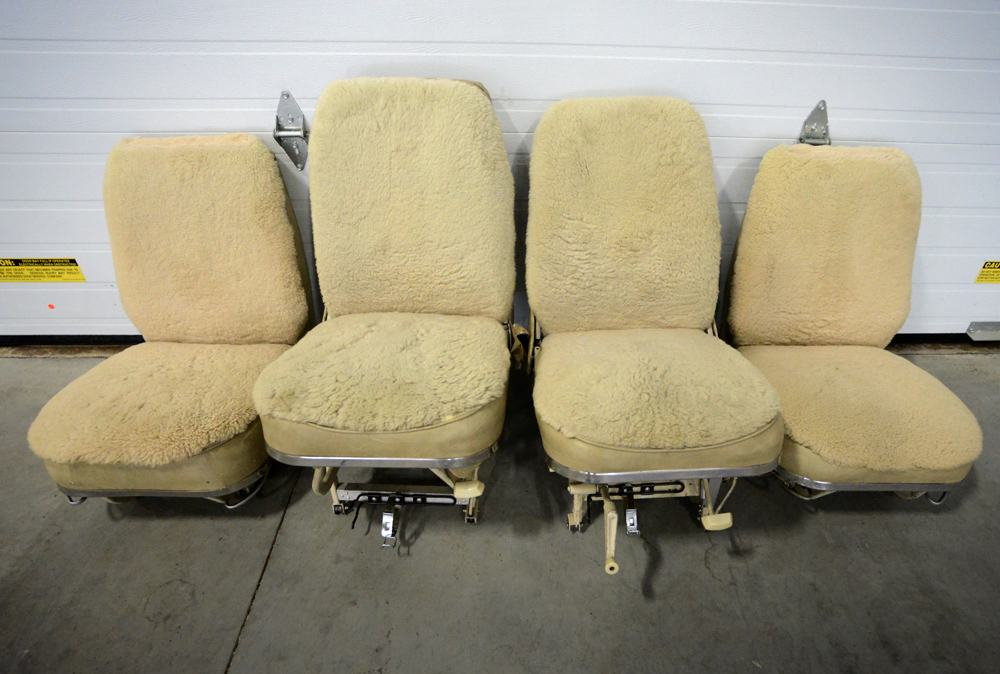
After a bit of searching (and scrounging) I ended up finding a pilot and co-pilot seat from the same 66 model year at Wentworth Aircraft. The upholstery on these are junk, but that doesn’t matter. The frames and mechanisms are sound, and are going to be the perfect foundation for the new seats.
The plan is to strip down these new seats, revitalize them, and send them off to Ron for a new ultra-light finish. (If your interested in a nice matching set of 4 sheep skin seats, give a shout. They will be going up on eBay this week. Use the Kenmore STC, or use my 337 paperwork for field approval. I will include the Cessna seat rails for the back seats. Rears have headrests, pilot is articulating, copilot standard.)
Goo-B-Gone…
December 18, 2012
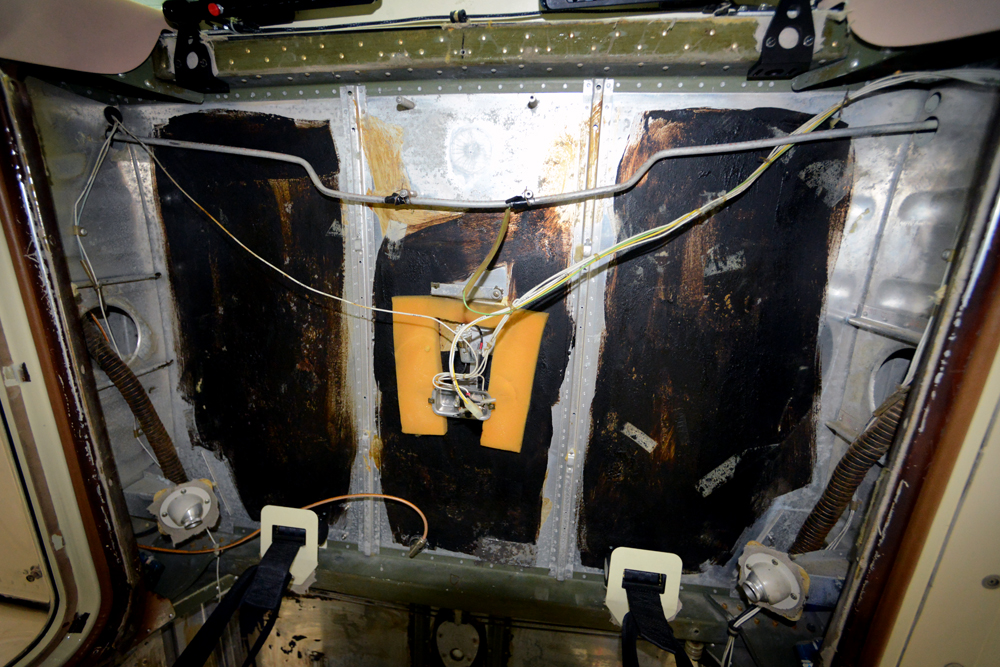
I wish I could be more excited and wax poetic for paragraph after paragraph… But the simple fact is that getting this stuff off just plain sucks.
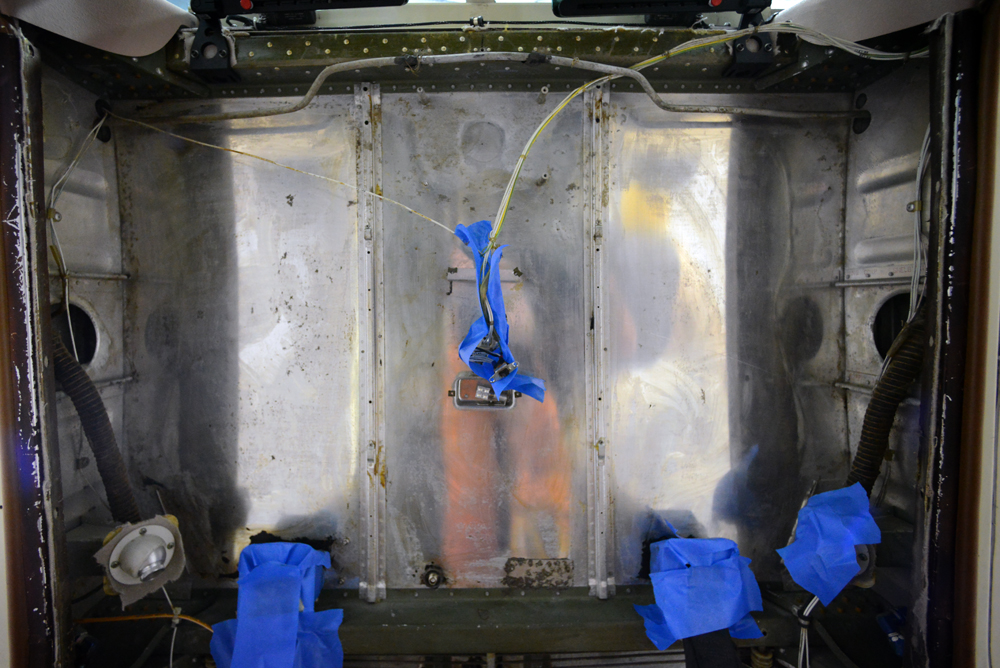
Was able to finish up at the office a bit early and hooky-it down to the hanger to spend some quality time in the respirator. We are almost finished with this stuff. Just the kick panels and this phase will be over.
Floor Choices. AIP Source…
December 17, 2012
 It is always amazing when you actually weigh every item that is inside an airplane. It’s so easy to just say, who cares. Just put it in… The fact is when you count every item, you can really see how easy it is to load up the airplane with all sorts of extra none-sense.
I am being very conscious of weight on this project. It’s not that I want to be a nutty extremest and throw the baby out with the bath water, but I want to have an understanding of how every choice affects the bottom line. If it makes sense, weight addition is ok, but if its unnecessary, than it doesn’t belong.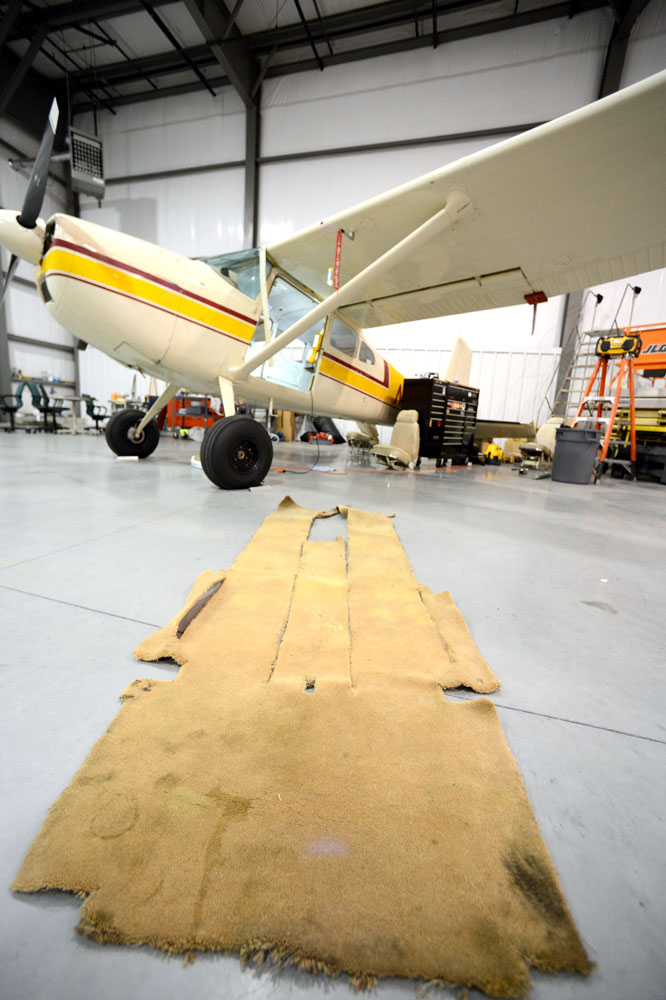
The carpet that was removed from the Skywagon was a residential nylon carpet. Besides being illegal and having no burn data, the damn stuff was super heavy weighing in at 10 lbs.
So the question is: What to replace it with??? If you spend any time perusing the boards, you will read all sorts of opinions. This is too heavy, that is too light… This one makes it too loud, and that one wont provide enough protection. Blah blah blah… The funny thing is that most of these opinions are from people who just choose one option. They never do any testing, or have any other experience other than what is in their airplane.
I guess I fall right there with the rest, and only know what I know. But I do know this… I have been flying the Skywagon without any carpet on the floor. In fact, I have been flying without any interior at all, and I can report that for me, at the temps I am flying, it is totally cool. It’s not to cold, and it’s not to loud. This is pretty liberating as I can do as little or as much as I want.
For the C170, I found a really cool product from AIP Source called Aerofloor DOT. You order it per yard, and comes with the important burn data. The floor I installed in the C170 weighed in at a paltry 3 lbs. Of course this product was super thin and provided NO padding for protection, but with the kind of flying I was doing, it didn’t matter.
AIP Source tends to work with larger orders, and I believe supplies Cessna with the new floor in their new airplanes, but still sells to us little guys. When I ordered for the C170, I found them to be cordial and very helpful. Their website has good photos of the colors and patterns, so its easy to make a decision. All that I had to do was discuss weight.
For the Skywagon, I have a bit more leeway with respect to weight, so the jury is out with which floor I am going to install… The Lonseal is thicker and provides more padding (and sound deadening) but is a bit more than twice as heavy.
I’ll be mulling it over this next week before I place my order, but chances are I will go with the same as the C170 and order the Aerofloor DOT. Keep it real light!
Stainless Steel Brake Lines…
December 16, 2012

I got a couple eMails regarding the stainless steel brake lines we used on the Skywagon when the new Clevelands were installed.
These were sourced from Sacramento Sky Ranch. Their website is pretty darn aweful, but they are a good vendor and do good work.
For what its worth… If you are going to upgrade your airplane with Clevelands, the cheapest vendor to go to is Alaskan Bushwheel. They beat Spruce by two or three hundred dollars. (Thanks Wup!)
P/N: Cessna 170 is 199-46, and Skywagon is 199-62.
Guck Sucks…
December 15, 2012
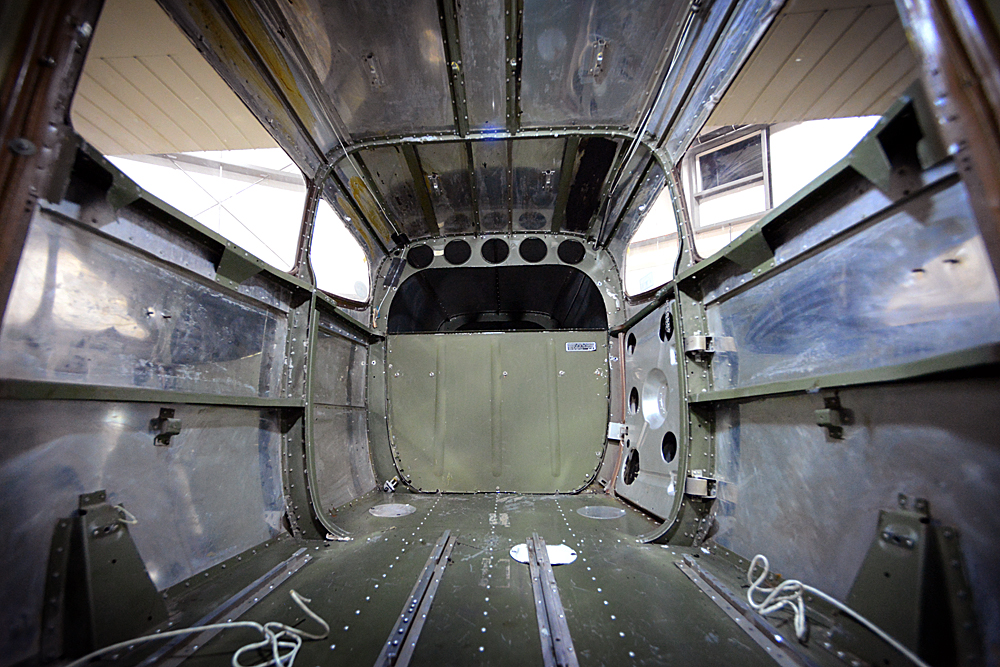
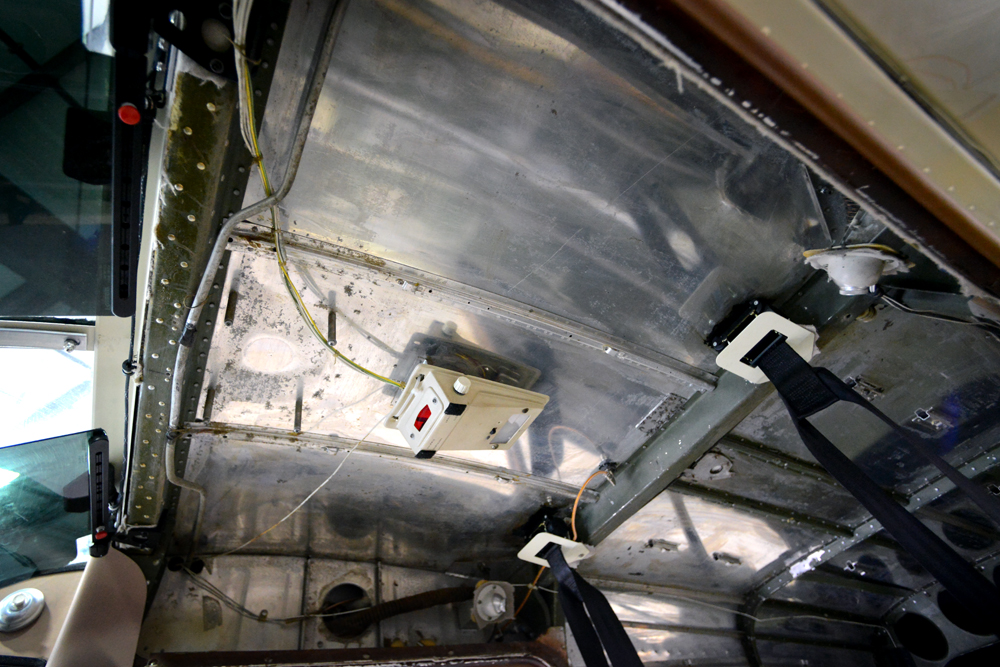
Used up a whole lotta elbow grease today getting some panels clean. Anyone who has done this job knows just how much this sucks. It really is the worst…..
But nothing worth doing is easy, so I’ll carry on. 1/4 of the black guck is gone thank Christ!
Why a 66?
I’ve been asked a bunch why not another C170? Why a 180? Why?
Keep in mind that I am just a knucklehead and no expert. But here are my thoughts-
First why the Skywagon: My goal was to build a light, capable, modern backcountry airplane. I always wanted a Supercub, but in my opinion it’s not as practical as a Skywagon. Plus, Im not that good of a BC pilot yet, and If I can’t get down in the Wagon, I probably shouldn’t be trying to land there yet… I wanted a (relatively) fast, light IMC airplane that I could haul a shitload, fly coast to coast comfortably, and land in the bush.
Why a 180 and not a 185? Built right, it will do everything the 185 can do, and sometimes better. Most of the old timers and mentors will say that its not the fancy mods or the machines anyways, but the pilot.

As far as the year, in my research/opinion, (and as been said here before, many believe that the 66 is the best model around.) It has the elements of the light earlier models, but the big and important changes of the later models, IE modern panel, long range tanks, better TW steering, landing light in the wing, pilot adj seat, 3rd window, 6 passenger, baggage door etc.
I didn’t want an airplane that had already been adulterated, I wanted to find the cleanest, stock example of an “H” I could and make it mine. With perseverance and patience, I was lucky enough to find just that.
By the time its finished, we should have a +/- 130kt airplane with a 6hr range, a stall speed in the high 30’s (mph) that weights in the high 1700’s with a GW of 3190. That’s over-sized tires, 474lb in fuel, two 200 lb guys, and almost 600lbs of cargo/passengers. I think that’s pretty cool.
Now who know if this will be a reality or not. The internet is full of exaggeration and BS. I really don’t care one way or another, but regardless, it is already a hell of a lot of fun!
To learn more about Skywagons and the differences between model years, click HERE:
Stripping Begins…
December 14, 2012
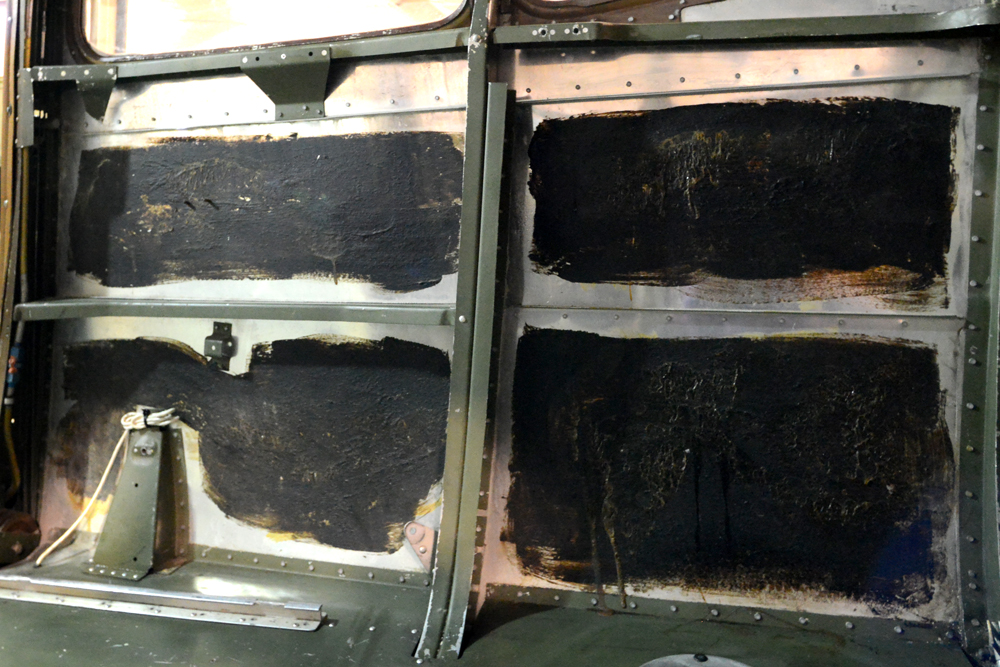
Started in on the stripping yesterday. I had fought with this stuff on the C170, and all I can say is it’s insidious. No fun at all.
I have no idea what Cessna called it, but the thick black mix of petroleum based goo ain’t no pick-nick. But as Kennedy said, “We choose to do these things not because they are easy, but because they are hard.”
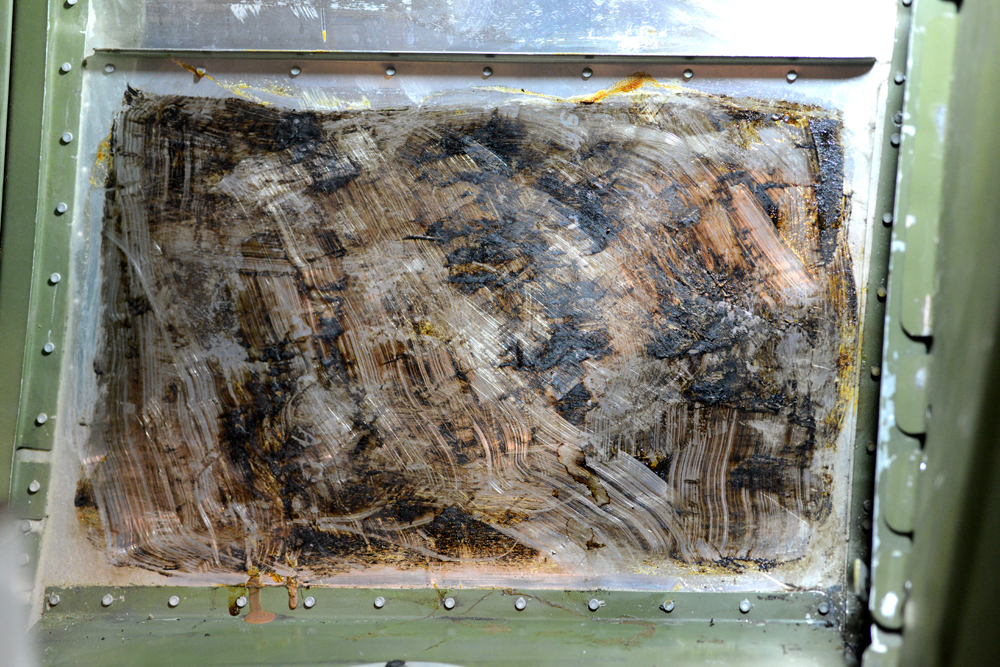
The best way I found to deal with this stuff is to paint on a layer of aircraft stripper (being very careful it doesn’t run between the seams) letting it soften up the material, then scrape off the heavy stuff with a plastic putty knife.
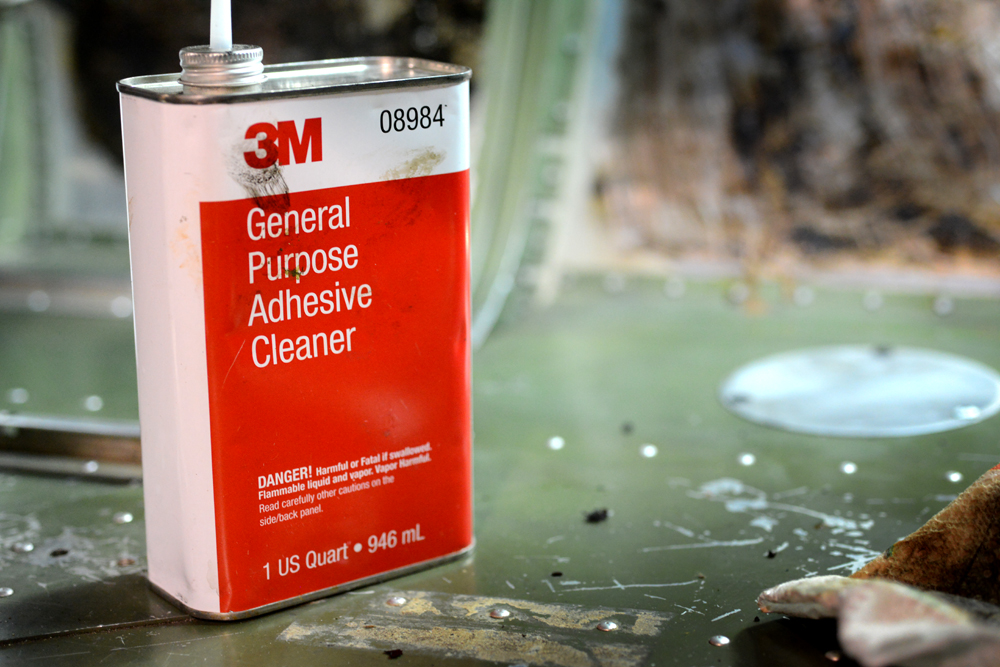
Once that is done, 3M makes an amazing elixir called “General Purpose Adhesive Cleaner.” This stuff is perfect for dissolving the goo and cleaning it right up. Its a long hard slog cleaning each of these panels, but will be well worth it once a fresh coat of paint is on!
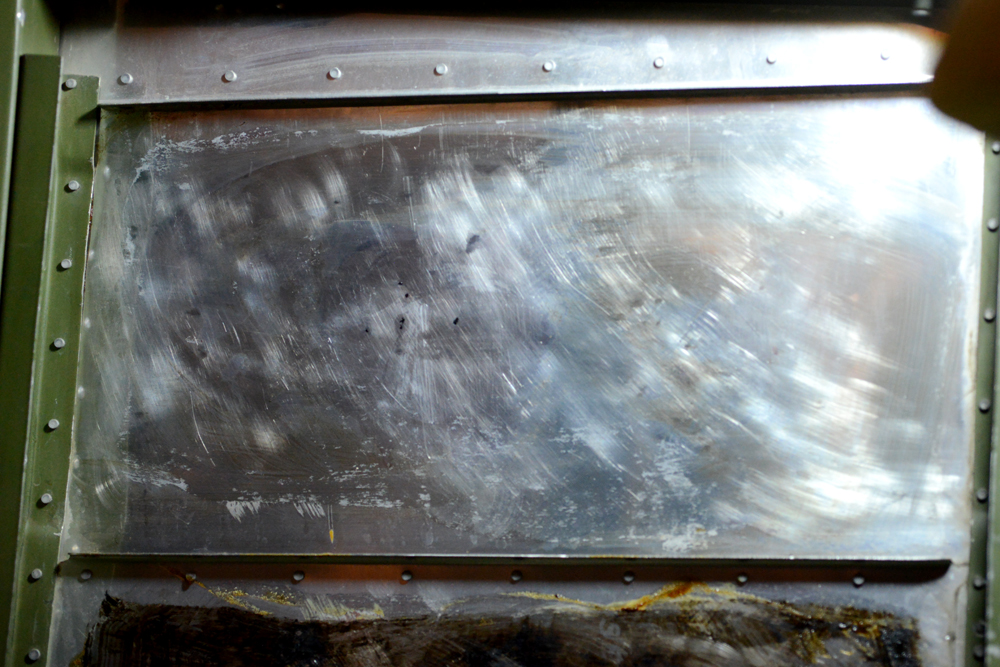
Tail Up, Missing the Point…
December 13, 2012
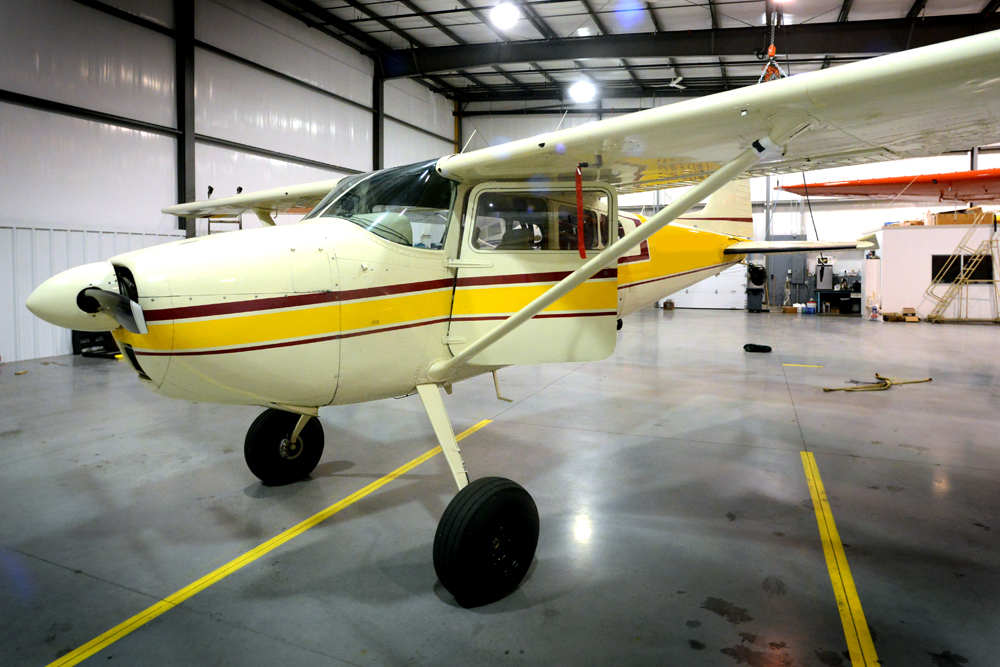
I wrote a blog post the other day about the height off the deck of my prop when in flight attitude. The measurement was interesting with respect to how much clearance you have for a “tail up taxi.”
I also created a thread on the BCP board and the C170 board. It was interesting to see the different thread migration, but on the C170 board, there was a visceral response.
There was a lot of, “I would never,” and “this and that are stupid…” and “I don’t go outside because I’m afraid of traffic…” I guess what was disappointing was seeing the narrow mindedness of some opinions clouding point that I was trying to make. To me, as a low time tail wheel pilot, and an even LOWER back country pilot, this was interesting data. Data that would be good for all of us to keep in the backs of our heads.
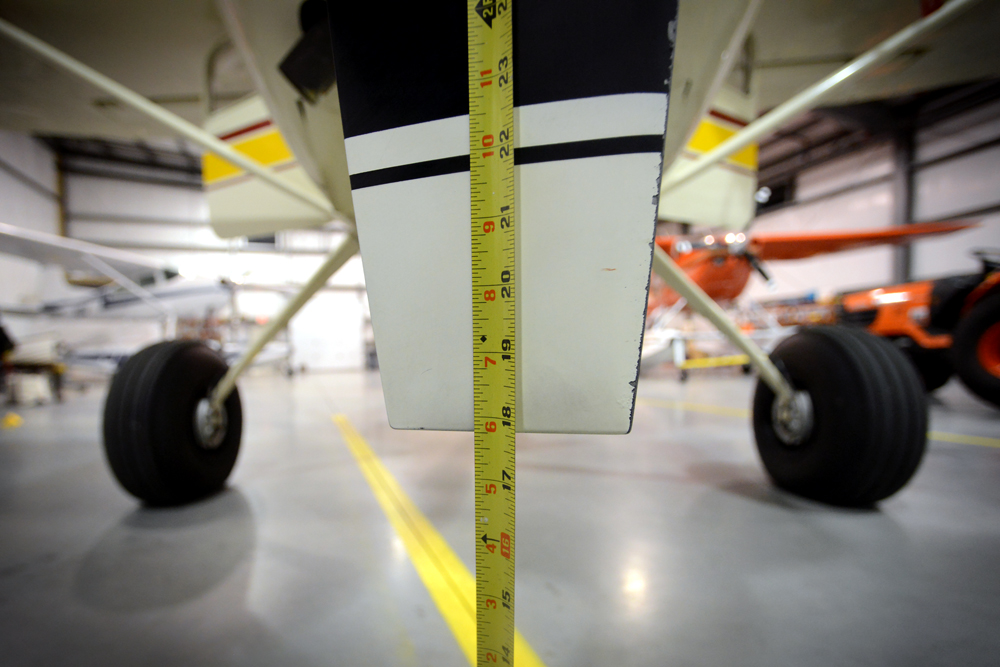
When I was learning to fly tail, I did a number of high speed taxi exercises from one end of the numbers to the other. In fact I still do it. Keeps me sharp. When I started landing in the grass and was bouncing the hell all over the place, I would often cringe thinking that the wheel landing was going to bugger the prop. My instructor kept saying, “don’t worry…plenty of room.”
As the hook sunk deeper and I started aspiring to operate in the really rough, my questions again came to the surface… How much clearance did I had between bushes, bumps, berms etc… How tall was too tall?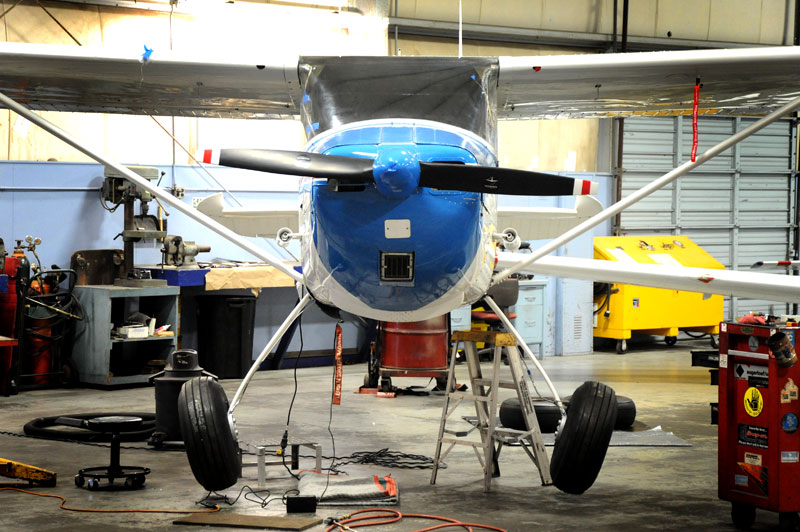
With the C170 project, I gained quite a bit of height adding the larger tires and C180 gear. When I transferred the tires over to the Skywagon, I grabbed a before and after measurement, and in going from 6.00×6 to the 8.5x10s, I gained 5 inches over stock at the axles, with a total 3 point deck to prop clearance of 30″. But what about the wheel landing? How much clearance then?
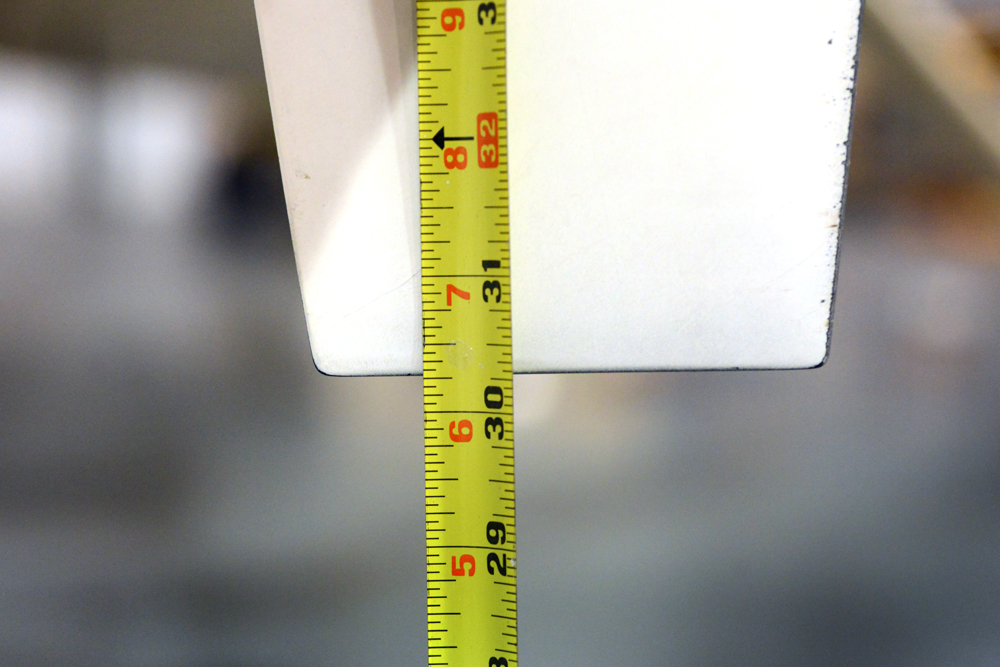
A weight and balance on a tail dragger is a perfect time to grab this measurement. As it’s already in flight attitude, all you have to do is run the tape. In my case, leveled out as if in a perfect wheel landing, I had 18″ from deck to prop tip.
Now I know that taxiing around with the tail up could, by some, be seen as courting disaster. There are several vids on the web with guys digging holes in the tarmac with their props after showing off, but for every one of those, there are ten of a TW pilot looping his airplane simply trying to land. Net net… Flying is dangerous. But that wasn’t the point of my post. The point of the post was to open one’s mind to the outside parameters of the “safe zone.”
Getting as much data about your machine and your flying helps you become a better pilot. Thinking outside the box, at least in principle, helps us become better. And better, makes us safer, and thereby allowing us to have more fun.
And if you taxi every once and a while with your tail up and crack a bit of a smile… Well maybe that’s ok too.
Prop Clearance…
December 11, 2012
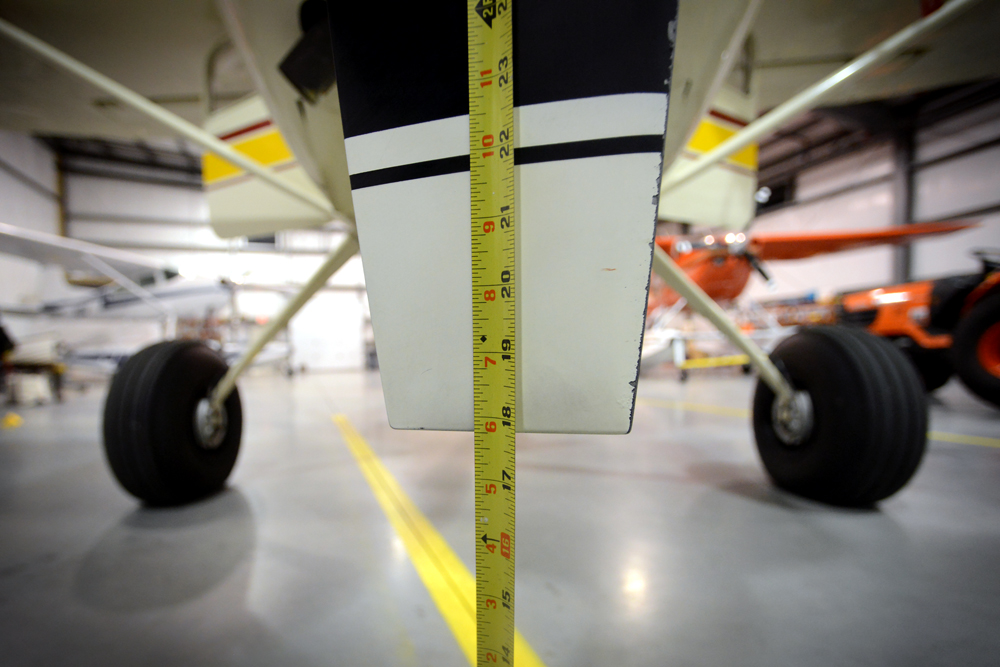
One of the “cool” things you see the BC Pilots do in all the Alaska films is taxi around with their tail up. Takes a bit of skill, a bit of power, some delicate braking, and a whole lotta smile.
Since I am constantly being drawn into this black hole of the back country, I thought I should get to know the airplane a bit and see just how much clearance I was dealing with between the deck and the prop tip while in flight attitude.
Since the Skywagon was already set up for this measurement, I would have been a lazy ass had I not pulled the tape and walked around to the danger end of the airplane.
The reality was that there is WAY more clearance than it looks from the pilot seat. From deck to tip, with the 82″ mac I am running, I have 18″ of “leeway.” Interesting…
Panel Discussion…
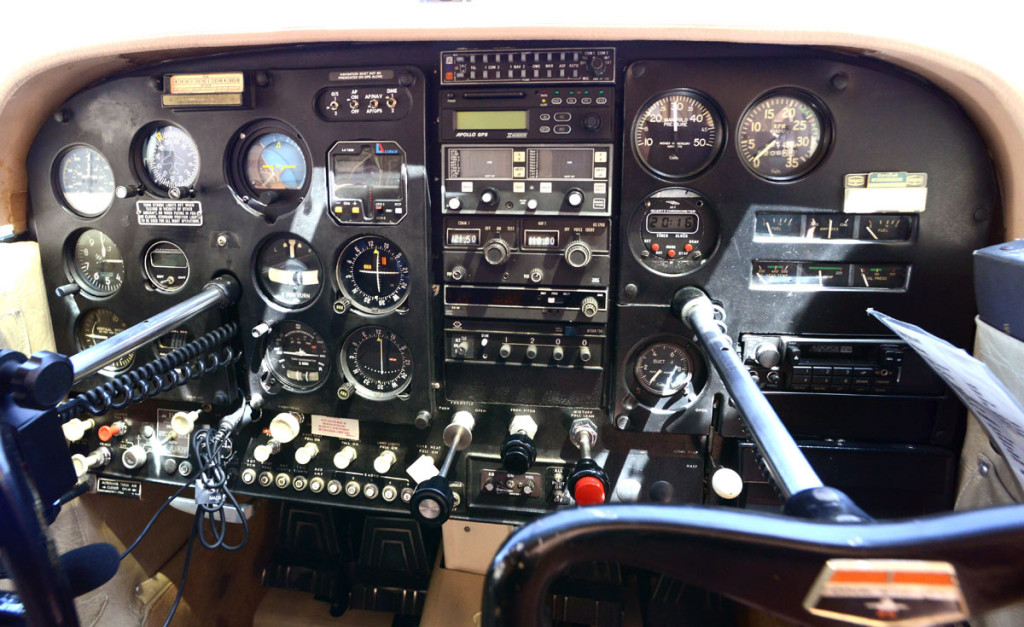
Well I finally got to the conversation going with the vendor about a panel design for the Skywagon. The intent for the panel will be to follow the same lines as the entire project. Simple, light, and elegant. I’m really excited to see how it will end up!
The question came up about just what we could omit in the new panel by using an engine analyzers/systems monitor. I spent some time on the phone today with the tech over at E.I. and I was pretty impressed.
Of course there is the age old fear of a catastrophic failure of a single piece of equipment, but I think for me, the allure of the simplicity, precision, and weight savings overshadows the fear of a catastrophic failure.
By installing the MVP-50 I can loose pretty much everything:
RPM
Ammeter
Voltmeter
Oil Temp
Oil Pressure
Manif Pressure
OAT
Clock
Gryo Vac
Fuel Level
I can also have a whole host of other info… AND it only weights 1.9lbs. There is also $300 rebate now till Dec 31st. Hmmmmm…….
Stay tuned.

It’s all About the Gut…
December 10, 2012
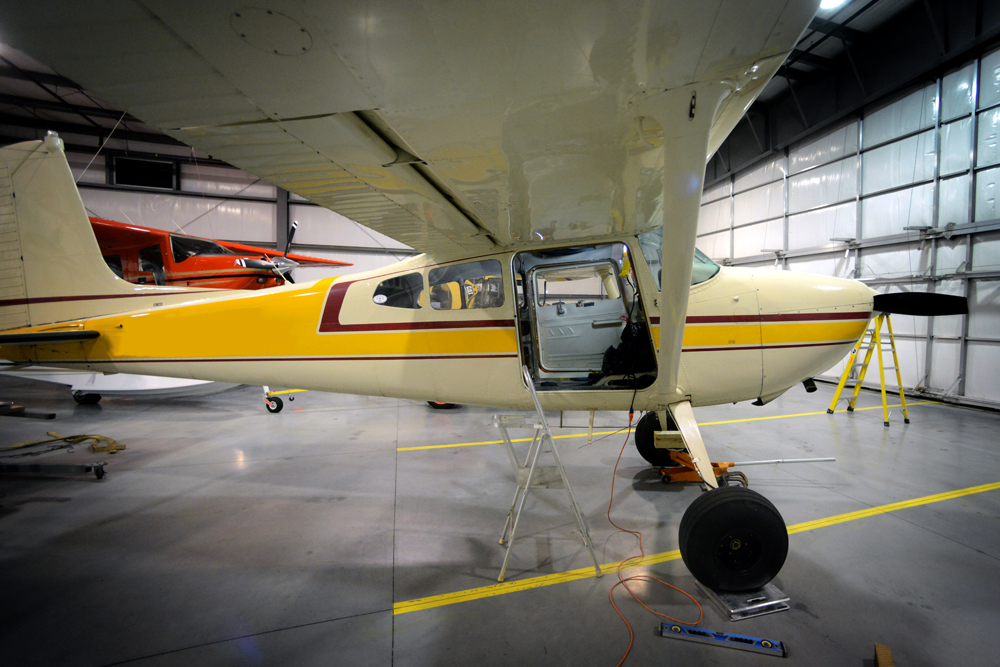
After we got the baseline weight, it was all about the gut. (mine will be next)
I really can’t leave anything alone, and the interior of the C180 is no different. Starting with the rear side panels, the interior was removed piece by piece until all the side insulation was exposed.
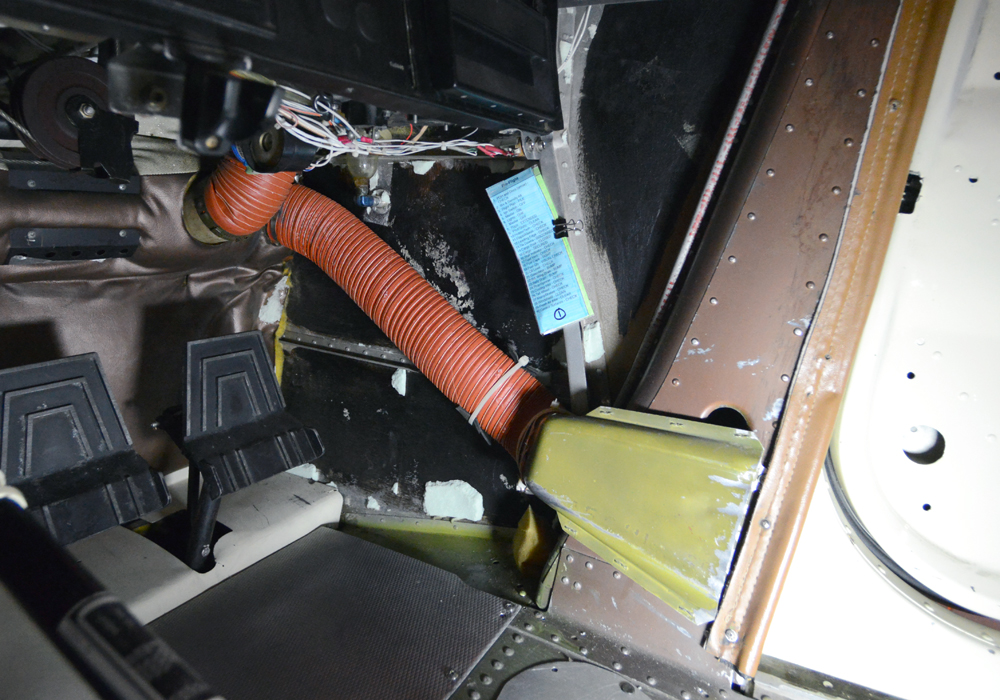
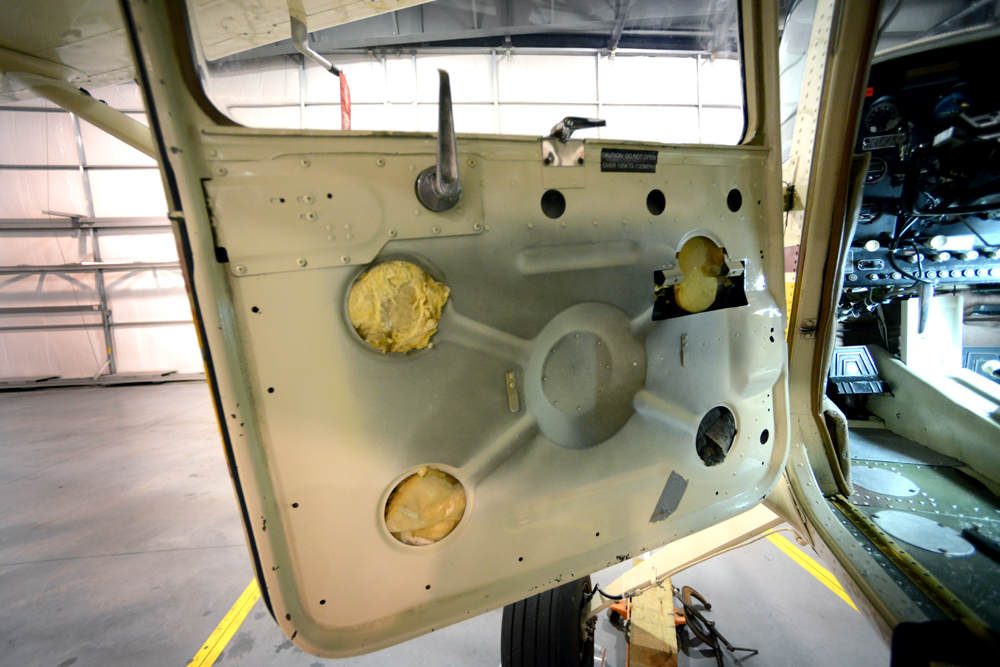
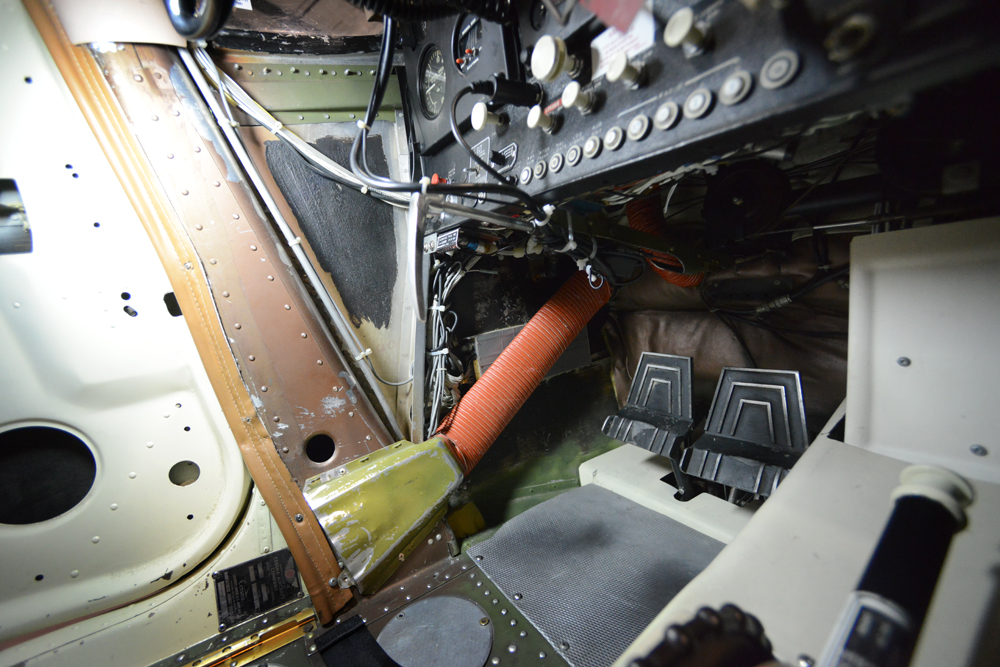
Next, the headliner was cut out, and each piece of old fiberglass insulation expediently made its way into the garbage bag.
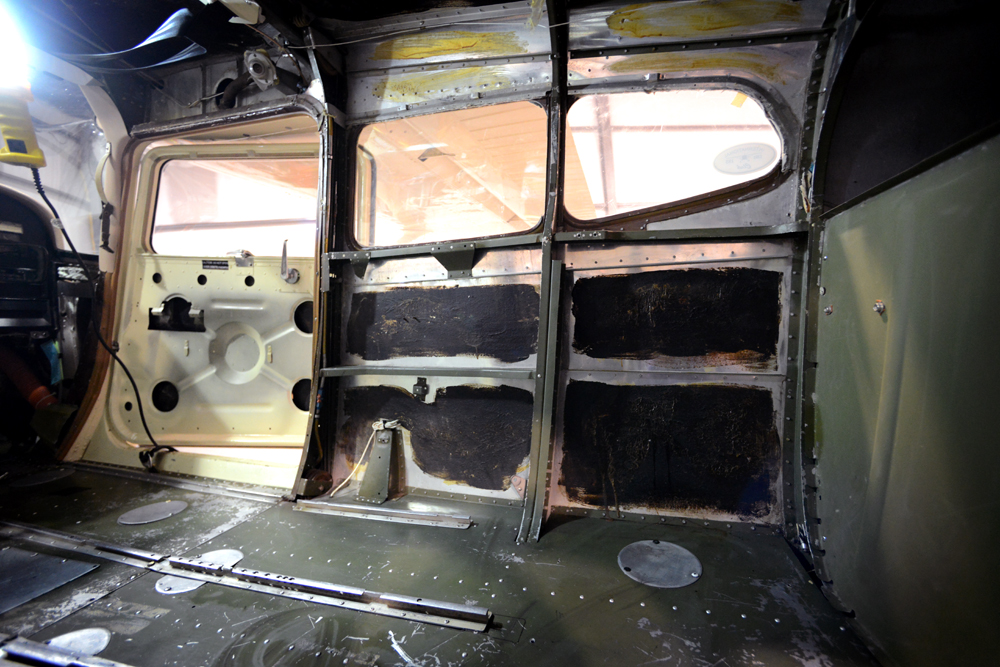
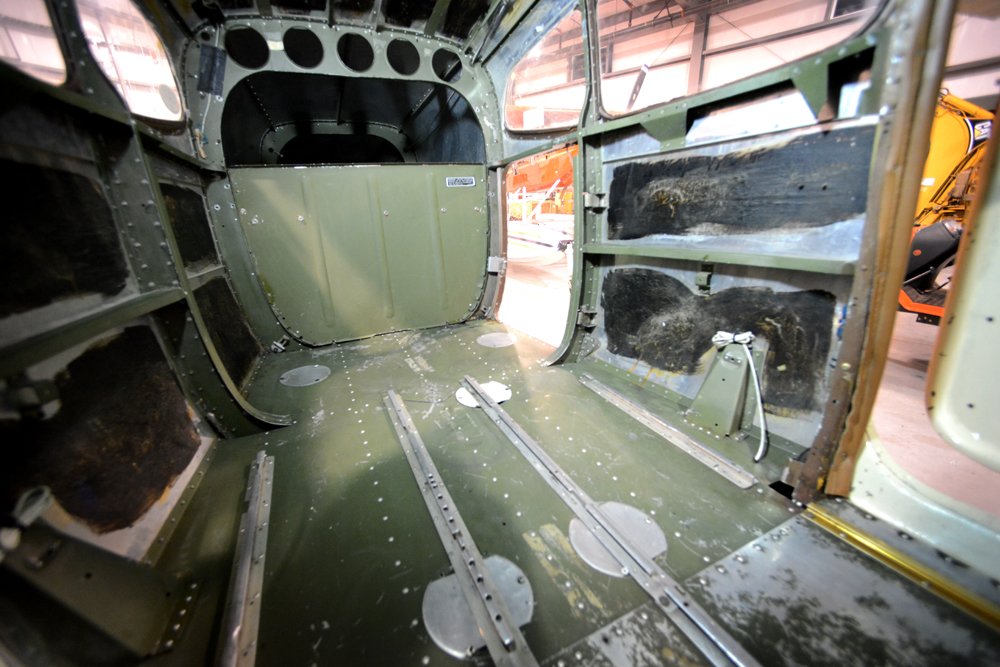
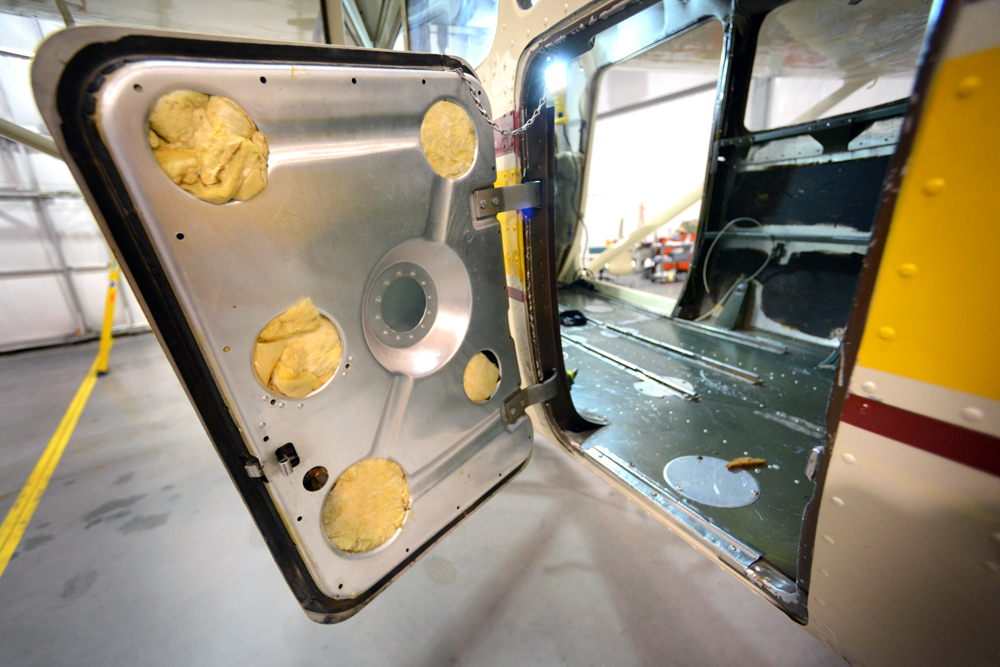
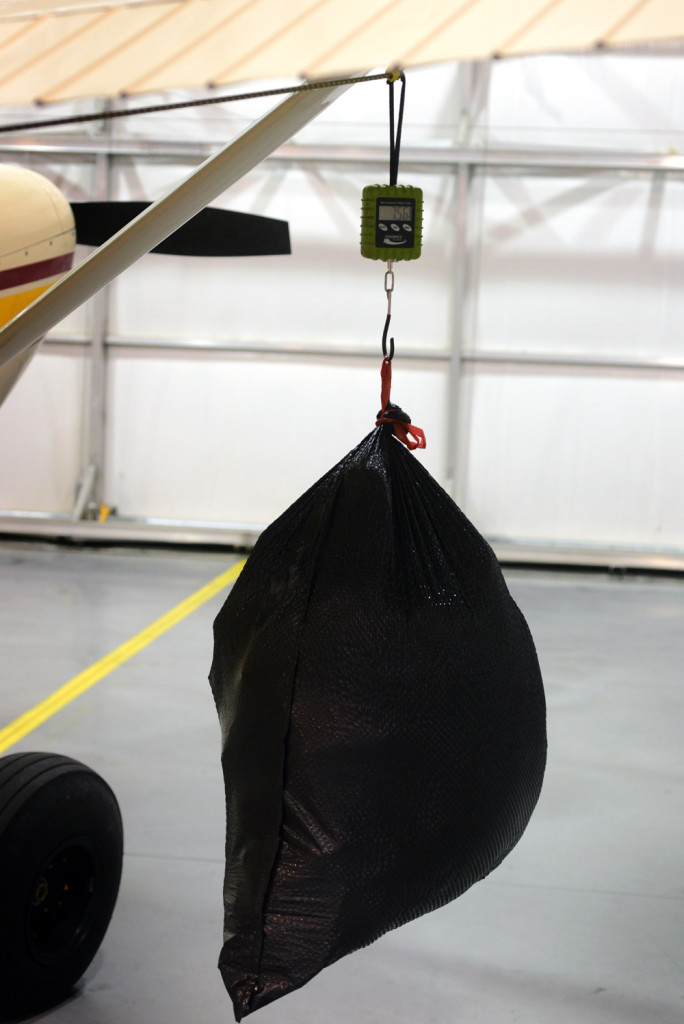
It’s amazing just how much this stuff weighs when you look at it item by item. Every single thing that came out was hung on the scale so we could keep track. By the end of the night, 84 lbs of interior had been removed (includes previously removed ski tube but does not include any old wiring, instruments or avionics.)
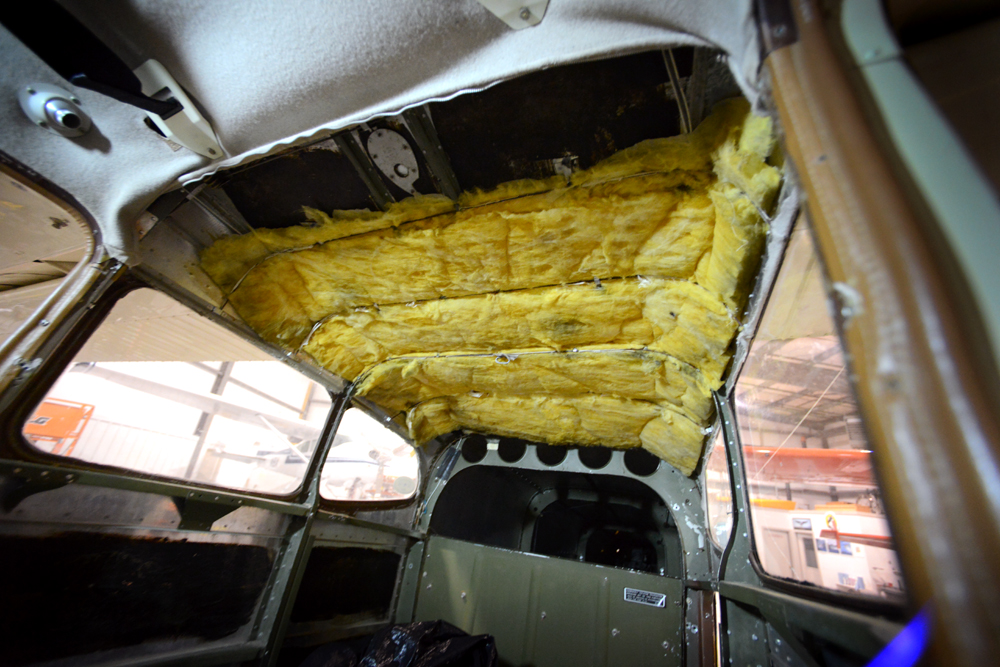
Next step will be to strip the interior to prep for paint. Then we deal with the panel…
Here is where the Skywagon stands from its purchase state RE: weight:
Day I purchased it: 1796 lbs (12 qts, 5 gal usable fuel, back seats, 600×6 tires, 10″ XP Mods TW)
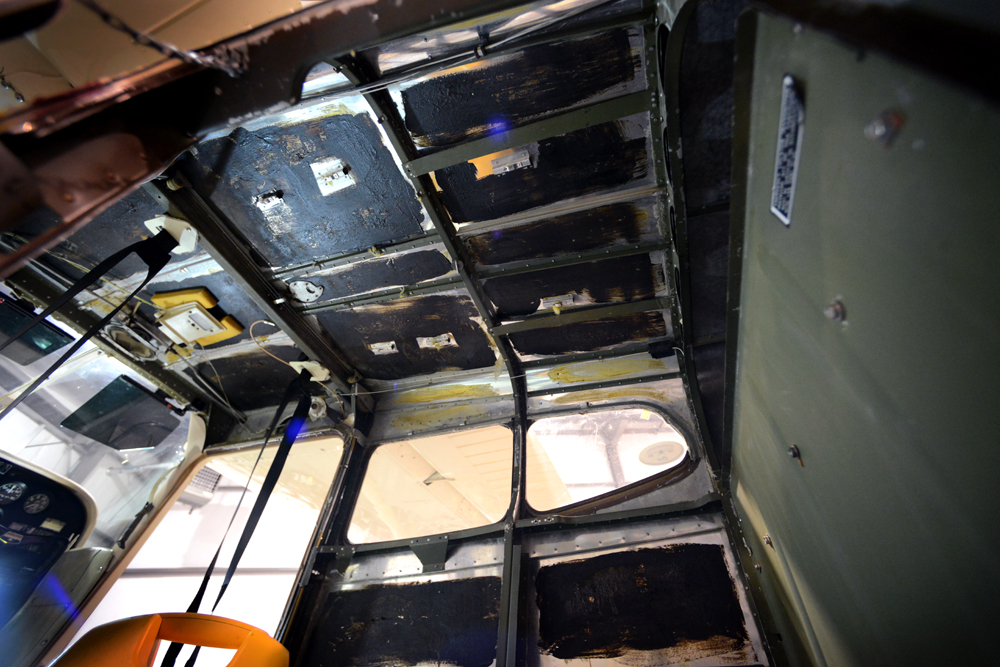
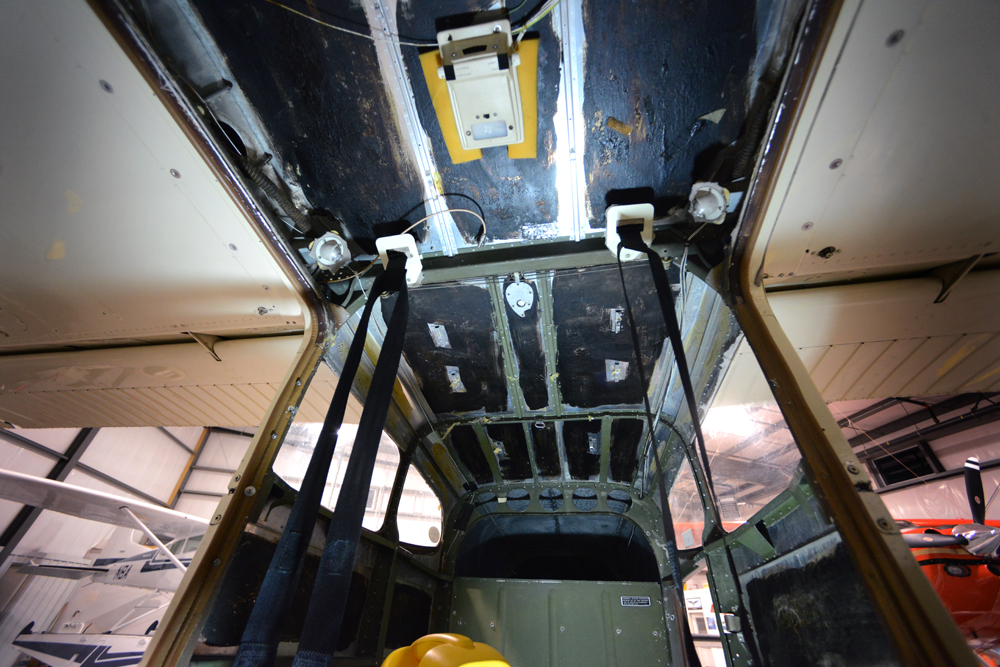
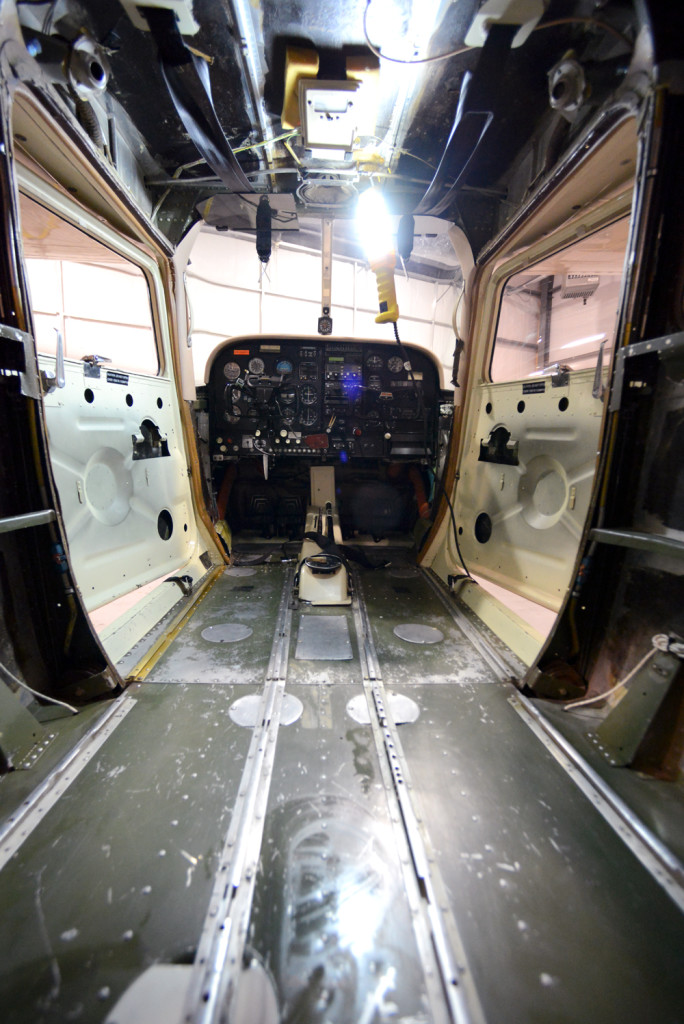
As the Skywagon stands : 1749 lbs. This is w/ the interior removed and rear seats removed, 5 gal usable fuel, 12 qts oil, 8.5x10s, BAS harness installed, ABW 10″ wheels, ABW TW fork and 400×4 tire.)
The goal now will be to aim for a 1700 lb target and remove the last 50 lbs with a lightweight panel, lightweight seats, lightweight starter, lightweight ELT, MT prop, and moving the battery forward. I will be adding back in a 5 lb Hitchcock extended baggage, 3lb floor mat, and about 10 lbs of 1/4″ closed cell foam.
The count:
remove rear kick panels -9 lbs
remove door panels -4.3 lbs
remove baggage door panel -1 lb
remove mid trim -5 lbs
remove hat shelf -2 lbs
remove carpet -10 lbs
remove headliner, ceiling insulation, and metal bows – 9lbs
remove door arm rest -1 lbs
remove Audiovox casset player -3 lbs
remove ski tube -18 lbs
remove 600×6 w/ 6″ wheels -27 lbs
remove stock visors -1 lbs
remove lap belt/harness -3.5 lbs
remove XP Mods TW fork and 10″ TW -10.7 lbs
add ABW TW Fork/400×4 +11.5 lbs
add 8.5×10 w/ ABW 10″ wheels +85 lbs
add Rosen Visors + 0.7 lbs
add BAS Harness + 5 lbs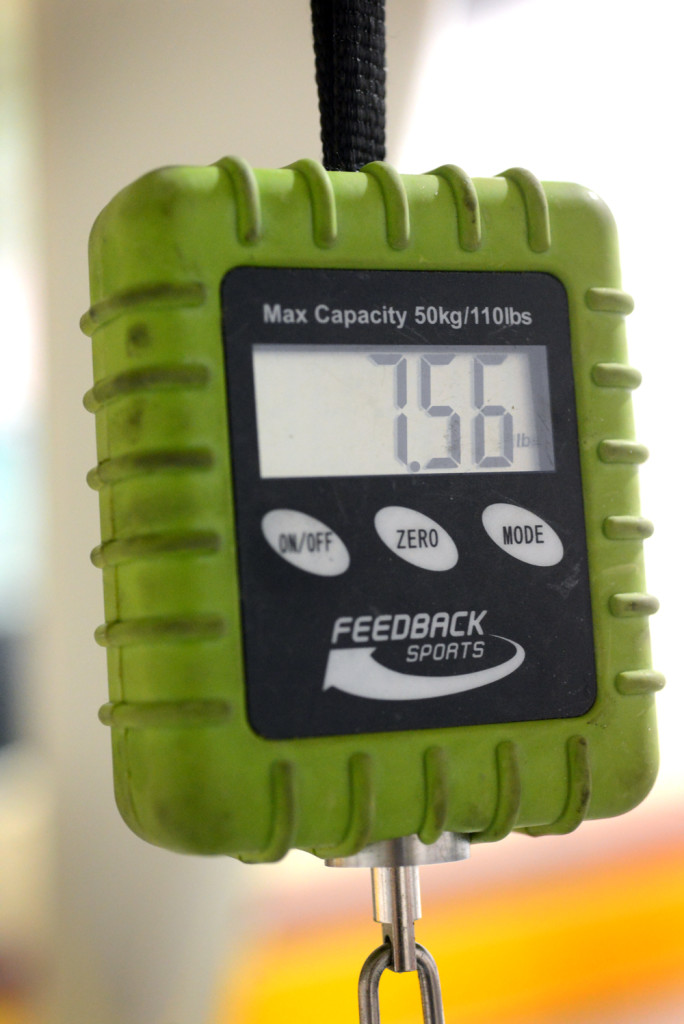
Paperweights are BS…
December 9, 2012
Had a real productive weekend with the Skywagon.
Everyone keeps telling me that the Skywagon will “carry anything you can fit inside it,” but we all know that weight equals performance, and since the aim is to get this thing to perform as best as possible, the weight has to be managed.
In no means do I want to have an airplane that is has no modern conveniences, is foolishly loud, cold and uncomfortable, but aside from learning to fly this thing proper, weight is foremost on my mind. On this project, form will follow, and a utility minded line is what is being followed.
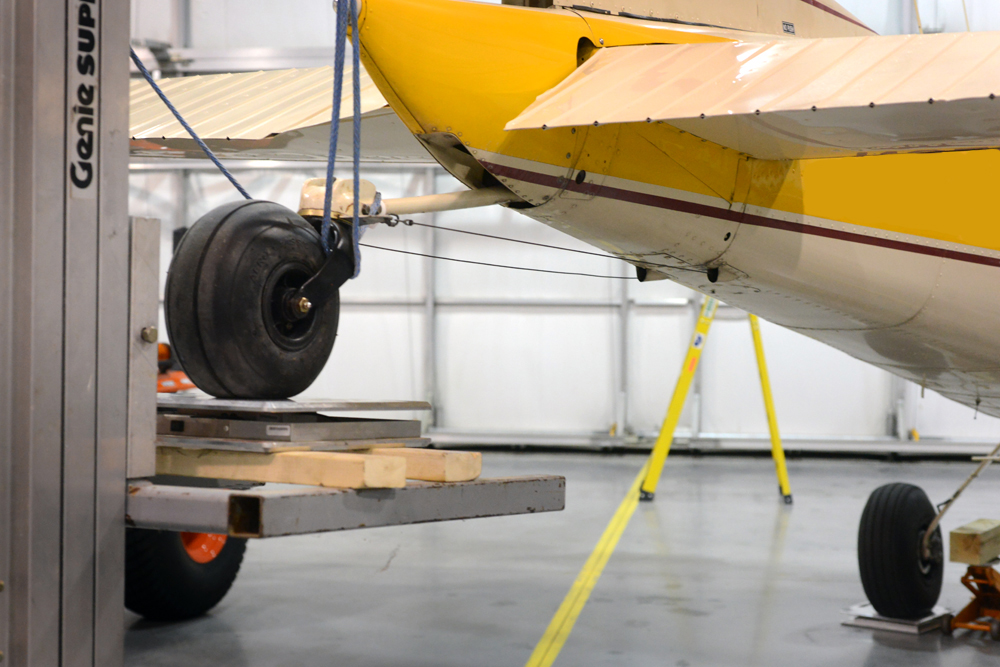
Before really digging into the project, a baseline was needed from which to judge all the mods that will take place. Armed with the sellers last paper weight, I tossed everything back in the airplane as I purchased it out in L.A., jacked it up to flight attitude and got it on the scales.
People always seem to have a visceral opinion when it comes to weight and balance. So many guys say “never weight the airplane…,” or “you don’t want to know.” This makes no real sense to me as I always have felt it important to know what I was dealing with.
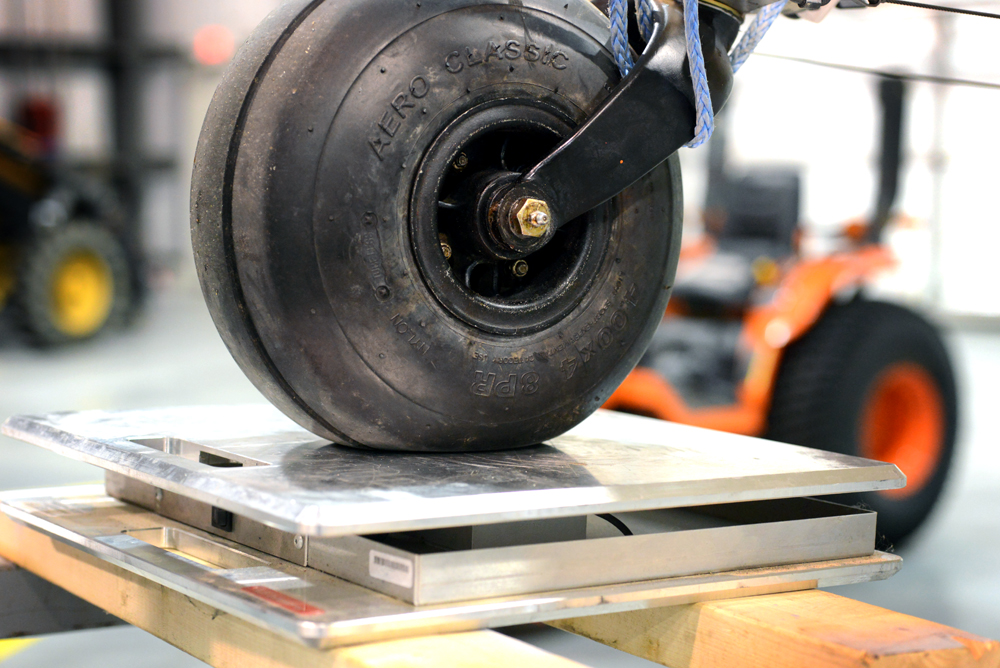
I think you can pretty much take it to the bank that most paper weights are bullshit. The passage of time always adds the pounds, and in my case, the Skywagon had not been on scales since it left the factory in 1966. When I bought it, I laughed at the seller when he showed me his W&B. “There is no way it weights that.” I remember saying.
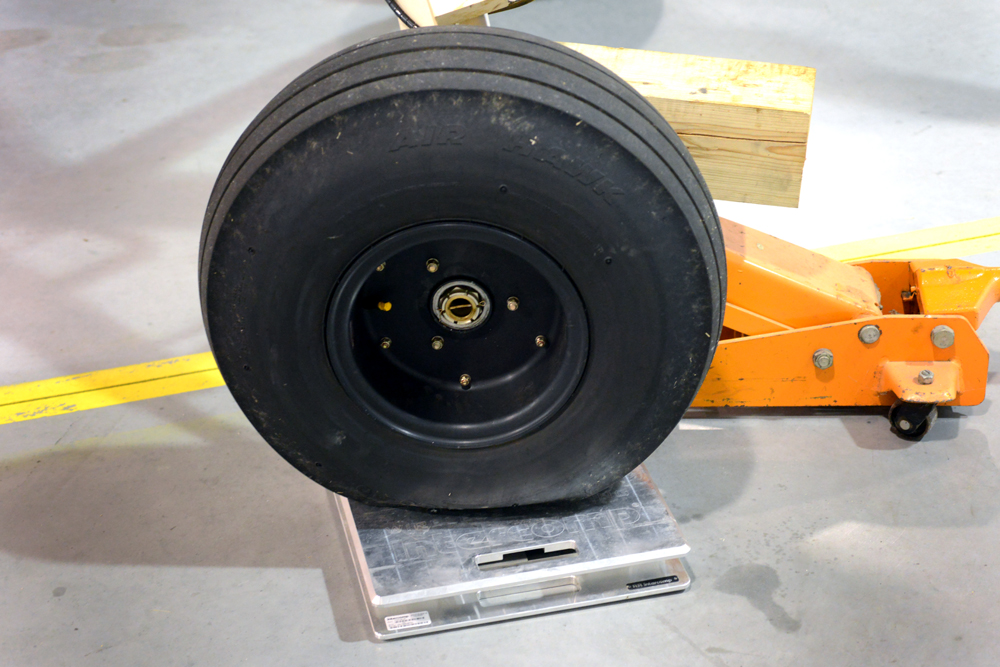
Regardless, a benchmark was needed from which to judge all that was going to be removed. In this case, at 1796 lbs, my 66 was 81 lbs OVER what the paperwork stated.
Let the gutting begin!
(Note: the weight was corrected with 6.00×6 tires, original TW and tire, 5 gal of fuel, and 12qts of oil.)
New Glass…
December 7, 2012
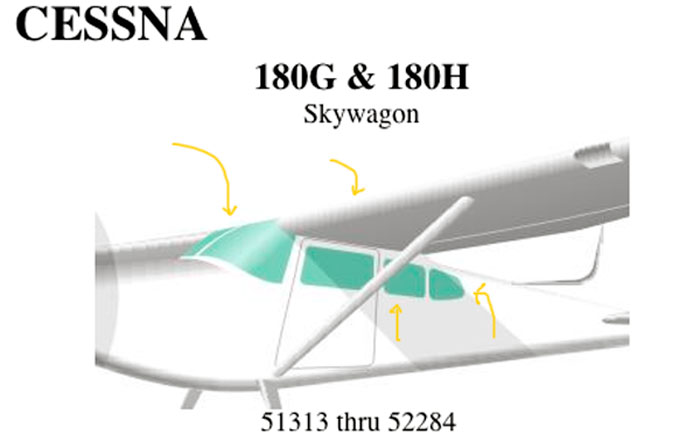
For the C180 project, we will be replacing all the windows with new plexi from Great Lakes Aero. The new glass will be thicker as well as tinted.
The door windows have already been replaced with the 4″ bubbles that came off the C170, which leaves the windscreen, centers, and rears. The windscreen has been ordered in the new Cessna light grey tint, while the centers and rears are the darkest grey, as well as “extra thick” for increased noise reduction.
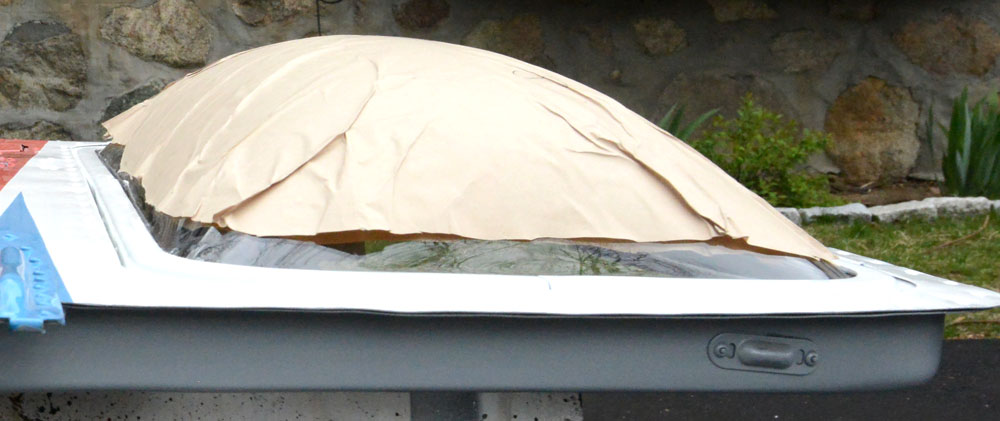
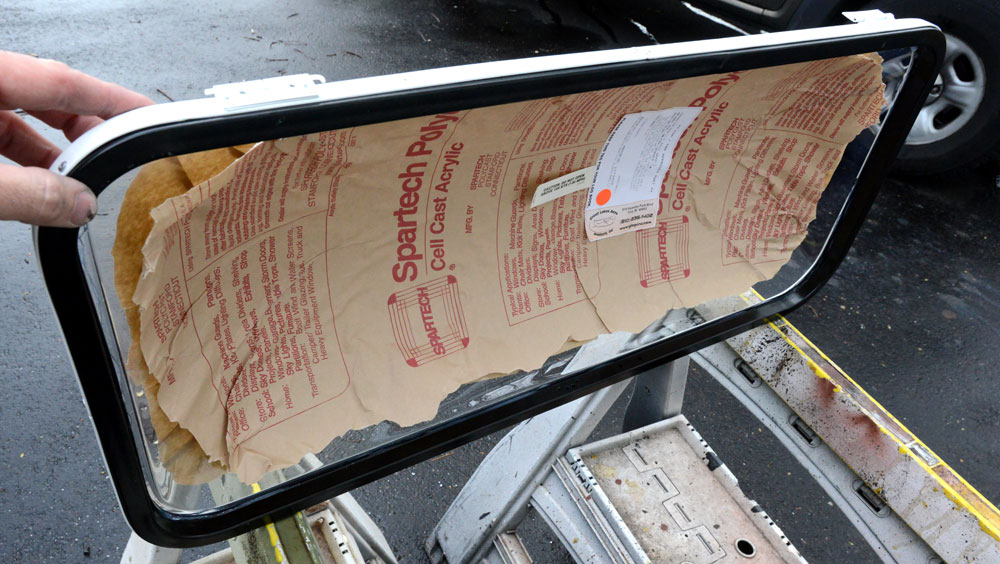
The C180 came with a fairly new windshield that’s in good shape and swapping it out is pretty glutinous, but as we will also be adding a Seaplane “V” brace from F. Atlee Dodge, it might be just too much stuff in front of your face while flying. The new one piece windshield is installed under the Great Lakes Aero STC SA471G and comes with the purchase of the windshield.
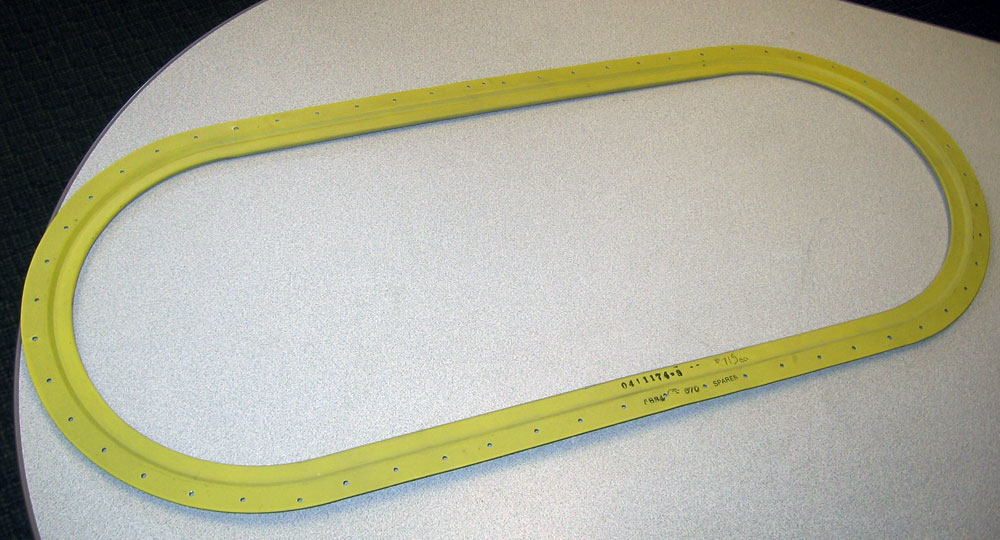
We will also be adding later model Cessna skylights to the roof. This install is done under STC SA4379NM sold by CubCrafters in WA for $150.00. (contact Vera at CC for more info.) Although the STC allows for the installation of up to five skylights, I wanted to keep the more traditional “stock” feel and keep it a bit more simple. I also didn’t want to fry my head on long summer flights.
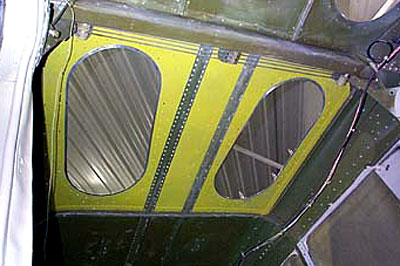
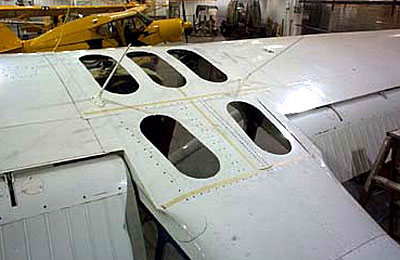
Since the interior will be torn out anyway and the panel removed, the glass install should be pretty simple. CubCrafters sells the surrounds and retainers, but we have a good relationship with Yingling and ordered them there.
FYI… if you do order the parts from CubCrafters, be advised that they have their parts numbers mixed up. The surround (part that holds the plexi to the skin is Cessna P/N 0411174-3. CC has it listed as a “Frame for Upholstery.) This is all I will need as we will not be installing a headliner, but if you are, you will also need 0700247-1 and 0700247-3.
Part Numbers for the Great Lakes plexi: Windscreen – P/N 2073W/G, Bubbles – P/N 2902-4W/G, Centers – 1012W/XT , Rears – P/N 1011W/XT, and Skylights are 1033W/XT. Skylight STC SA4379NM from CubCrafters
3 Hrs of Grass…
December 2, 2012
Fantastic day today at Plymouth (PYM.) Was able to get in the left seat and stretch her out for nearly 3 hours of grass flying along with some good instruction.

We started at the home base of Plymouth (PYM) and headed to my friend Dicks private strip called Sherman Field (MA63.) From there, it was south west to a great grass strip called Myricks (1M8,) and then south east to Cape Cod Airport AKA Marston’s Mills (2B1.)

Sherman Field

Myricks Field

Cape Cod Airport
When I bought her, I was a bit nervous flying the 180, worrying that it might be a bit too much airplane, but after today, I feel really good and am ready to settle in and really start to learn how to fly her. I can already tell it’s behaving differently with all the weight out of the tail and really is nice on the larger tires. It really is fun to fly… And although its not that dramatic of a cuff, the Owl Stol cuff really makes it nice and docile.
Found a couple more squawks today that I am adding to the list. Nothing major, but expected. All in all, I got in about 20 grass landings and learned a ton. A great way to spend an afternoon!

We are fortunate here in Eastern Mass to have at least a dozen well maintained grass strips within a 20 mile radius, and its my plan to use em.
We started at the home base of Plymouth (PYM) and headed to my friend Dicks private strip called Sherman Field. (MA63.) From there, it was south west to a great grass strip called Myricks (1M8,) and then south east to Cape Cod Airport AKA Marstons Mills (2B1.)
When I bought her, I was a bit nervous flying the 180, worrying that it might be a bit too much airplane, but after today, I feel really good and am ready to settle in and really start to learn how to fly her. I can already tell it’s behaving differently with all the weight out of the tail and really is nice on the larger tires. It really is fun to fly… And although its not that dramatic of a cuff, the Owl Stol cuff really makes it nice and docile. (will be pulling this off eventually for a Sportsman!)
Found a couple more squawks today that I am adding to the list. Nothing major, but expected. All in all, I got in about 20 grass landings and learned a ton. A great way to spend an afternoon!
Ski Tubes and Crash Diets
November 27, 2012
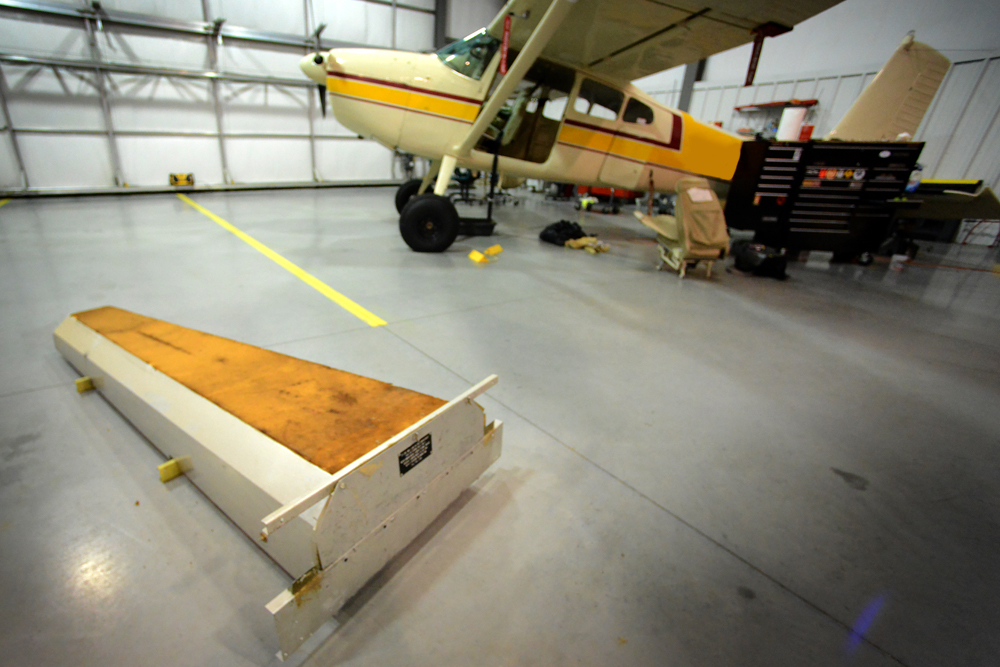 For this project, I am keeping a real keen eye on weight. Everything that is not needed is fair game for the chopping block. Im a utilitarian at heart, and the Skywagon will be a direct reflection of those principles.
Again, I am doing my damnedest not to get too deep into the restoration keeping my eye on flying for December, but today is a slushy dreary day so it was a good afternoon to be useful in the hanger.
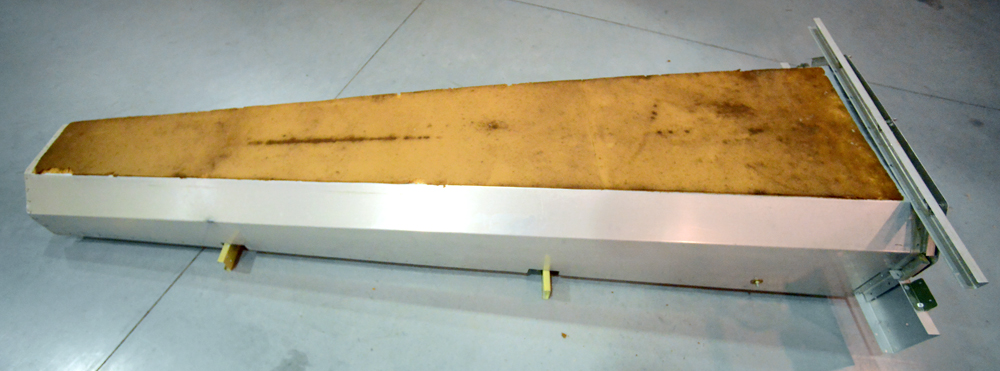
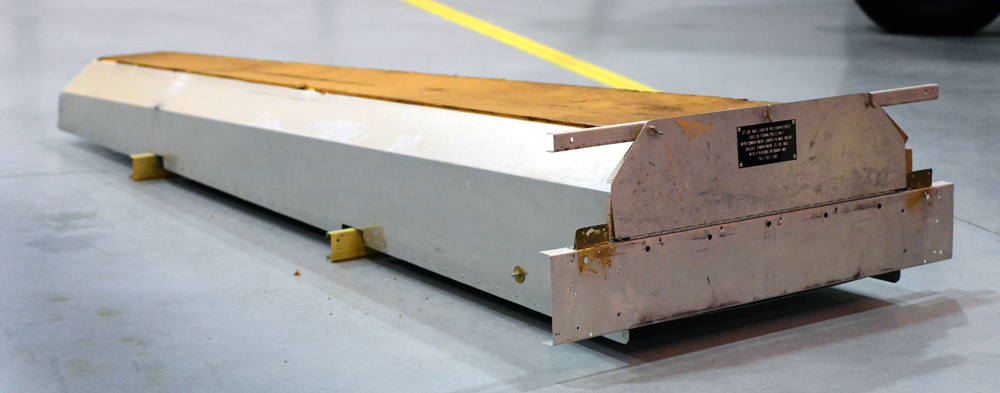
On the block this afternoon was a fishing pole/ski tube that was installed in the 80’s. Its actually a really well engineered/built box and was useful on the trip across country, but for me, it wasnt in the cards. Out it went. The biggest pain was crawling way back in the tail to unbolt the fasteners. The damn thing is 7 feet long! (BTW… if anyone is interested in this, it will be for sale.)
Placard and paperwork say 37lbs in the tube. Entire assy weighs 18lbs. It is 7′ long is flush mounted at the back of the hat shelf and drives back two stations.
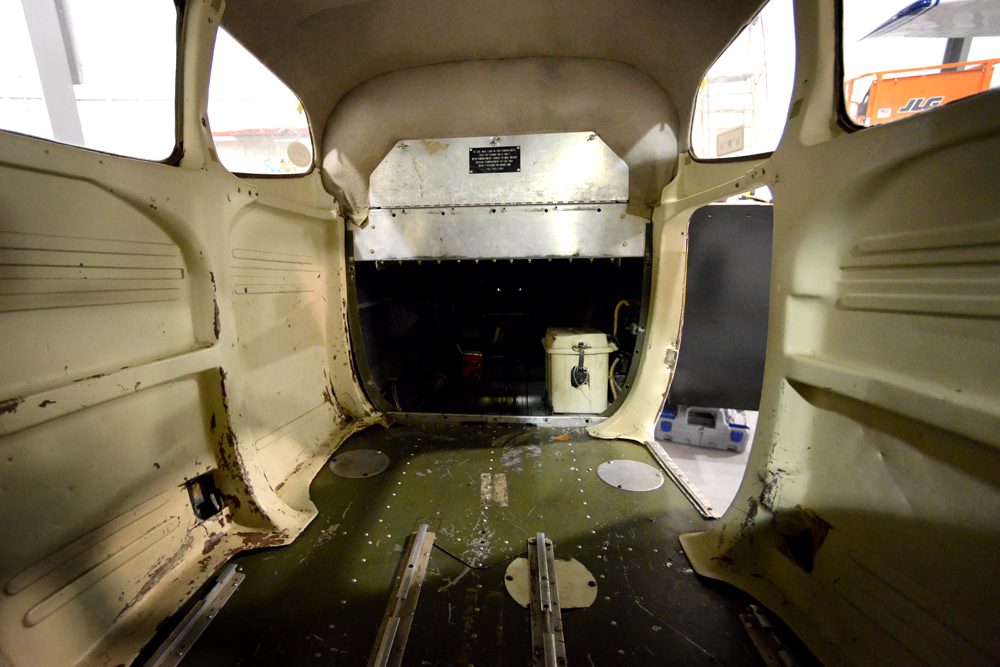
Since an extended baggage will be going in, we also pulled the hat shelf.
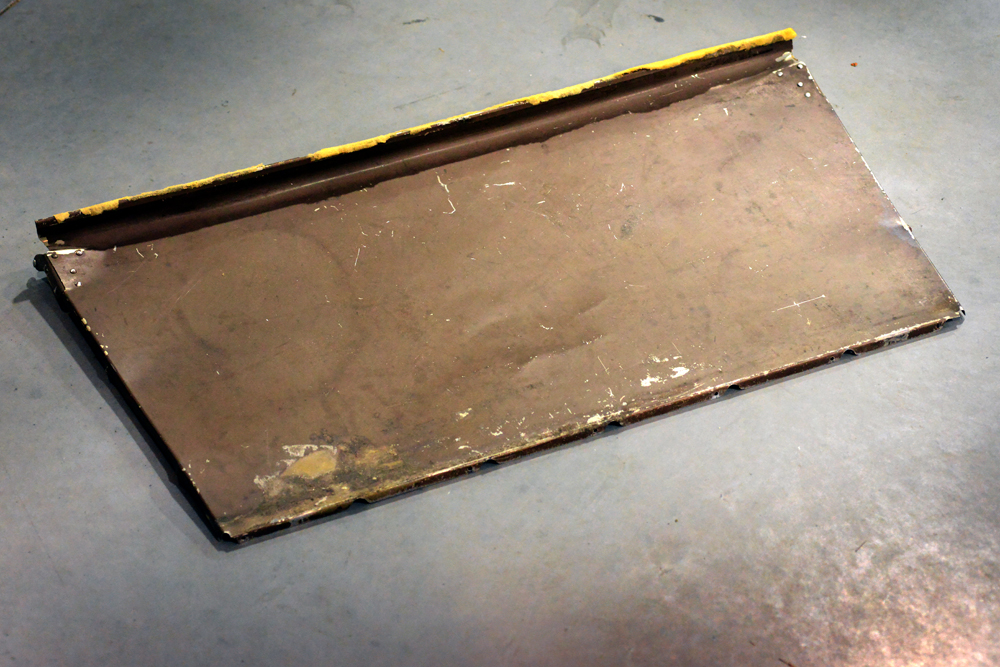
Cessna Seat Stop, Part 2

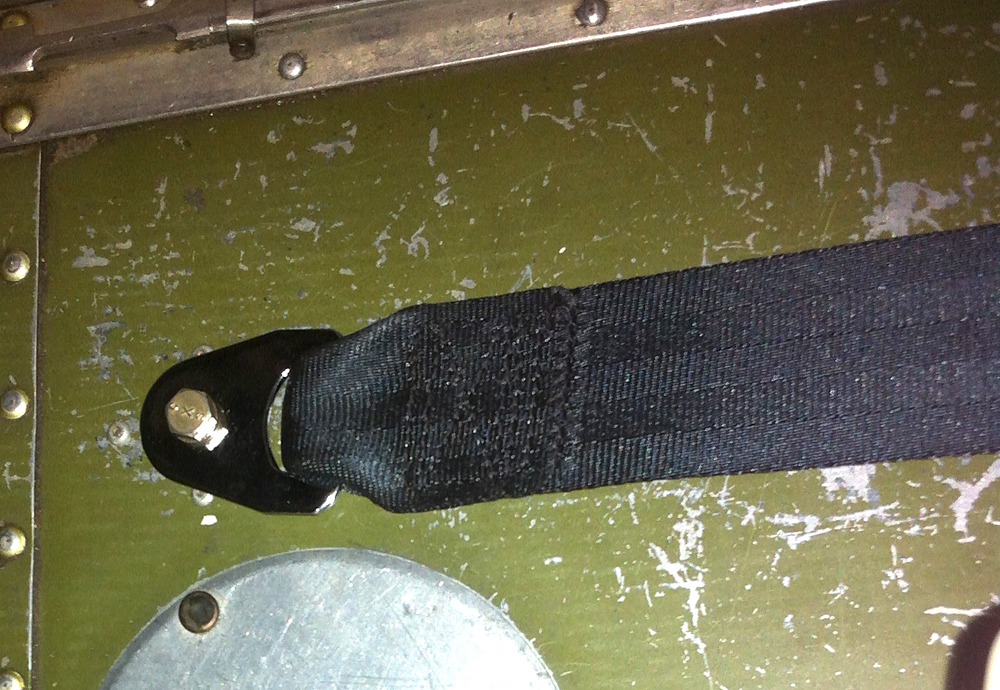
Finished the Cessna Seat Stop install today. Works way better than the antiquated Cessna seat lock that used to be installed in the C180. As I mentioned earlier, if you have an appropriate airplane and haven’t taken advantage of Cessna’s free deal, do it before they change their minds, run out of stock, or run out of $$$. Will cost you nuthin.
Dome Light LED
November 26, 2012
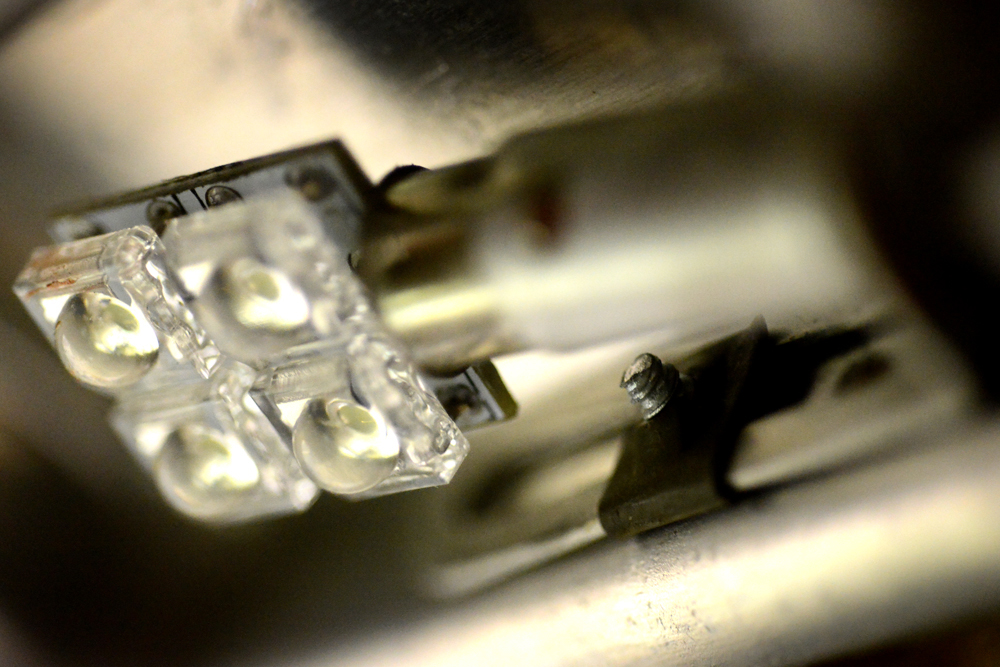
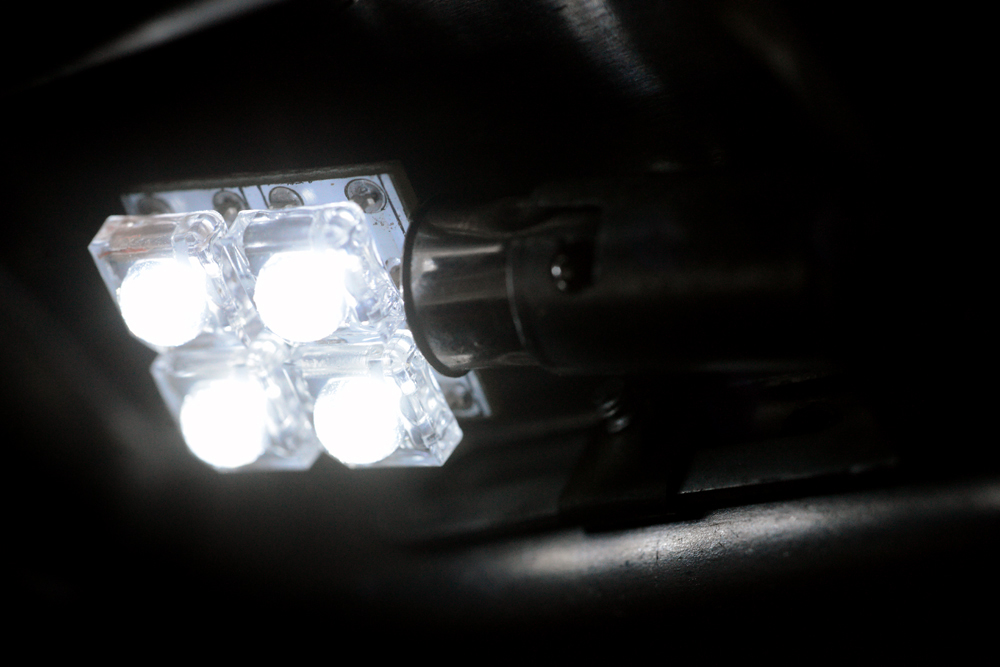
Also swapped out the overhead dome light for a cool 90 degree LED bulb. Much brighter than the OEM bulb.
LED’s
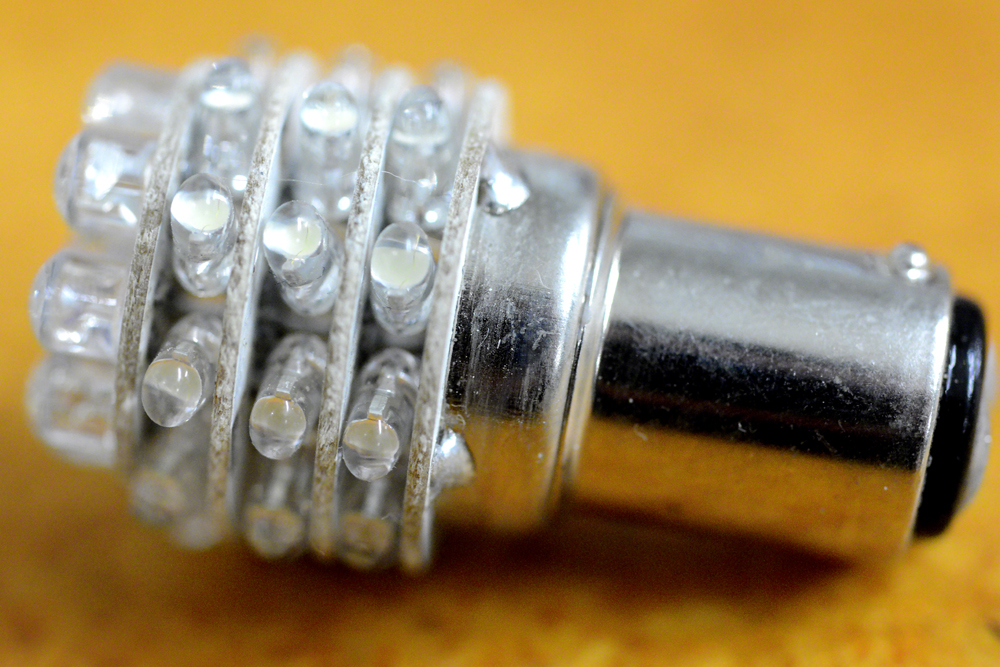
On the C170, I had swapped all the old school bulbs for LEDs, and in the continuing pursuit of “all things LED,” today’s quick task was to swap out the overhead panel light with an LED bulb.
For the C170, I ordered all my LED’s ledlight.com. I’ve had great luck with these bulbs thus far, and will continue to do so for the C180.
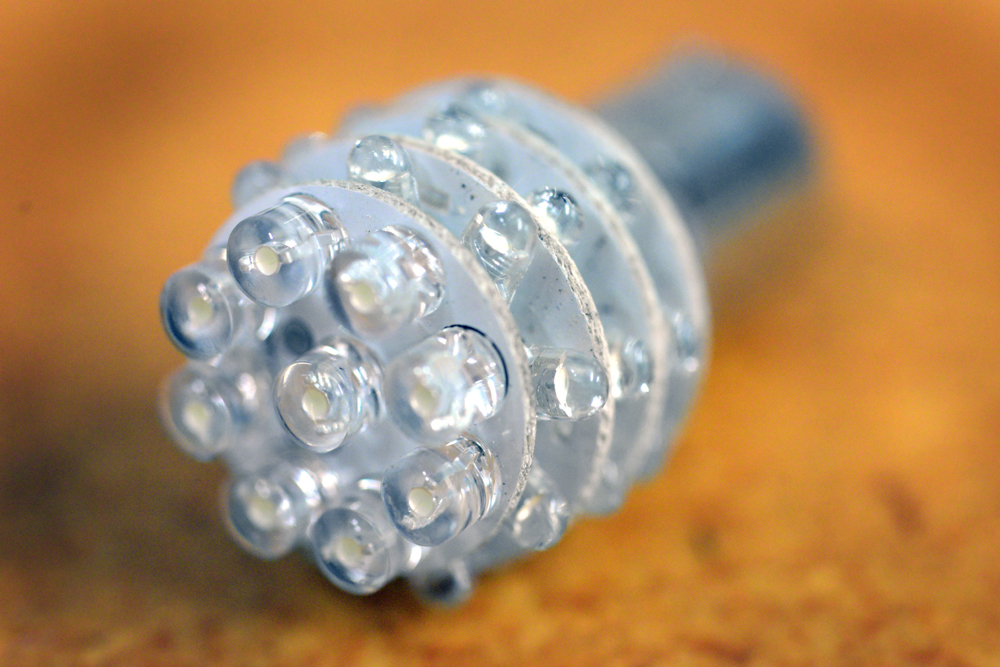
Why LED? First off they are much brighter. Second, they use way less power, and the combination of the two makes it a no brainer.
There are some limitations with LEDs, the biggest of which is how the light is emitted. In a traditional bulb, the glowing fiber of the tungsten filament throws light 360 degrees. This, along with the warm yellow glow is one of the things that makes it such a nice looking light. The LED on the other hand tends to be much cooler (blue rather than yellow.) The LED light also comes out in just one direction rather than spilling everywhere like a incandescent bulb.
Think of it like a candle flame versus a flashlight. In the flashlight, the light has to be pointed at where you want to look while the candle flame spills willie-nillie all over the room. In order to counter this flaw and for an LED bulb to throw light in many directions, many individual didoes are needed.

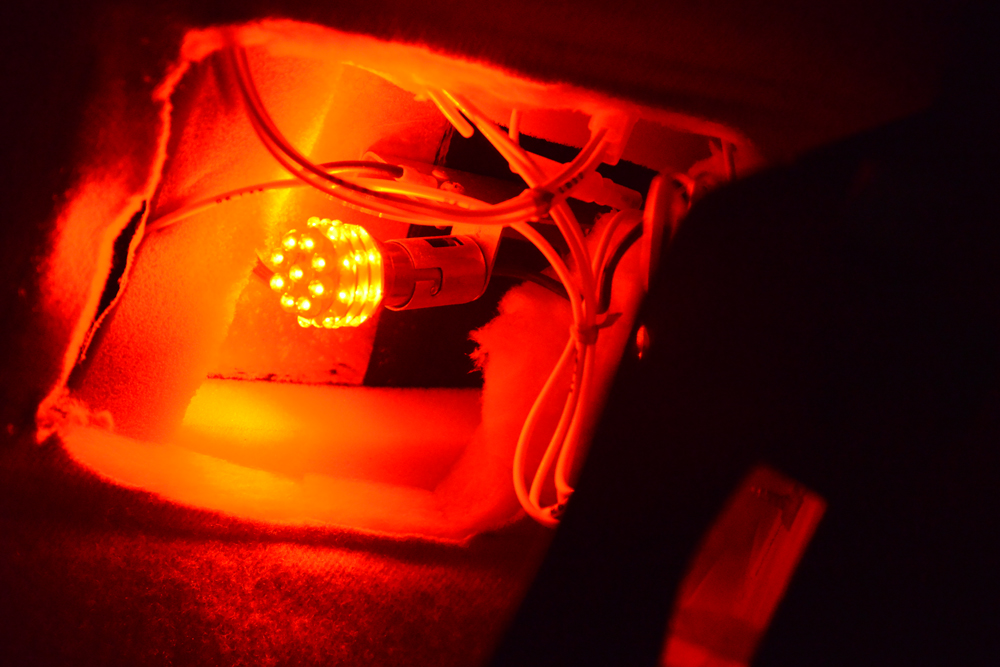
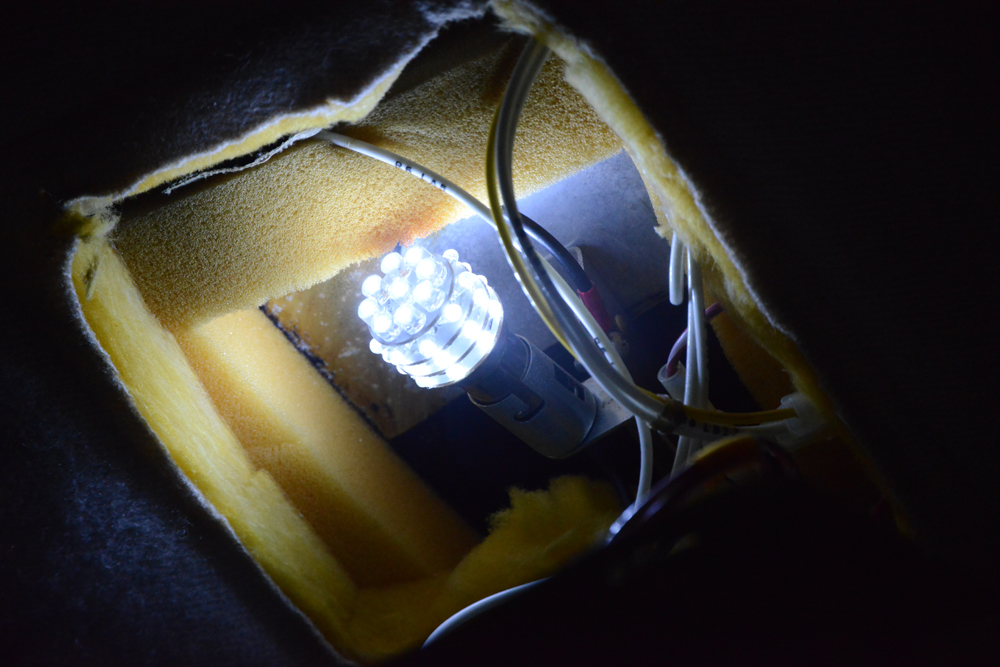
The swap for the overhead panel light on the C180 was easy. I just looked up the P/N for the OEM bulb, and then ordered the same in LED. What I didn’t know was whether I should order red or white. The overhead fixture has a red lens in front of the old incandescent bulb which filtered out everything but the red light. I obviously wanted the brightest light possible, but didnt know if that would come from the bright white, (in which case most of the light would be lost in the filter) or with a red light from the beginning.
I’m sure smarter people than I have already figured this out, but since I wasn’t sure, I just ordered both the damn bulbs and did an old fashion “seeing is believing” test.
In short, I shut off the hanger lights and tried em both… Net net: The red LED was much brighter.
What I ordered:

Cessna 170 to Cessna 180
November 25, 2012
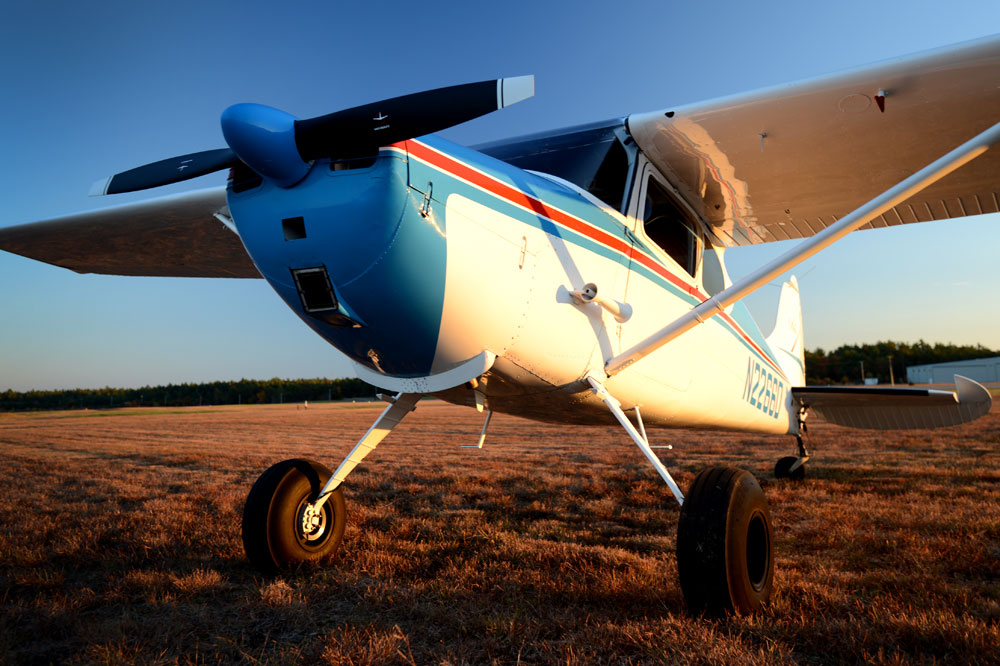
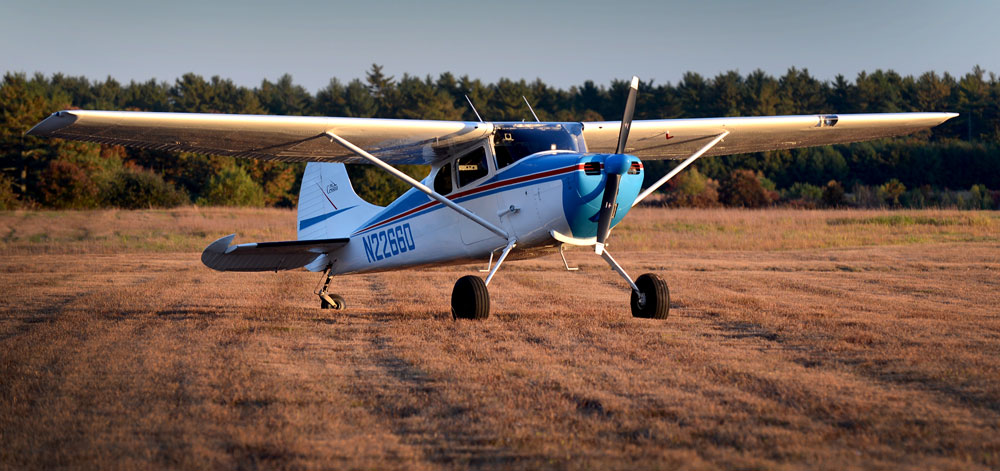
Early last month I purchased a 1966 Cessna 180H in CA. I had been looking for the right one for almost two years often criss-crossing the country to check out a lead. Last Dec in that pursuit, I came across (and fell in love with) a 52′ C170 which I ended up buying and flying home. Although I had been flying since 95, this was my first airplane, and as a relatively low time (and even lower time TW) pilot, it was all completely new.
Thinking I would keep the airplane for a long long time, much was done to the bird as I was deeply inspired by several in the community as well as getting a great in-person look at N185GM whilst out at Beegles. I drank from the fire hose as things moved rapidly along. In the end, we had a one hell of an airplane.
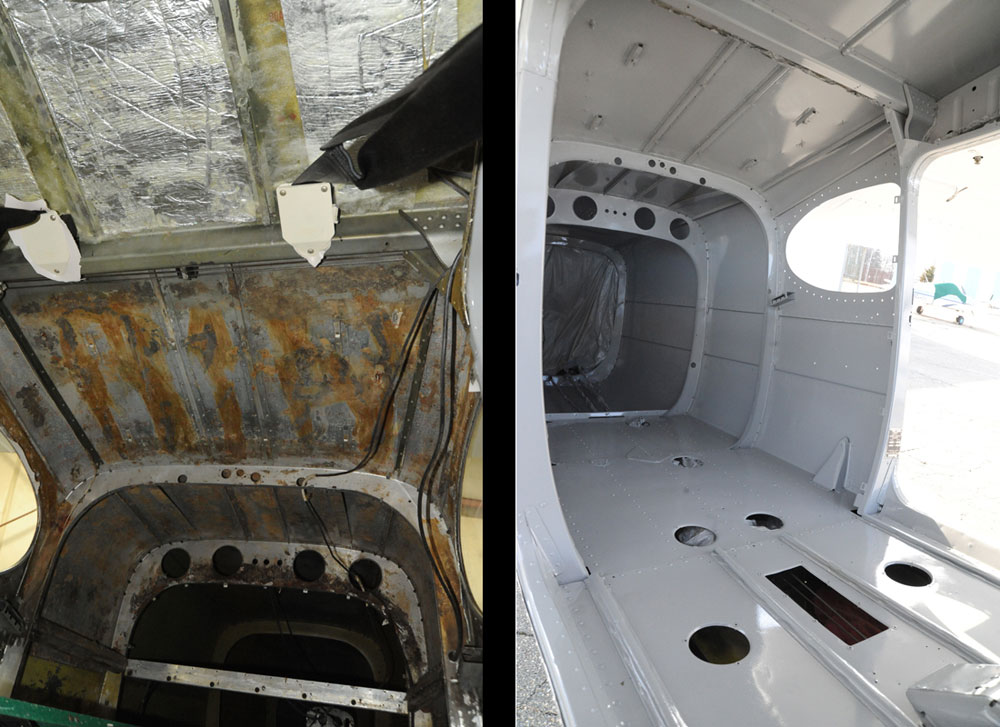

Research into upgrading my C170 as well as the beginning thoughts of upgrading to a 180HP engine quickly set me back on the path of looking for a solid C180. It was going to be hard to let the C170 go, especially after all the hard work, but I knew that if I even attempted to start spending more $$$ on the C170 with upgraded Garmin radios and GPS systems, I would be committed for sure.
It all happened pretty quick, but before I knew it, I was out looking at a C180. It had been for sale for at least three years and the price had come way down. The A/C certainly had nothing special as far as avionics went, and the interior was pretty knackered, but it was a good, solid (relatively speaking as 50 yr old TW airplanes go) damage “free-ish” bird. It was a good solid platform to start it all over again.
A good pre-buy confirmed my thoughts and before I knew it, papers were signed and I was on my way out to L.A. to fly the new machine back to Boston.

