


Wing X Install – Part 4…
March 4, 2016Orig published over on BCP.org March 2015… This article is for entertainment only and is NOT an approved or instructional material. Consult the proper installation documents for reference.
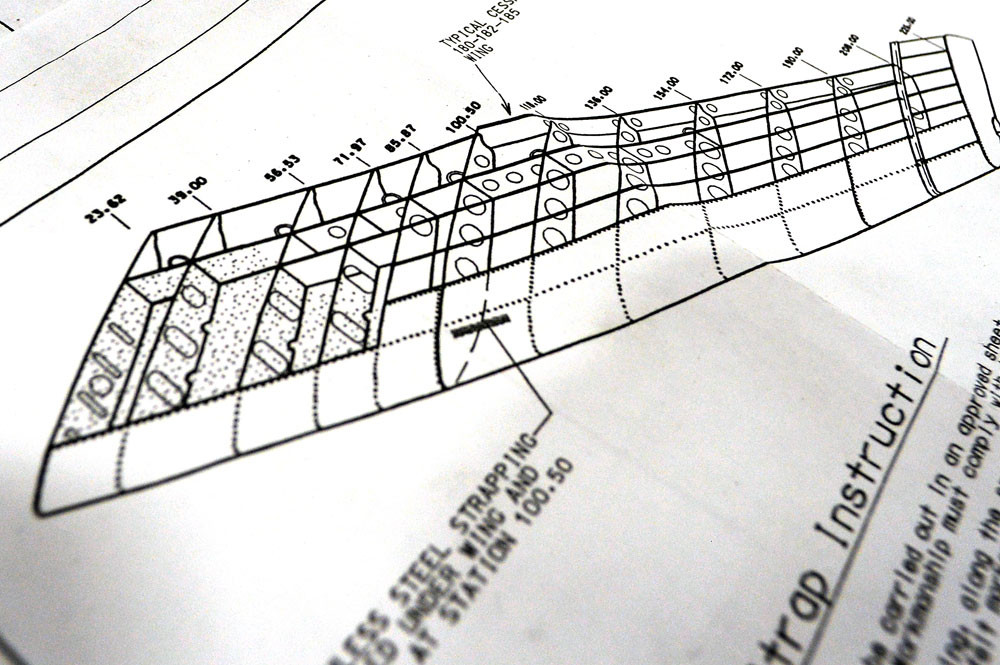
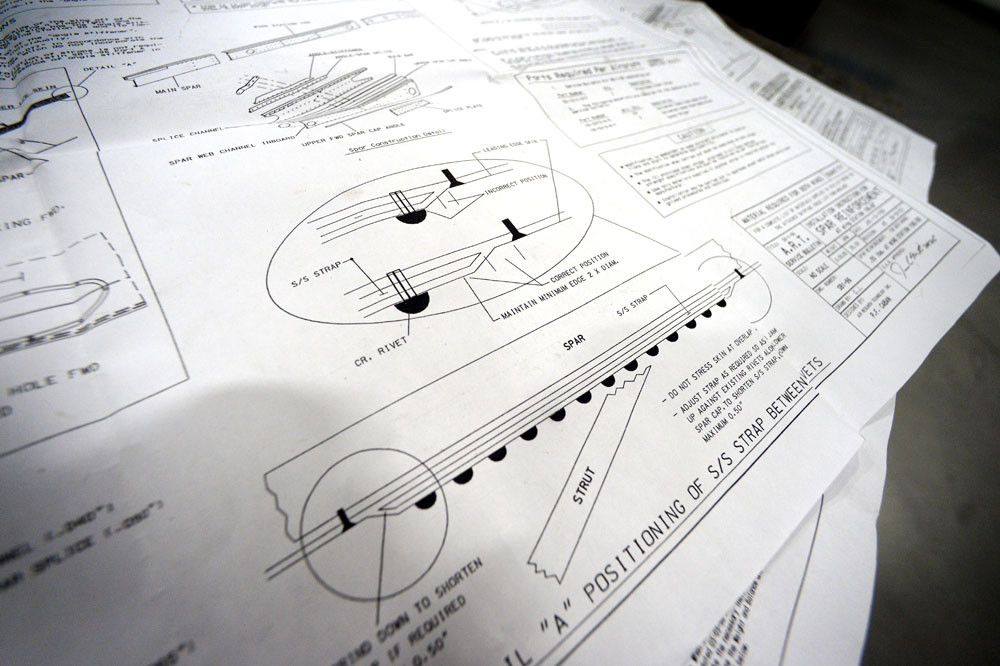
Next I focused on the stainless strap. Again, this is getting sandwiched between the skins at Sta. 100. Note: This step is only required on SOME models. You will have to check your main spar to see if it is needed.

With the strut out of the way, you can now drill the heads of the flush mount rivets. You will be drilling out the 5’s and installing #6 universal head cherry max. Even though you will be eventually enlarging the holes with a #10 bit, take care not to take the easy way out and just drill out the 5’s. Snap the heads, and drive the tails out with a punch…
With the flushies out, slide the stainless strap between the skins and start spotting. Spot drill, remove, drill press, install, spot drill, remove, etc… Stainless sucks so go nice and slow and take your time.

Once the holes are all in, and everything fits, fit the strap and enlarge the holes with a #10. Remove and debur, then install for the final time….
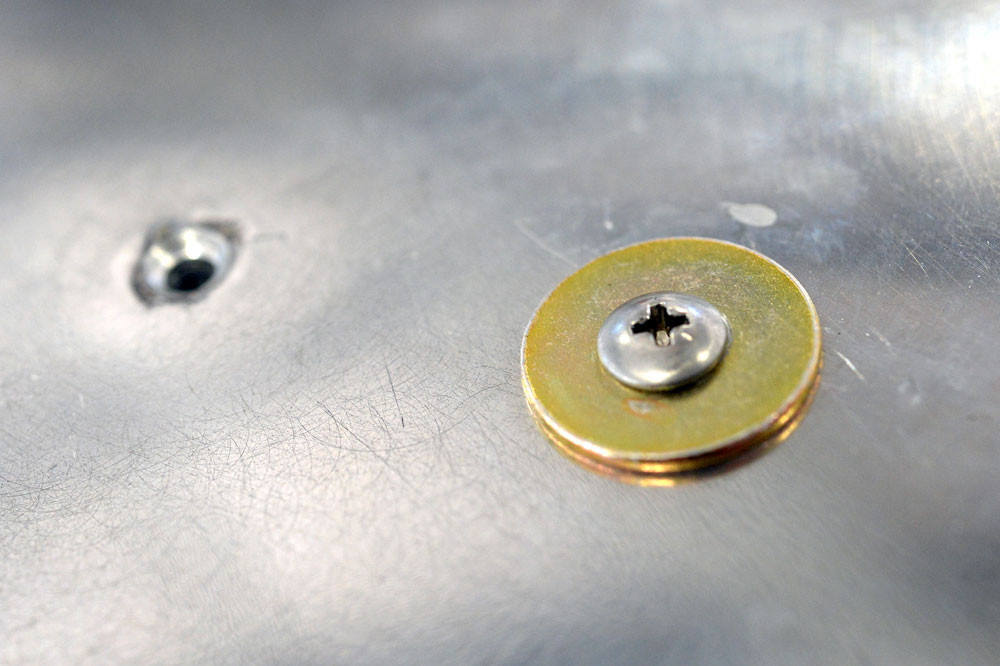
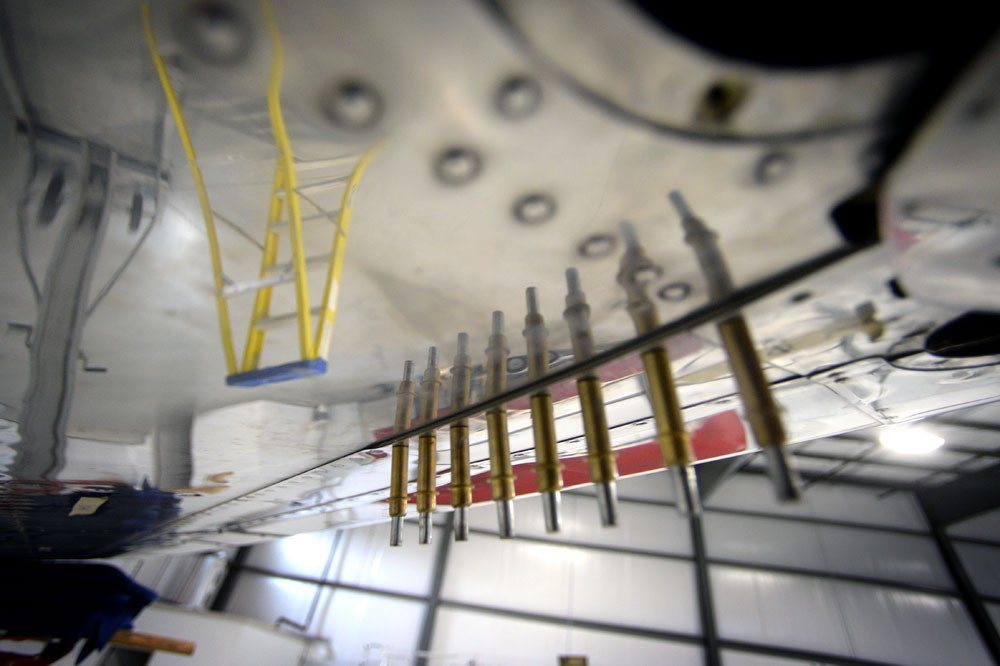
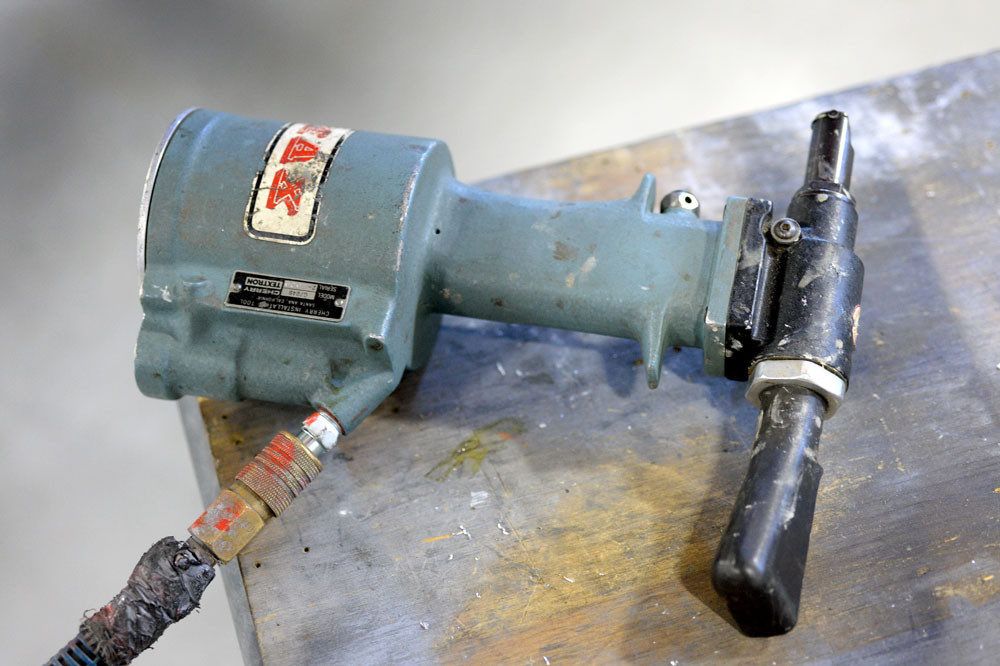
Since clecos wont really pull the sandwich tight enough, I used several #10 fasteners to snug it up real tight. Once you are all set, pull the #6 universal cherry max rivets. The 6’s are damn near impossible to pull by hand, so make sure you have a good pneumatic rivet gun handy.
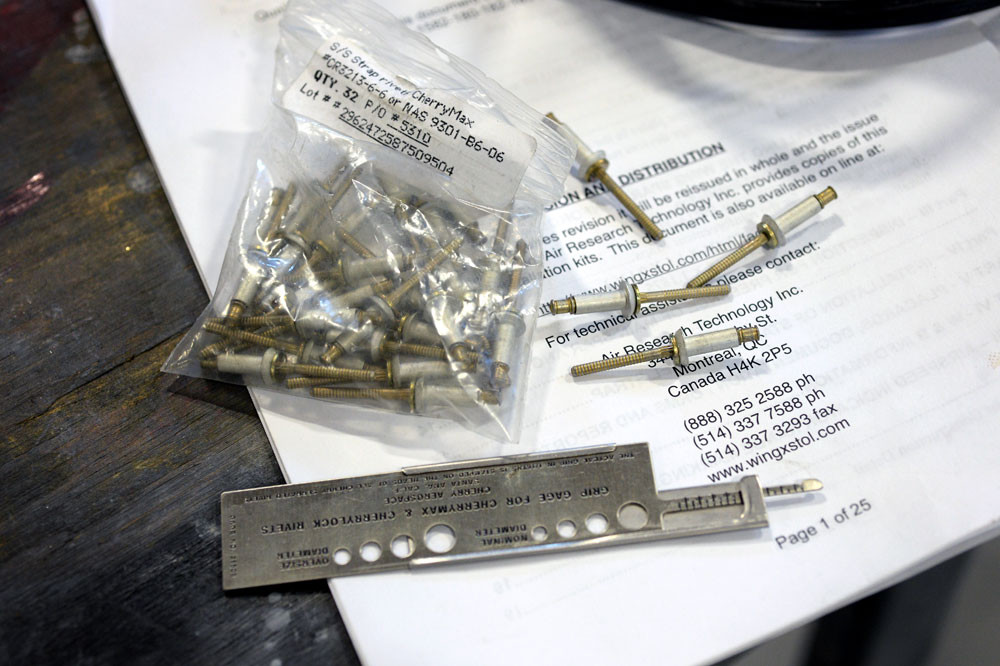
One final note… The kit comes with all the fasteners and rivets you will need. That said, make sure you double check the hole with a grip gauge before you pull the cherry Max. The stainless strap will use 6-6’s for all save one. This is where the skins lap. Here WingX provides a 6-7.